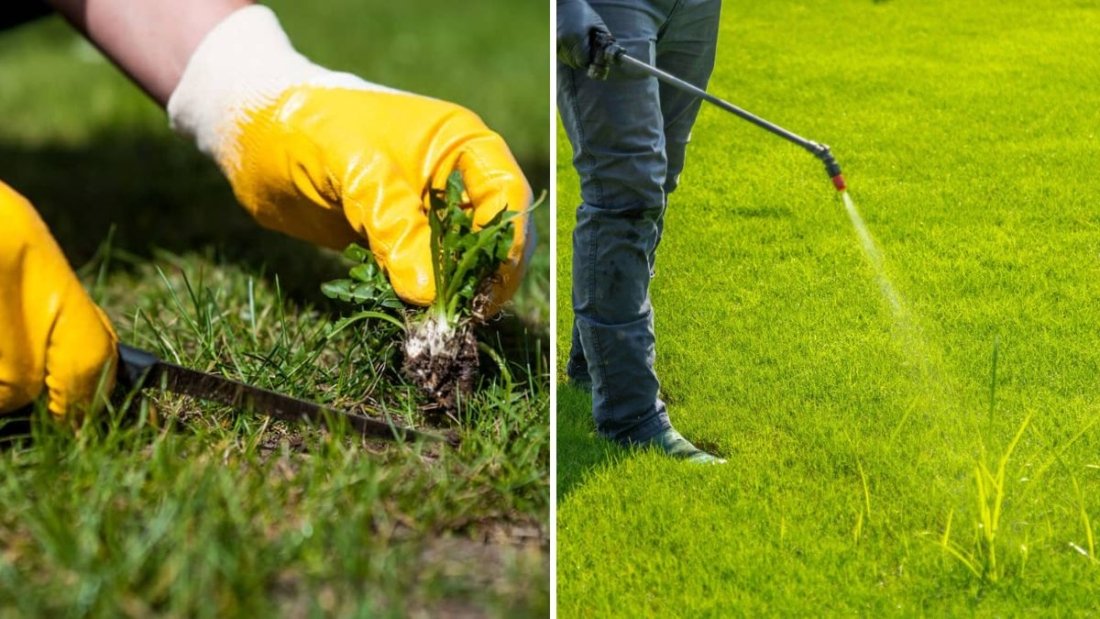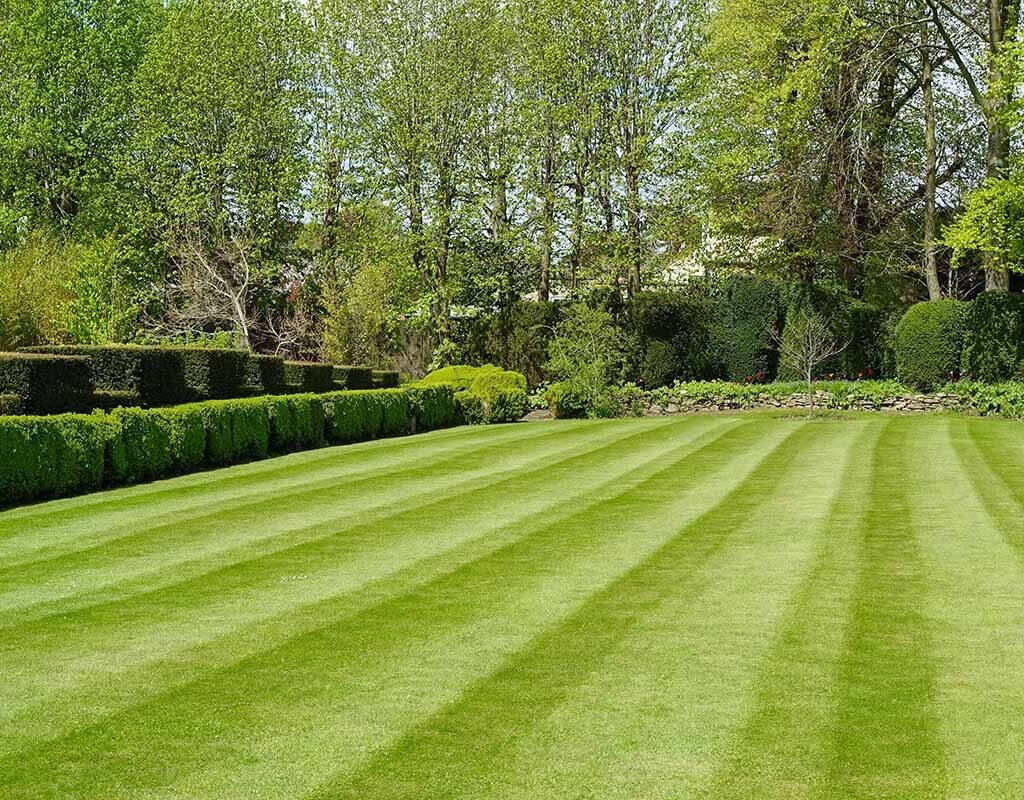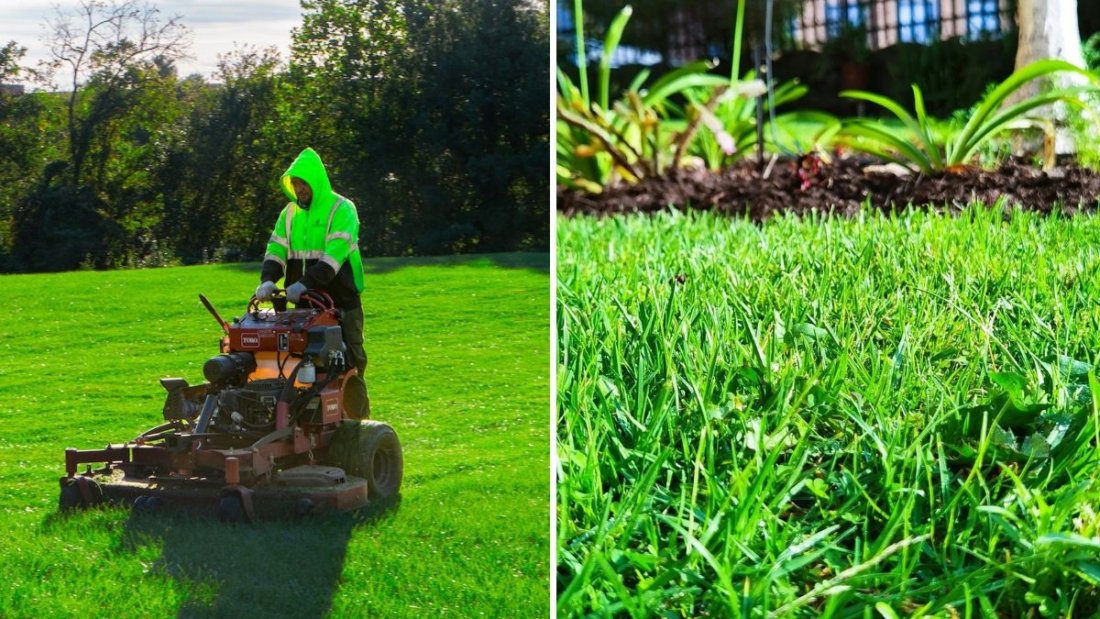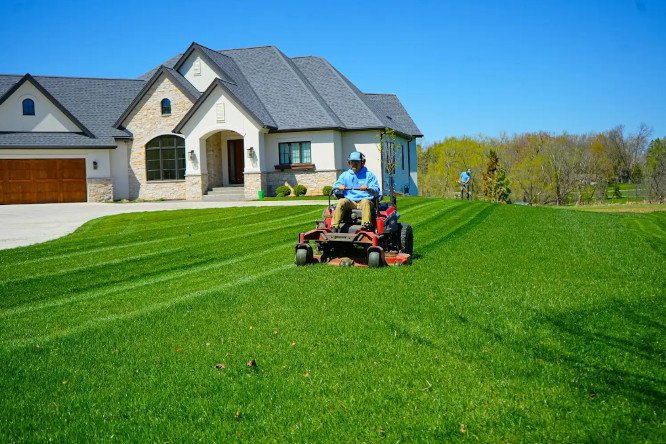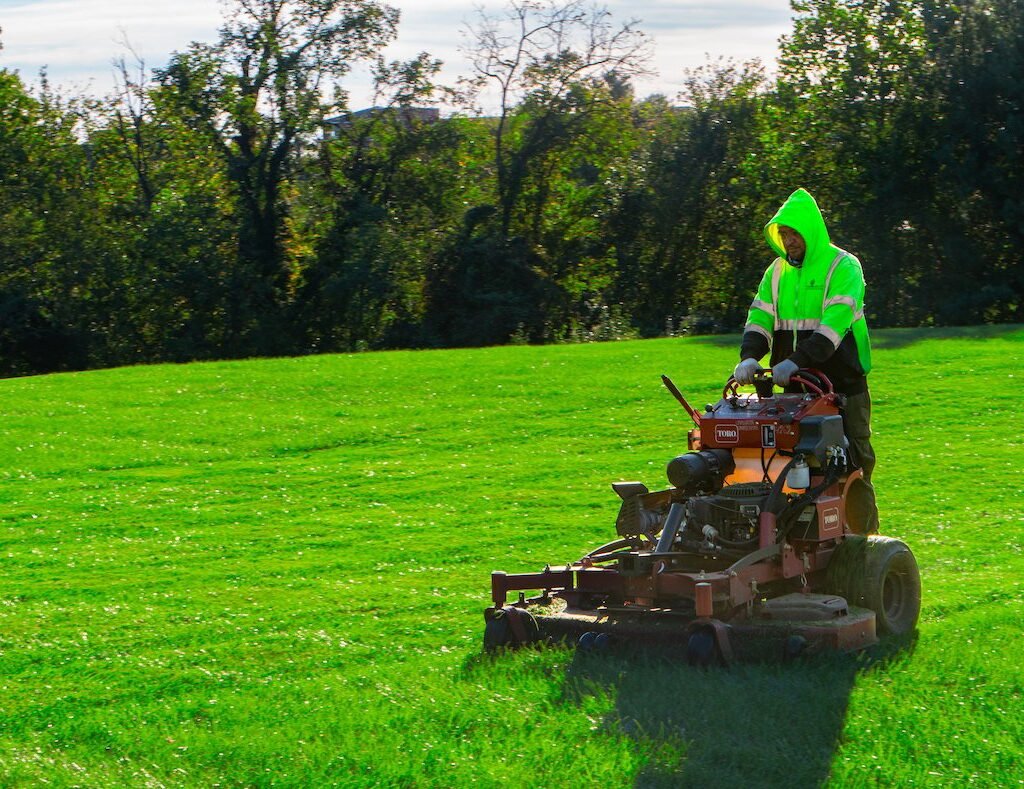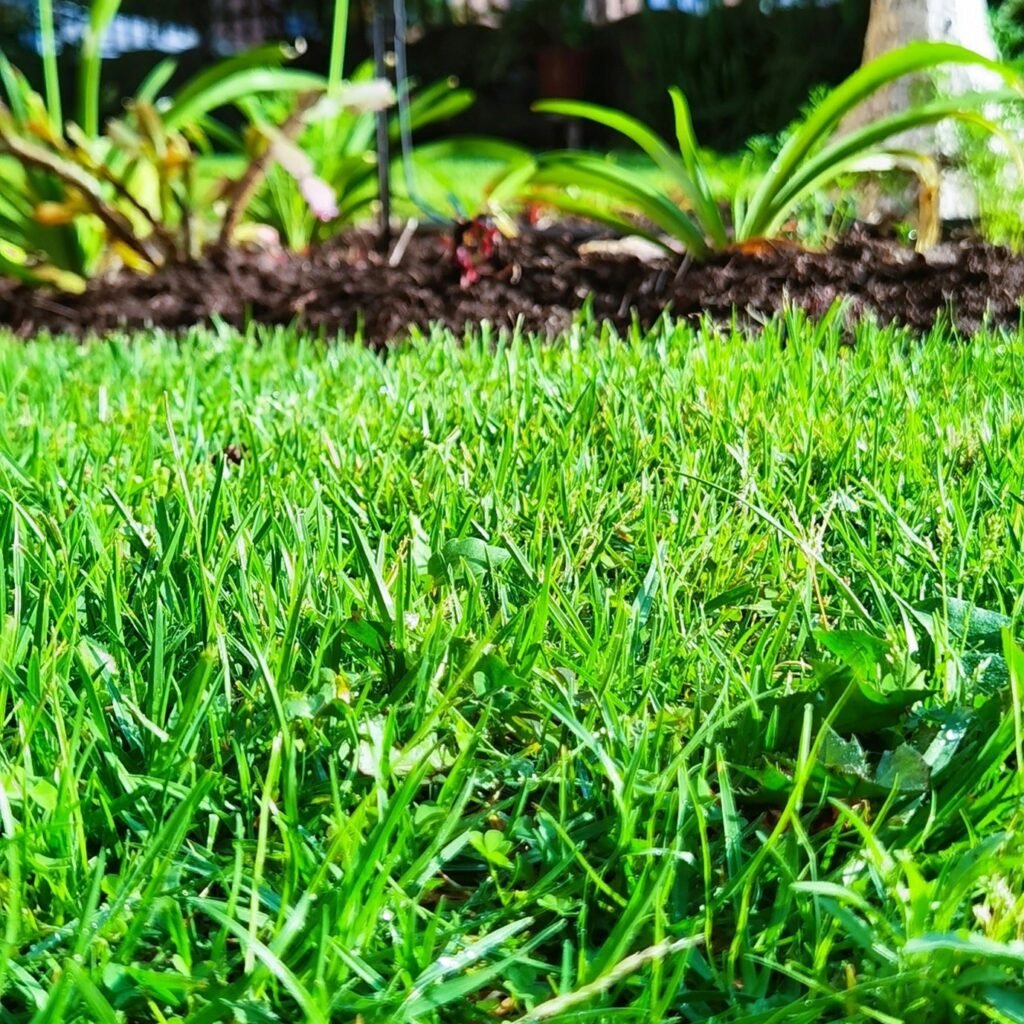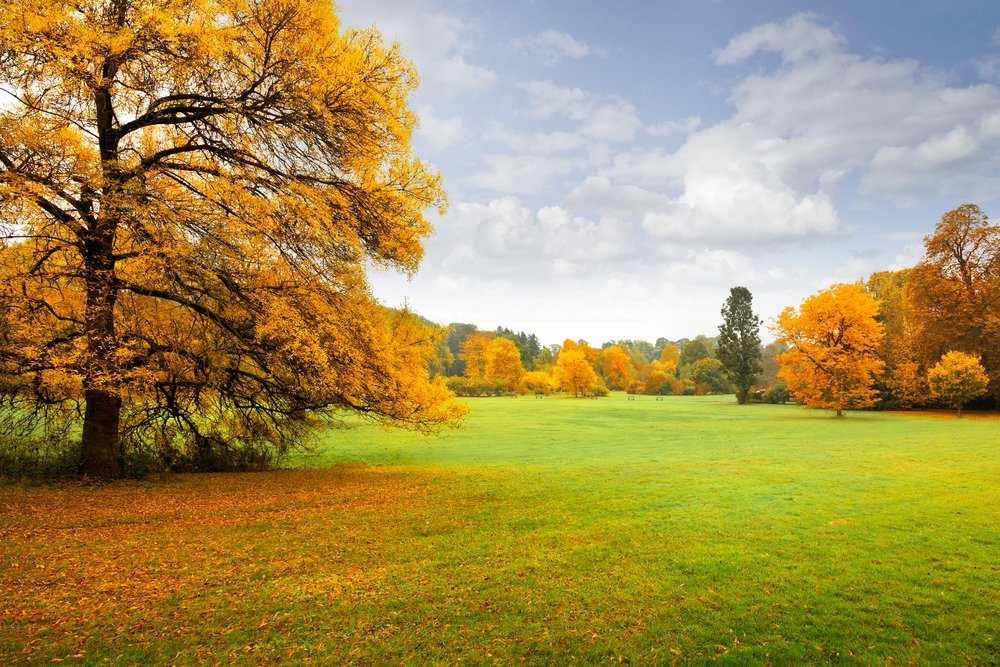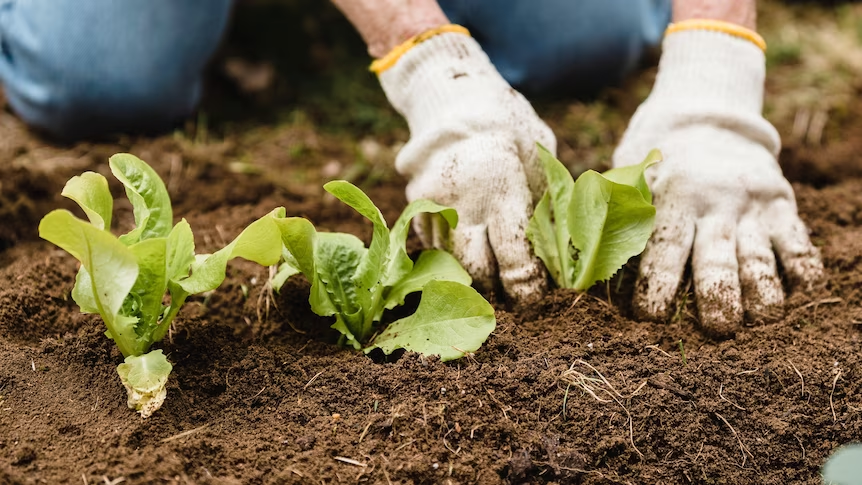
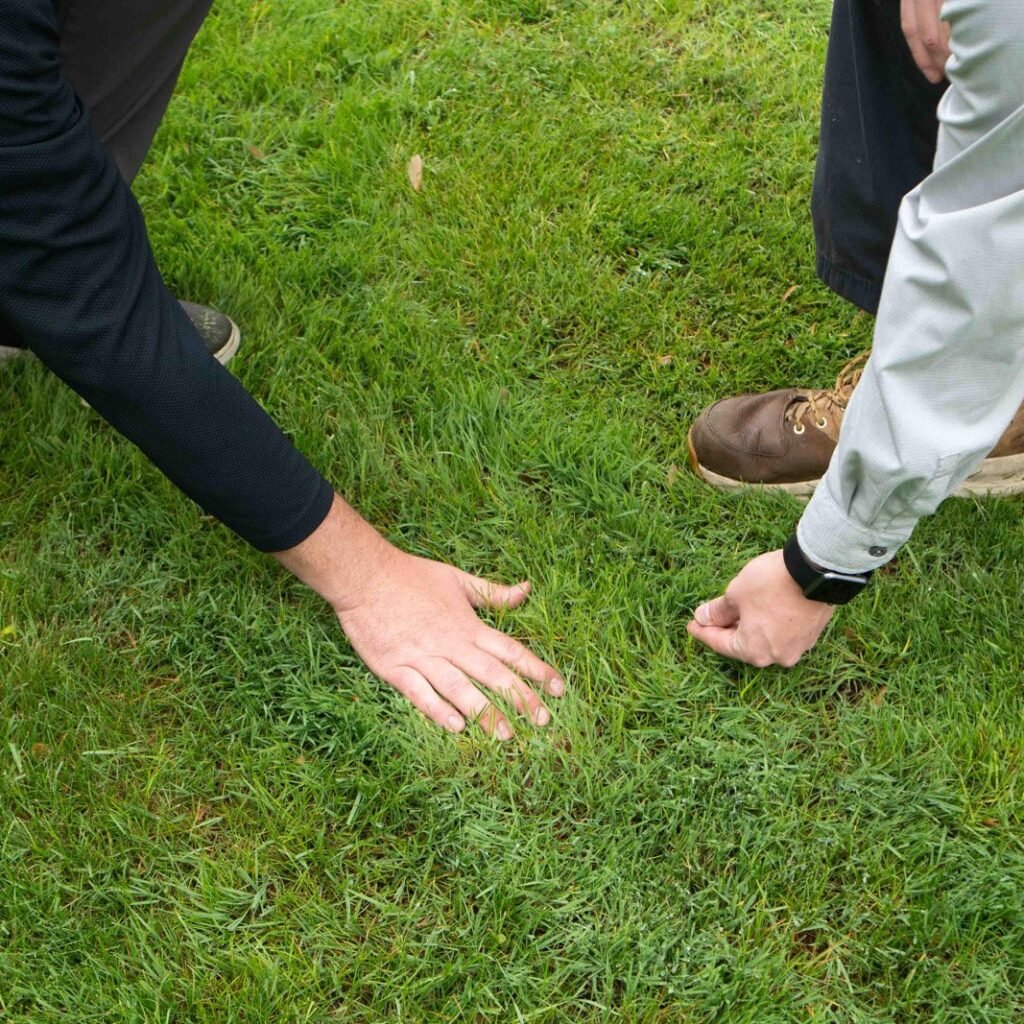
As summer fades and autumn sets in, most homeowners assume their lawns are safe from damage. After all, the cooler temperatures and shorter days often reduce plant stress, making grass appear healthier. However, fall is actually a critical time when certain lawn pests become more active, feeding on grass roots, blades, or soil nutrients as they prepare for winter. If left unchecked, these pests can cause unsightly brown patches, thinning turf, or even long-term lawn damage that persists into spring.
In this article, we’ll take an in-depth look at six common lawn pests to watch out for this autumn, how to identify them, and effective ways to manage and prevent infestations.
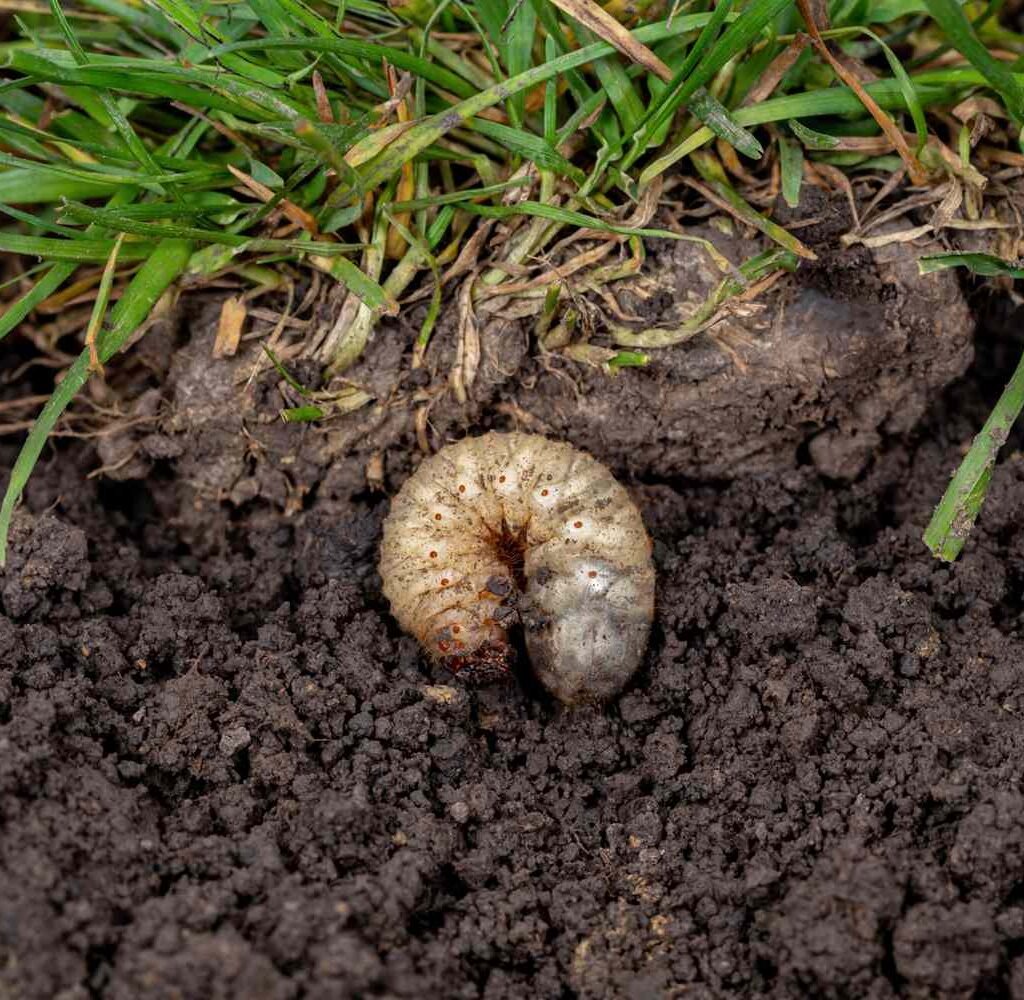
1. Grubs
What They Are:
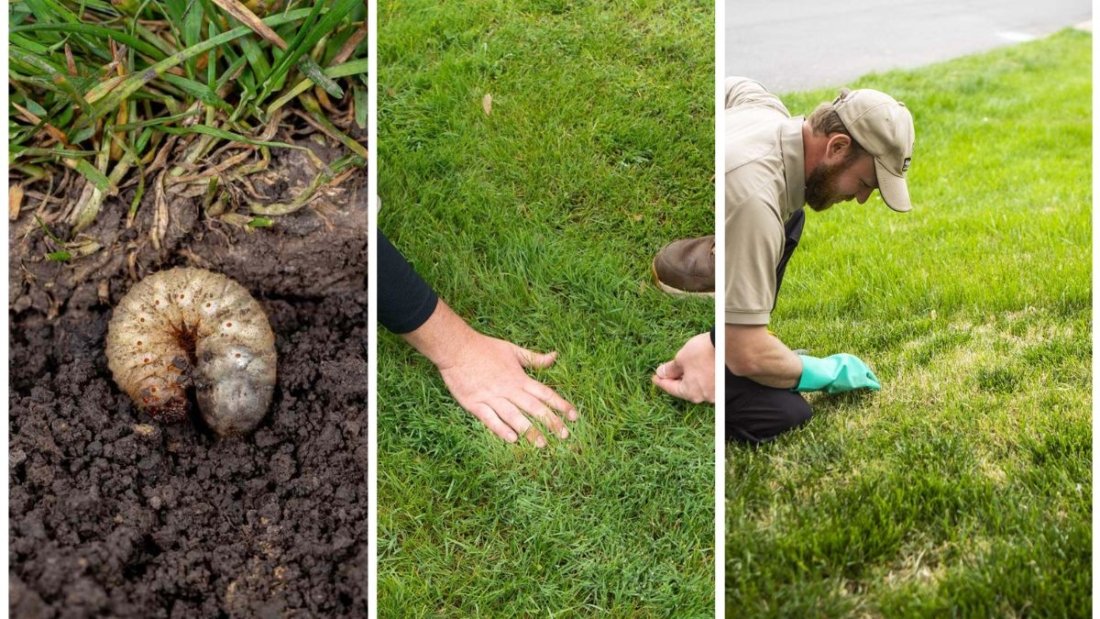
Grubs are the larvae of beetles such as Japanese beetles, June beetles, or chafer beetles. These white, C-shaped insects live beneath the soil surface and feed on grass roots.
Why They’re a Problem in Autumn:
In early autumn, grubs are in their most destructive stage. They aggressively consume grass roots, causing turf to weaken and die. Because the soil is still warm in fall, grub activity peaks during this season.
Signs of Grub Damage:
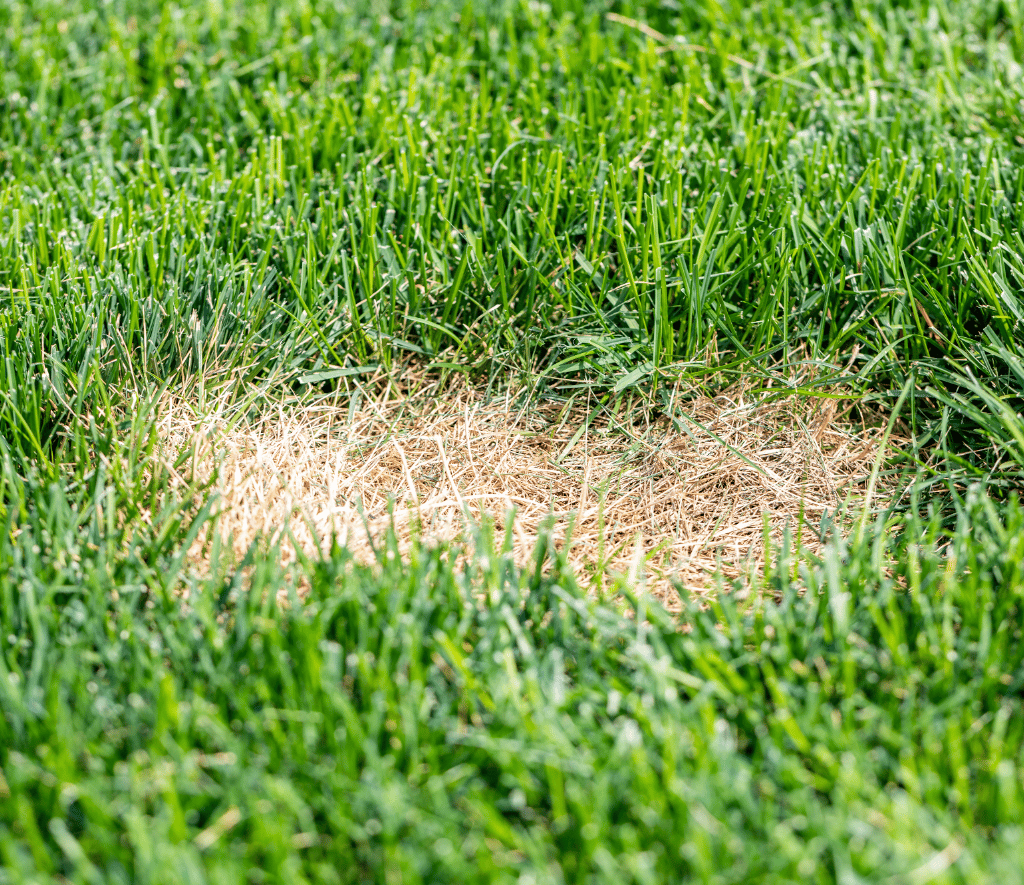
- Brown, irregular patches of dying grass
- Grass that lifts easily like a carpet due to root damage
- Increased presence of birds, raccoons, or skunks digging in your lawn (they feed on grubs)
How to Control Grubs:
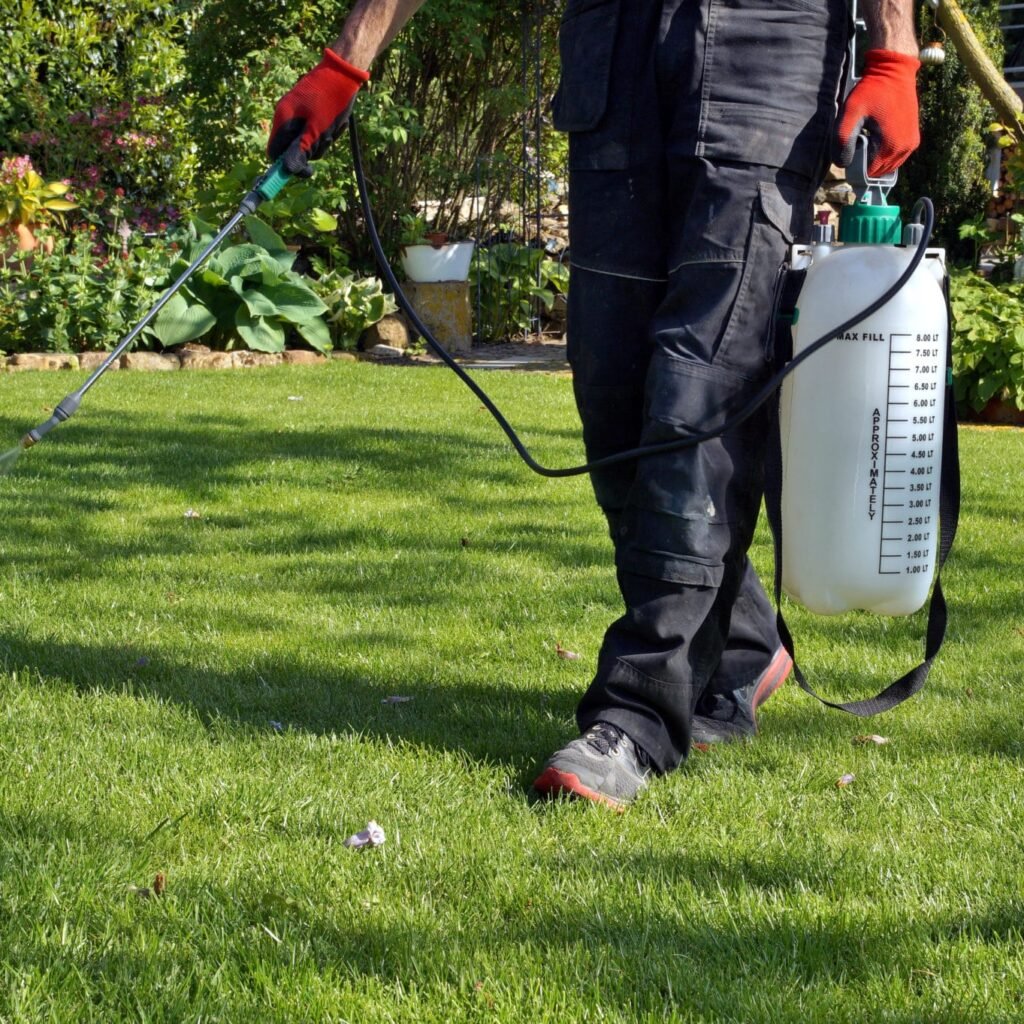
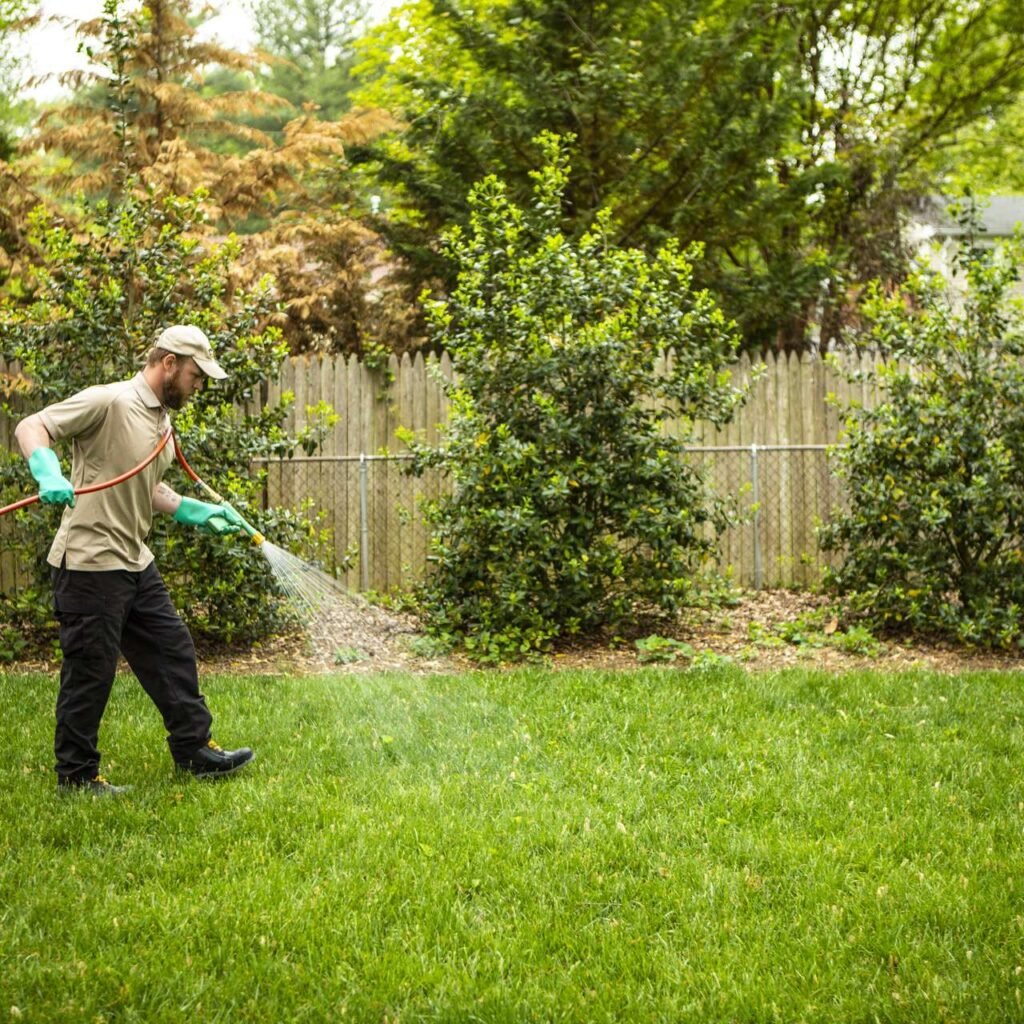
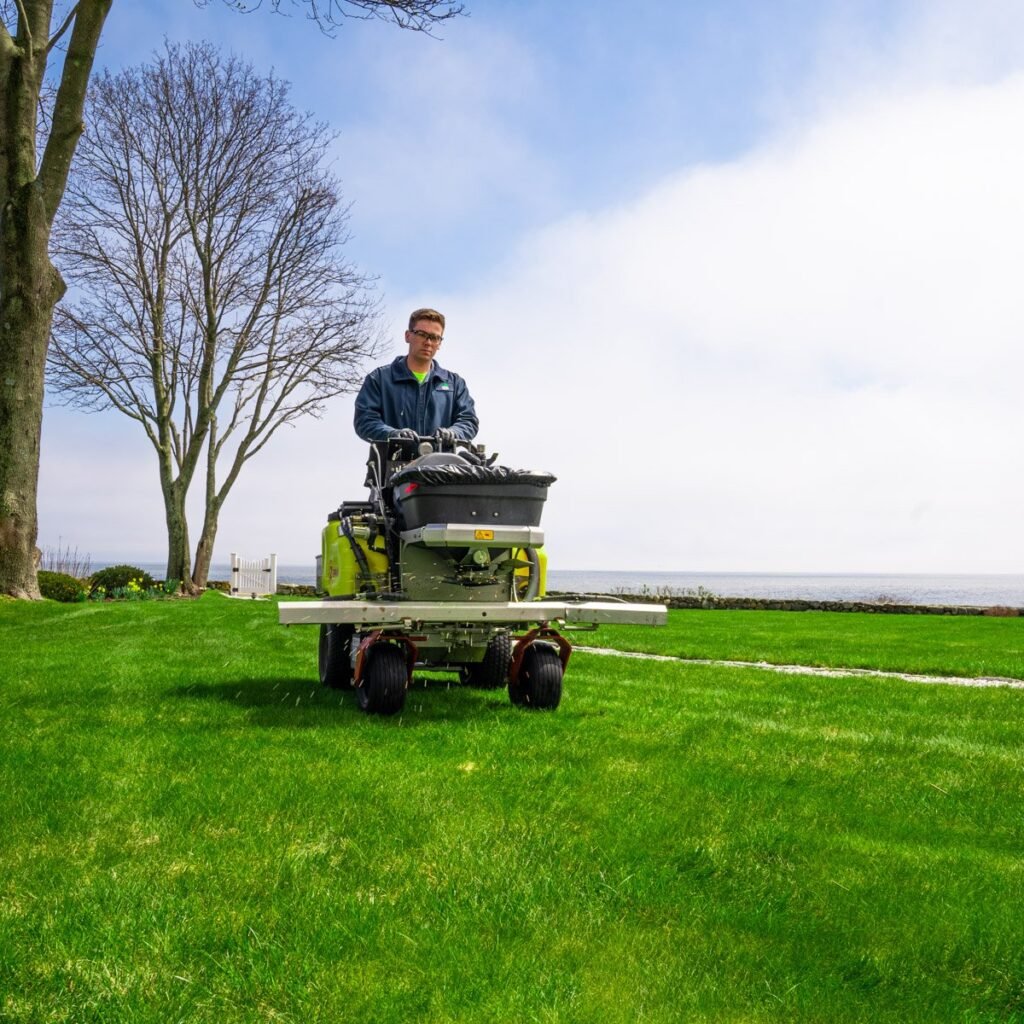
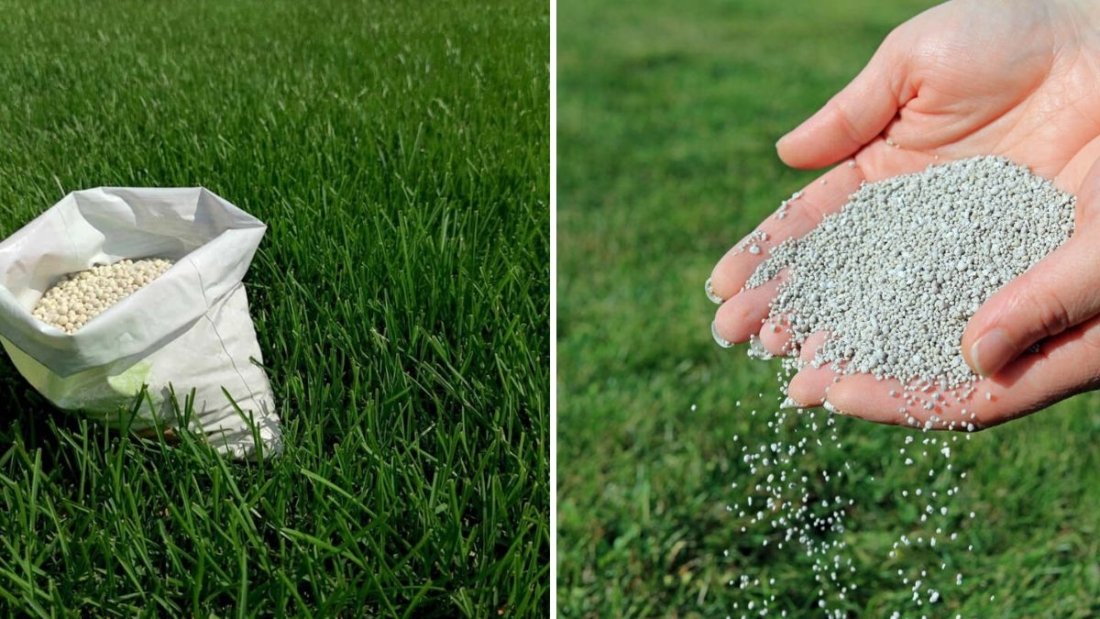
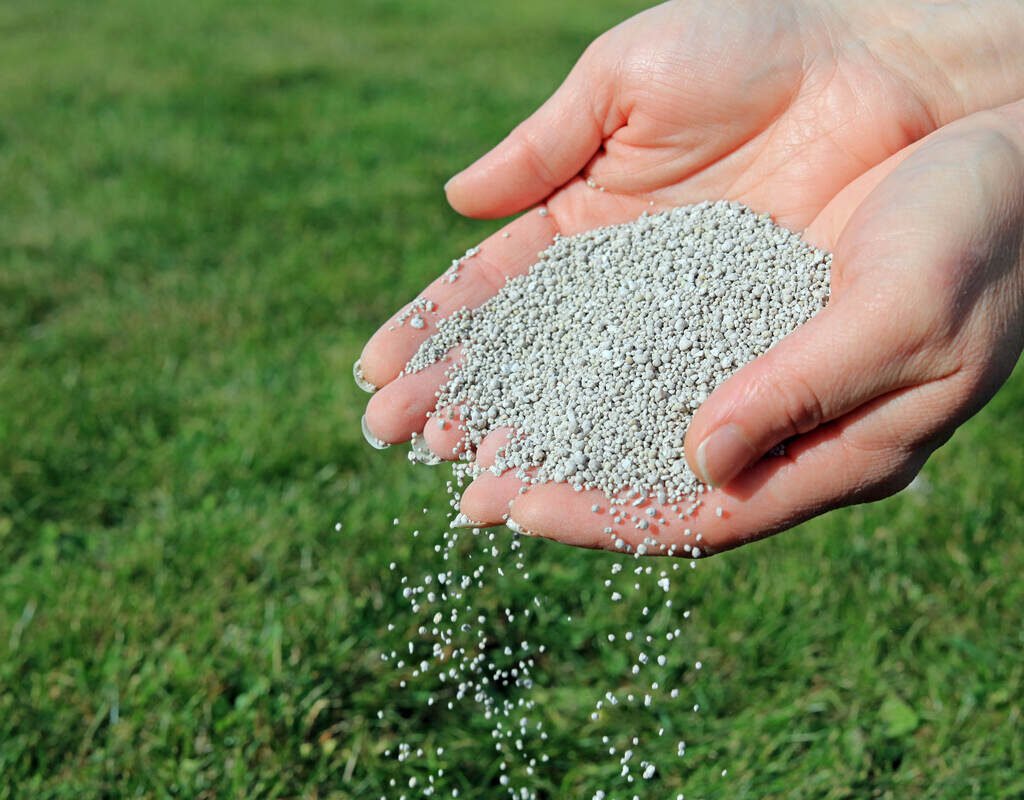
- Apply a fall grub control treatment containing ingredients like imidacloprid or chlorantraniliprole.
- Encourage natural predators, such as nematodes, which feed on grubs.
- Keep your lawn well-aerated and dethatched to discourage beetle egg-laying.
2. Chinch Bugs
What They Are:
Chinch bugs are small, black-and-white insects that suck the sap from grass blades. Though they are most active in summer, they can persist into early autumn, particularly in warm regions.
Why They’re a Problem in Autumn:
If autumn remains warm and dry, chinch bugs continue feeding, leaving behind yellowing and dead grass patches that resemble drought damage.
Signs of Chinch Bug Damage:
- Patches of yellow or brown grass that spread outward
- Grass that feels dry and brittle despite regular watering
- Visible tiny black insects with white wings at the soil surface
How to Control Chinch Bugs:
- Keep your lawn properly watered to reduce stress.
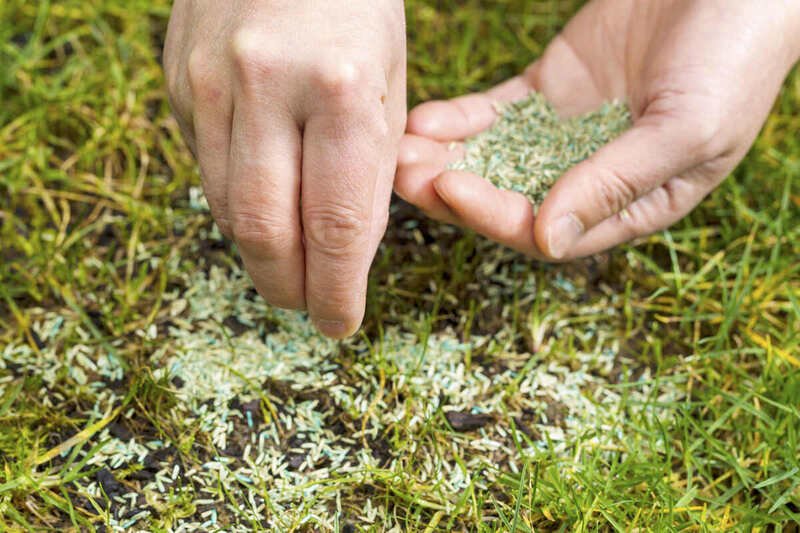
- Overseed with resistant grass varieties, such as endophyte-enhanced fescues.
- Apply insecticidal soap or pyrethroid-based treatments if the infestation is severe.
3. Armyworms
What They Are:
Armyworms are the larvae of moths. They are caterpillar-like pests with green, brown, or striped bodies. As their name suggests, they move in groups (“armies”), consuming large sections of grass in a short time.
Why They’re a Problem in Autumn:
Armyworms thrive in cooler weather after summer, especially in September and October. They feed at night, chewing grass blades down to the crown. Large infestations can devastate an entire lawn in just days.
Signs of Armyworm Damage:
- Rapidly expanding bare patches
- Grass that appears chewed or scalped
- Birds feeding on your lawn in large numbers
- Visible caterpillars when you inspect the lawn closely in the early morning or evening
How to Control Armyworms:
- Mow and water the lawn regularly to reduce stress and promote recovery.
- Apply biological controls such as Bacillus thuringiensis (Bt), which targets caterpillars.
- Use insecticides labeled for armyworm control in severe outbreaks.
4. Sod Webworms

What They Are:
Sod webworms are the larvae of small lawn moths. These worms live in silk-lined tunnels at the base of grass and feed at night on the leaves and stems.
Why They’re a Problem in Autumn:
While their activity peaks in summer, sod webworms often have a second generation in fall. During this period, they feed heavily, thinning out lawns that are already weakened from summer stress.
Signs of Sod Webworm Damage:
- Small brown patches that gradually enlarge
- Ragged, chewed grass blades
- Silky tunnels or webbing at soil level
- Increased moth activity flying over the lawn in the evening
How to Control Sod Webworms:
- Water deeply and fertilize in fall to help lawns recover from damage.
- Encourage natural predators like birds and beneficial nematodes.
- Apply biological or chemical insecticides if damage is widespread.
5. Billbugs
What They Are:
Billbugs are beetles whose larvae, like grubs, feed on grass stems and roots. Unlike grubs, billbug larvae are legless and tunnel inside grass stems before moving to the roots.
Why They’re a Problem in Autumn:
In fall, billbug larvae complete their feeding cycle, causing grass crowns and roots to weaken. Infestations often mimic drought damage, making them difficult to identify without closer inspection.
Signs of Billbug Damage:
- Grass that turns brown and pulls up easily
- Sawdust-like frass (insect waste) near the base of plants
- Dead patches that expand despite regular watering
How to Control Billbugs:
- Overseed with resistant turfgrass varieties, such as perennial ryegrass.
- Aerate and dethatch to improve lawn health and make it less attractive to pests.
- Apply systemic insecticides in spring or fall when larvae are active.
6. Cutworms
What They Are:
Cutworms are nocturnal caterpillars that feed on grass stems at or near the soil surface. They are usually gray or brown and curl up into a C-shape when disturbed.
Why They’re a Problem in Autumn:
Cooler autumn nights encourage cutworm activity. They cut grass blades near the crown, often leaving circular bare spots that expand with time.
Signs of Cutworm Damage:
- Small circular patches of dead grass
- Grass blades cut off at soil level
- Visible caterpillars at night or early morning when inspected with a flashlight
How to Control Cutworms:
- Encourage natural predators such as birds and ground beetles.
- Use biological controls like Bt (Bacillus thuringiensis) for caterpillar management.
- Apply targeted insecticides if infestations are severe.
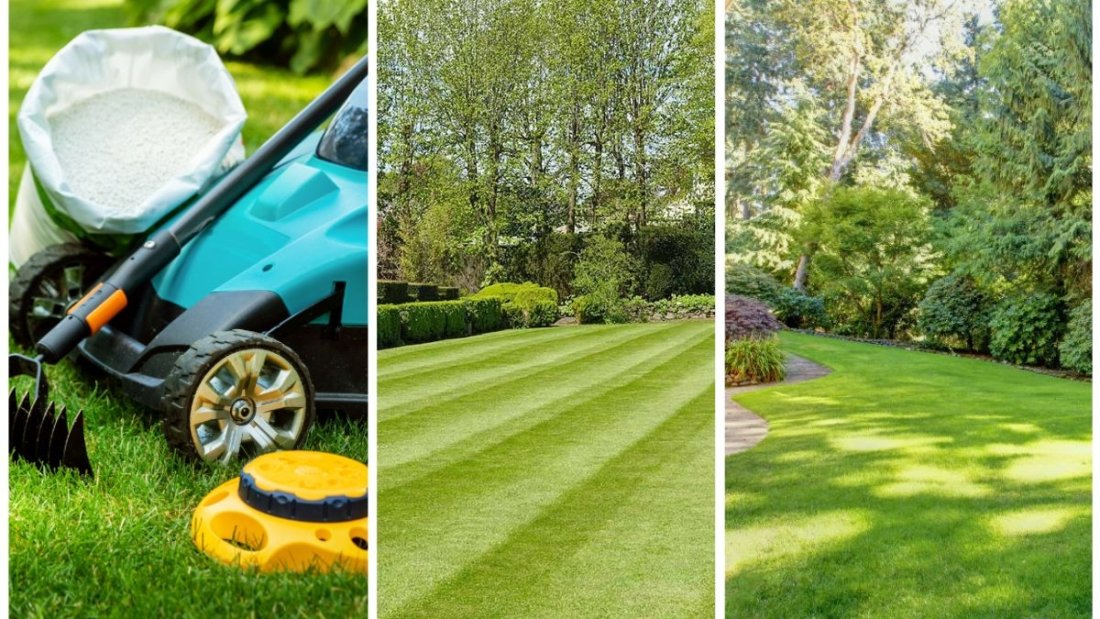
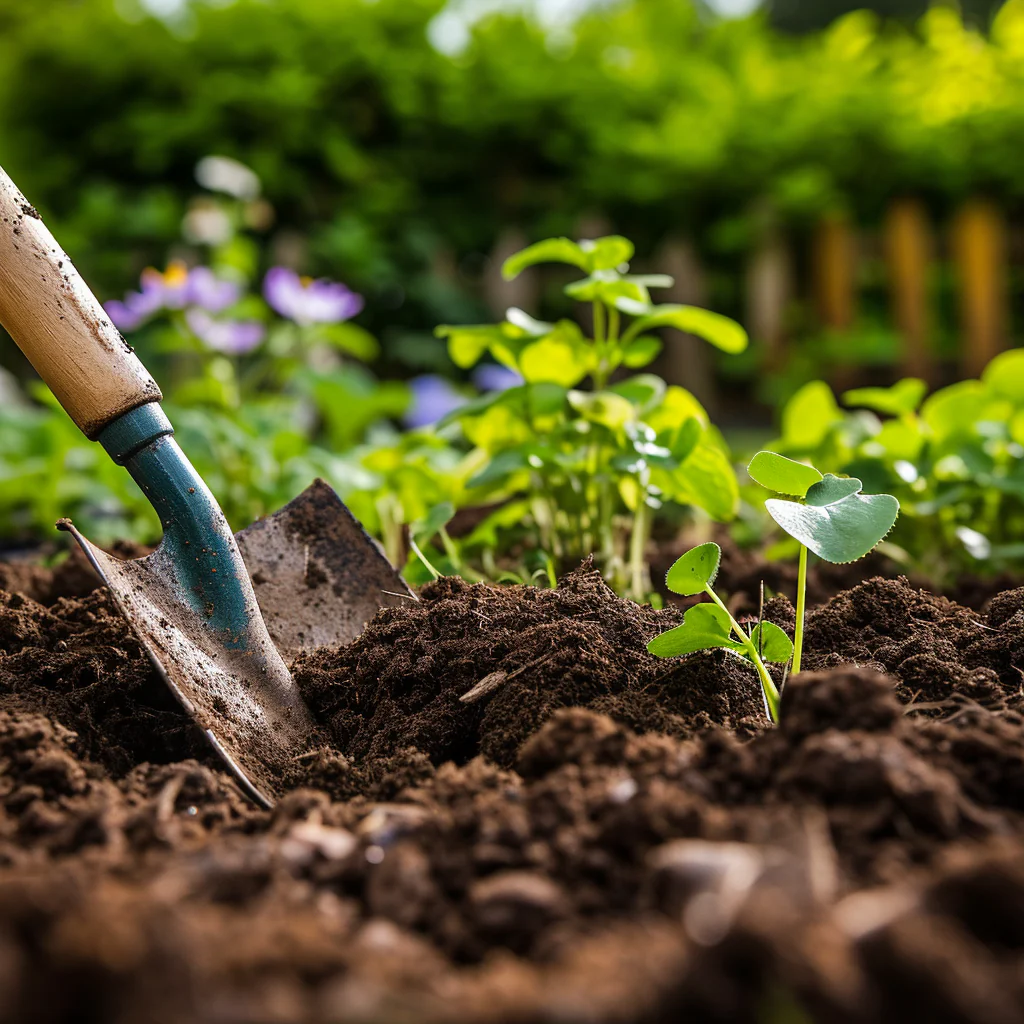
Preventing Lawn Pest Problems in Autumn
While treatments help manage existing pest infestations, prevention is the most effective strategy for long-term lawn health. Here are key steps to keep pests at bay:
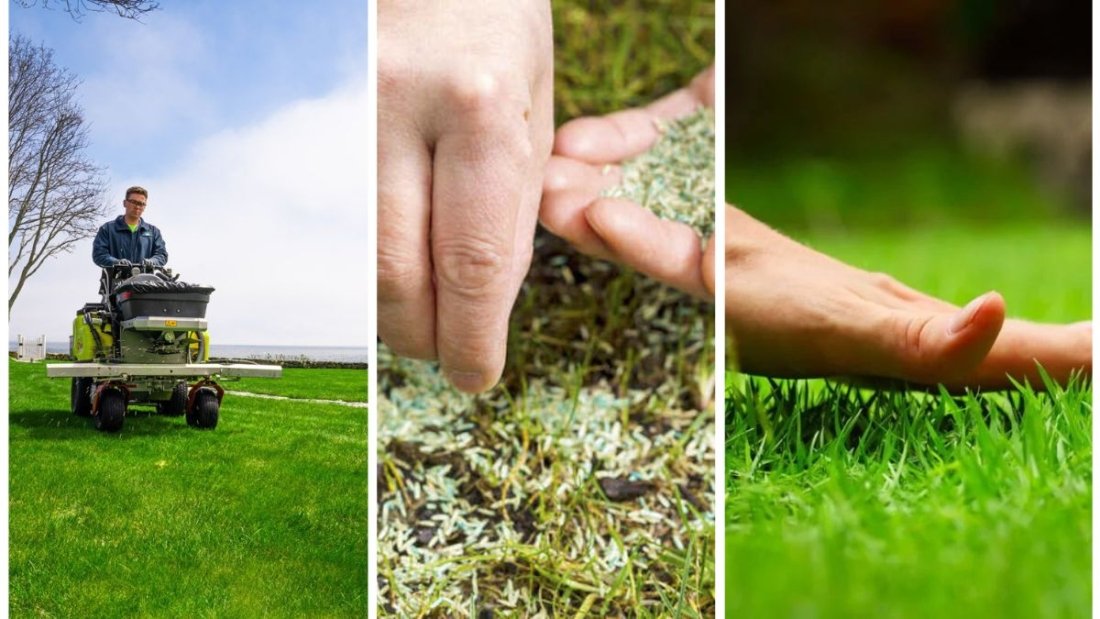
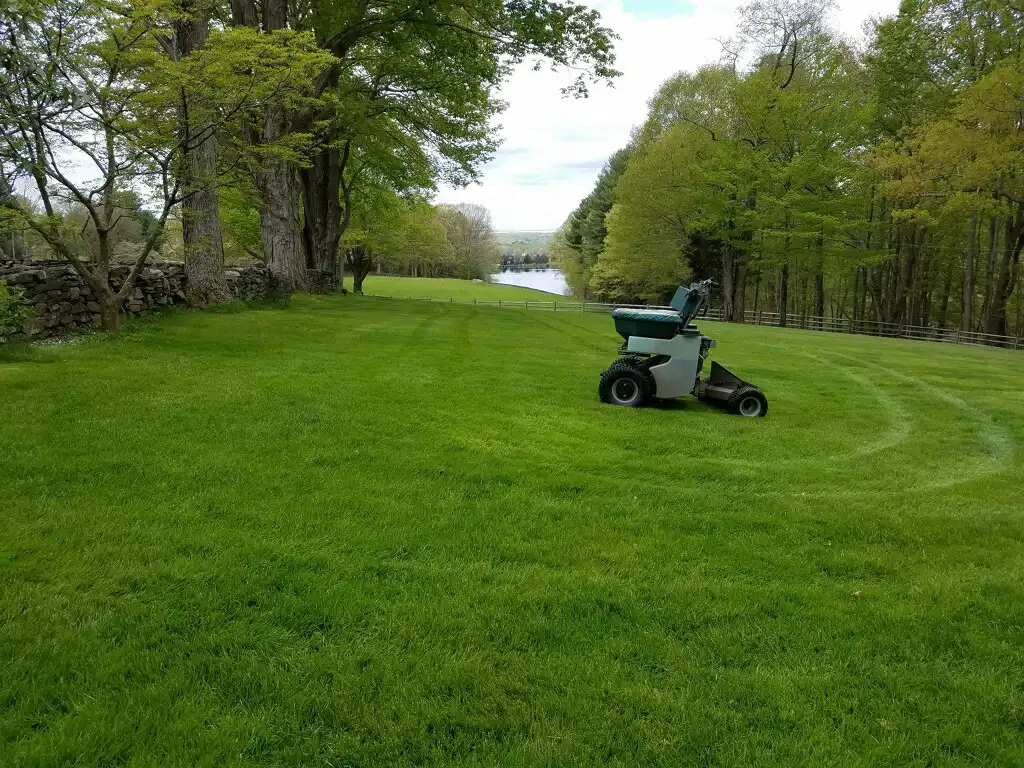
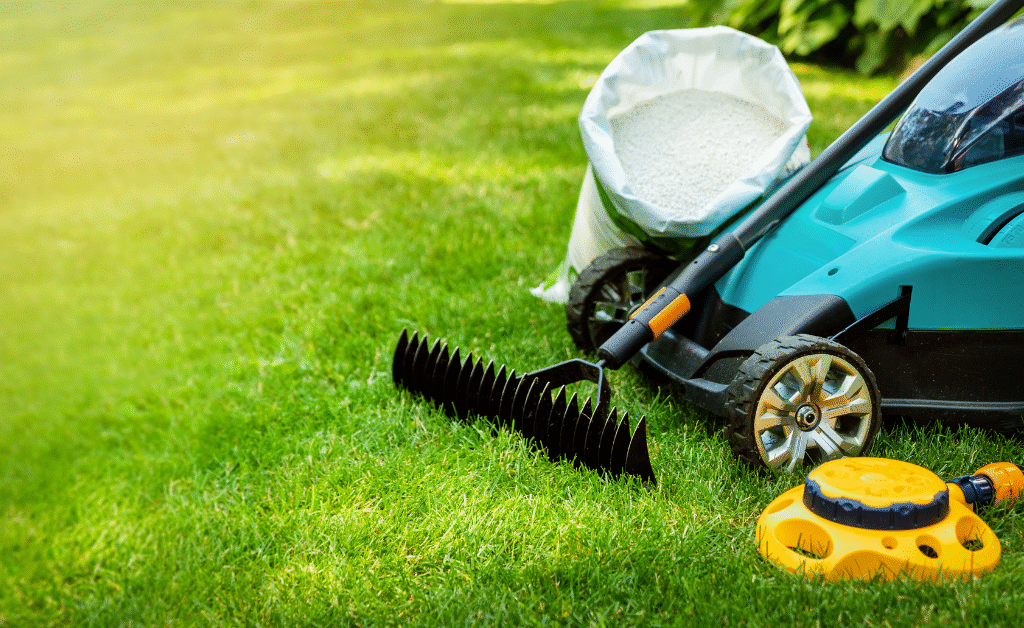
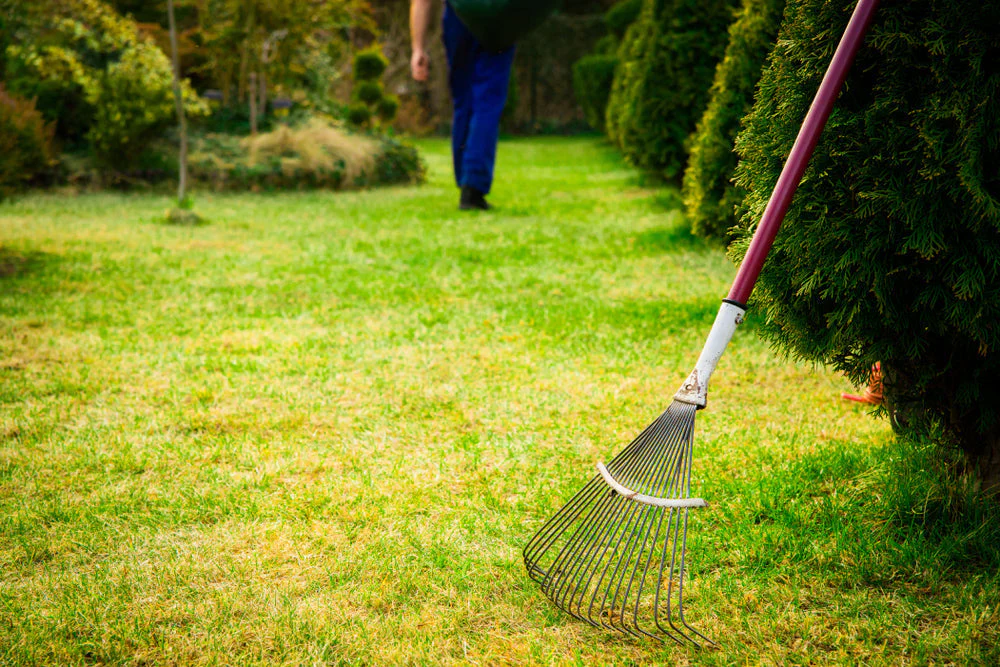
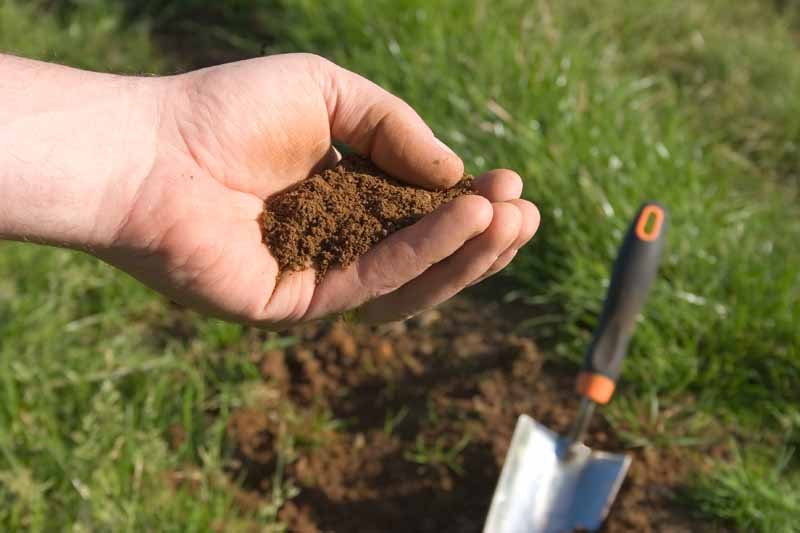
- Aerate and Dethatch: Improves soil health and reduces the buildup of thatch, which harbors pests.
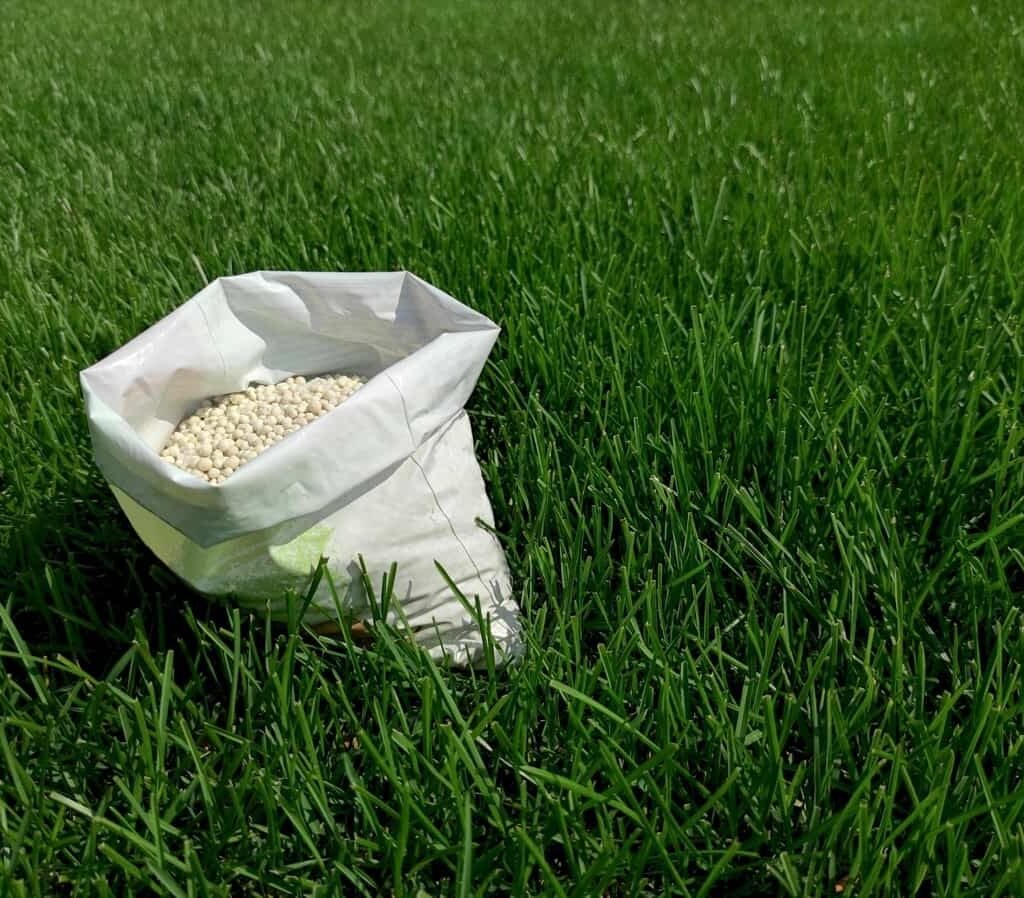
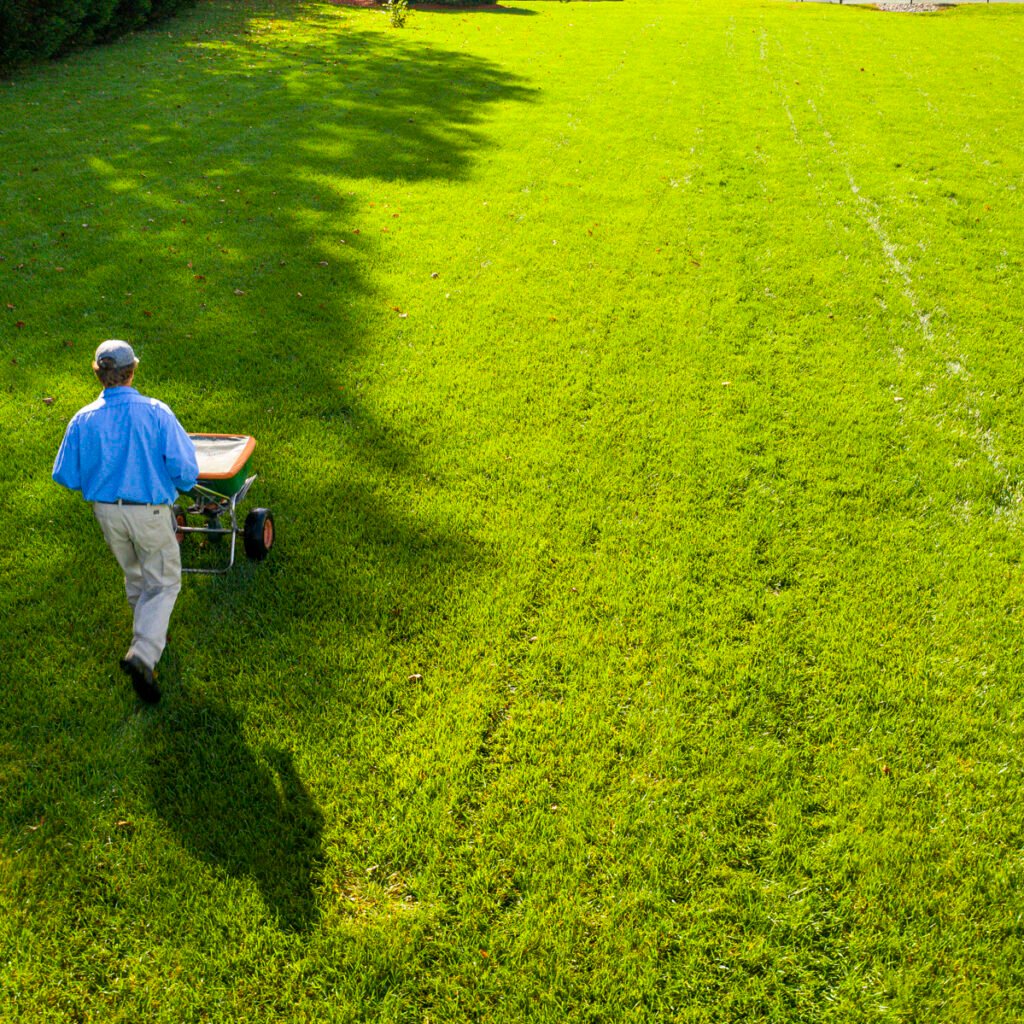
- Fertilize in Fall: Applying a fall fertilizer strengthens grass roots, helping your lawn resist pest damage.
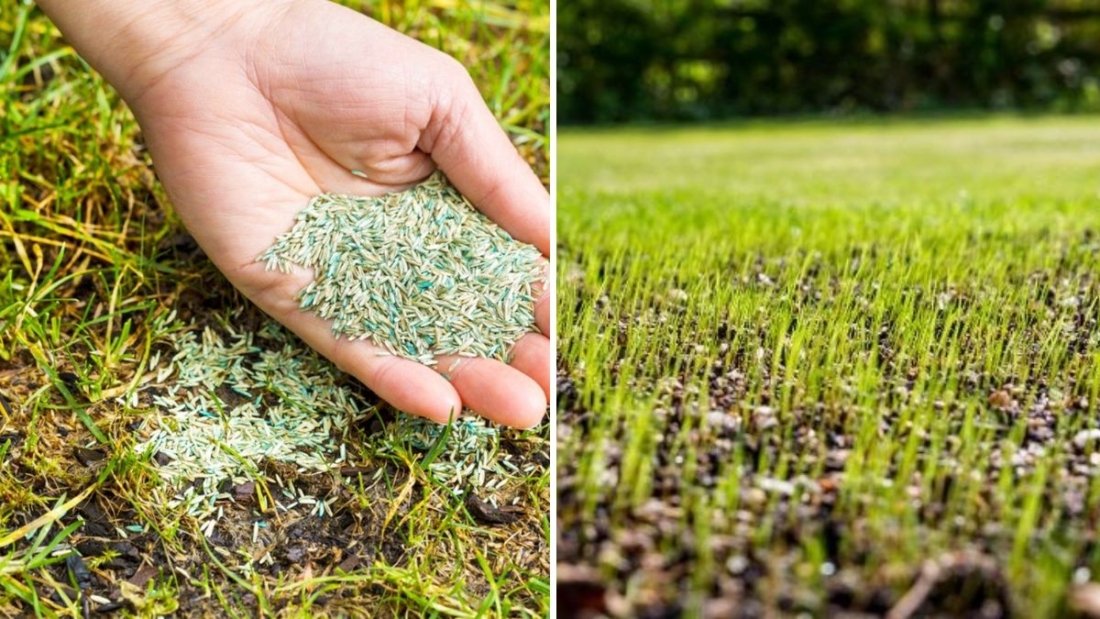
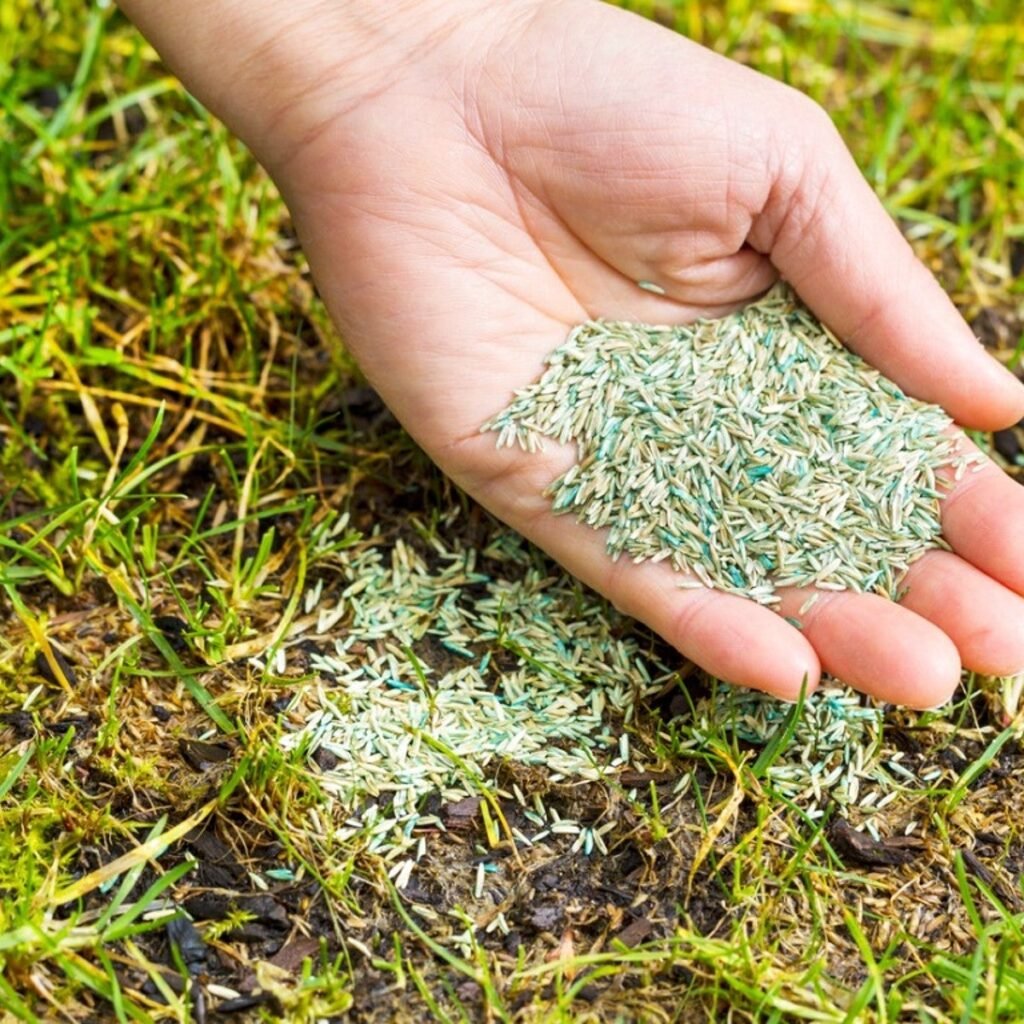
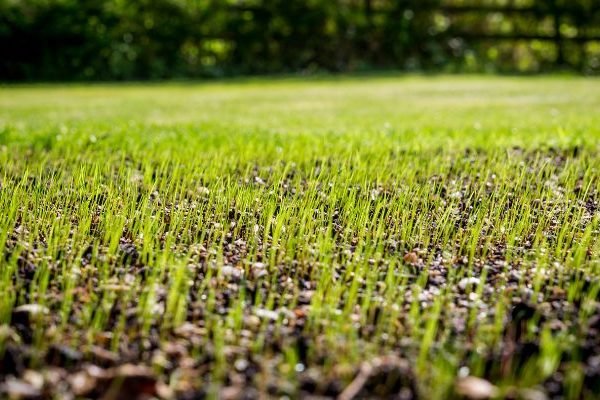
- Overseed Thin Areas: A dense lawn is less attractive to insects.
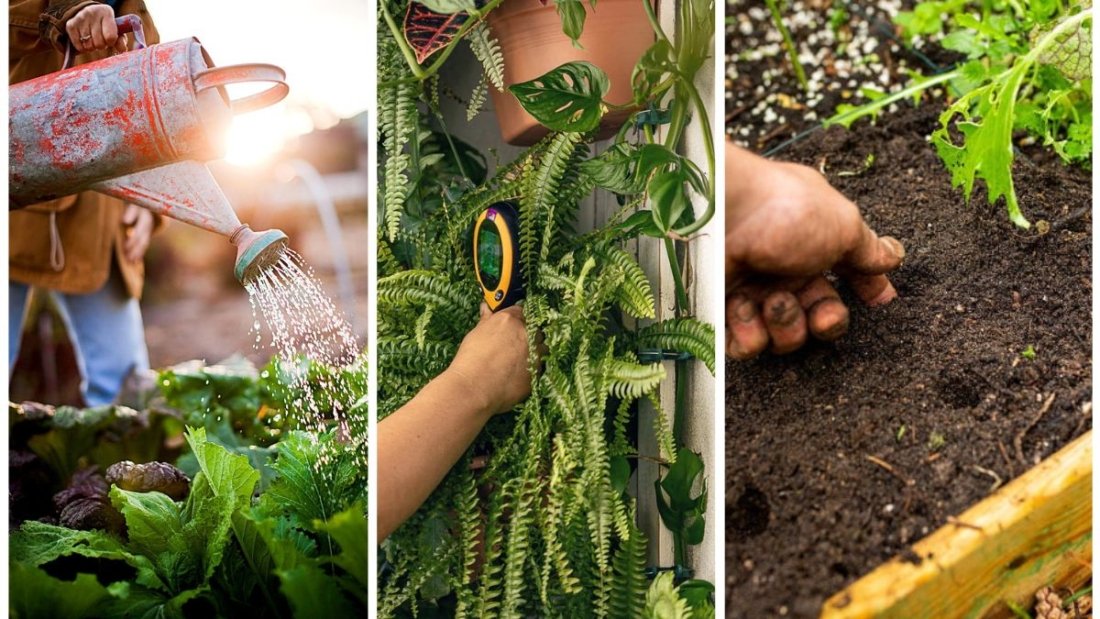
- Water Properly: Deep, infrequent watering discourages pests while supporting grass health.
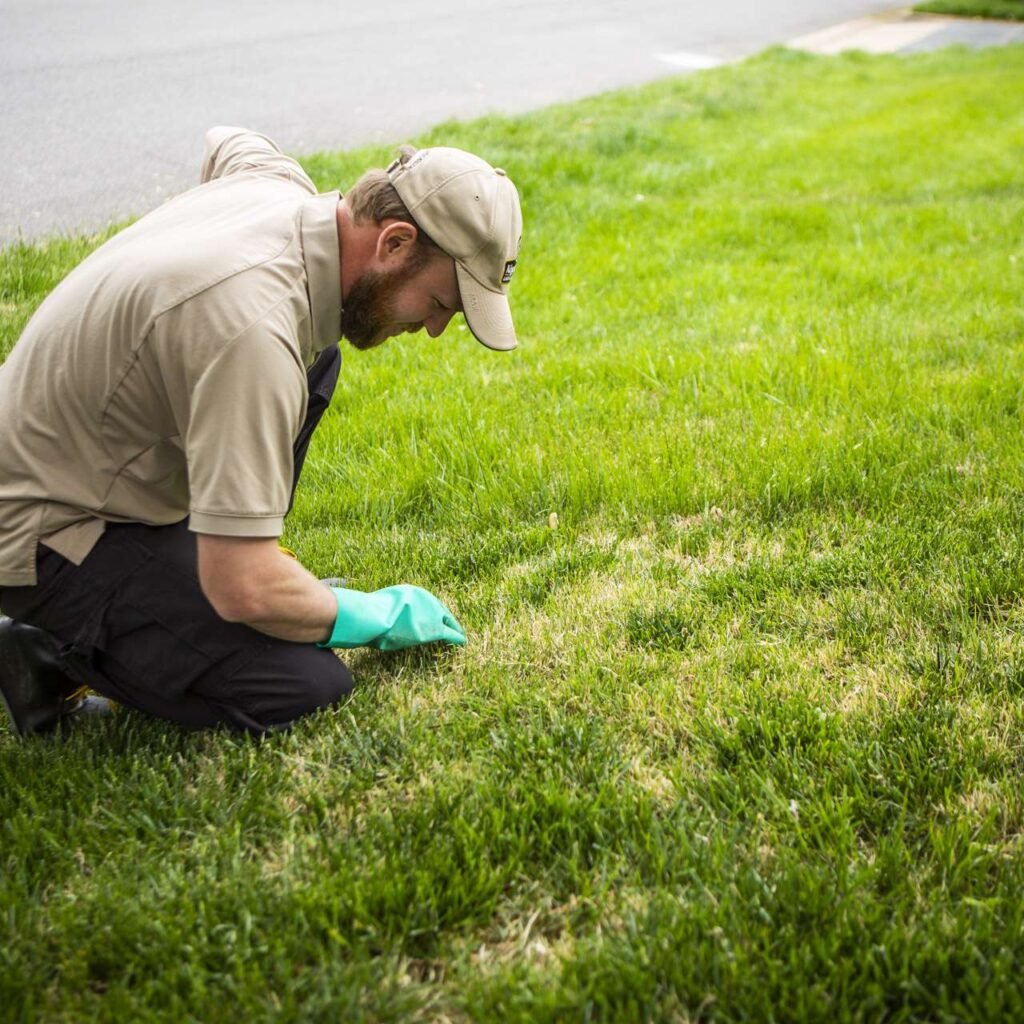
- Monitor Regularly: Inspect your lawn weekly for early signs of pest activity.
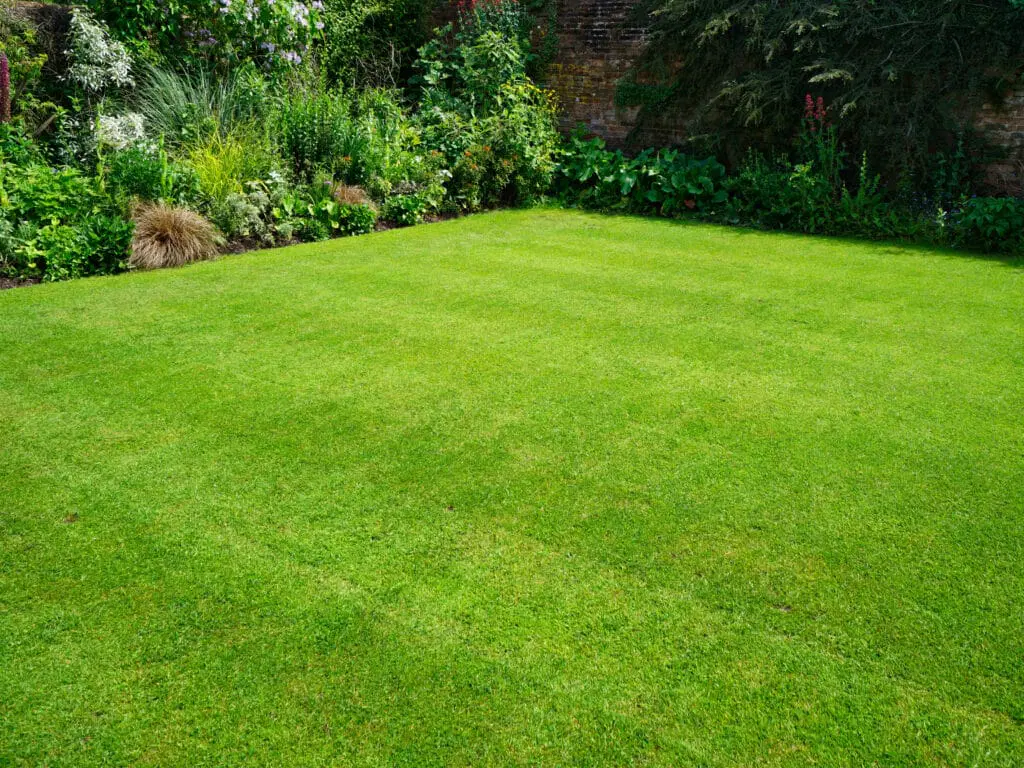
Conclusion
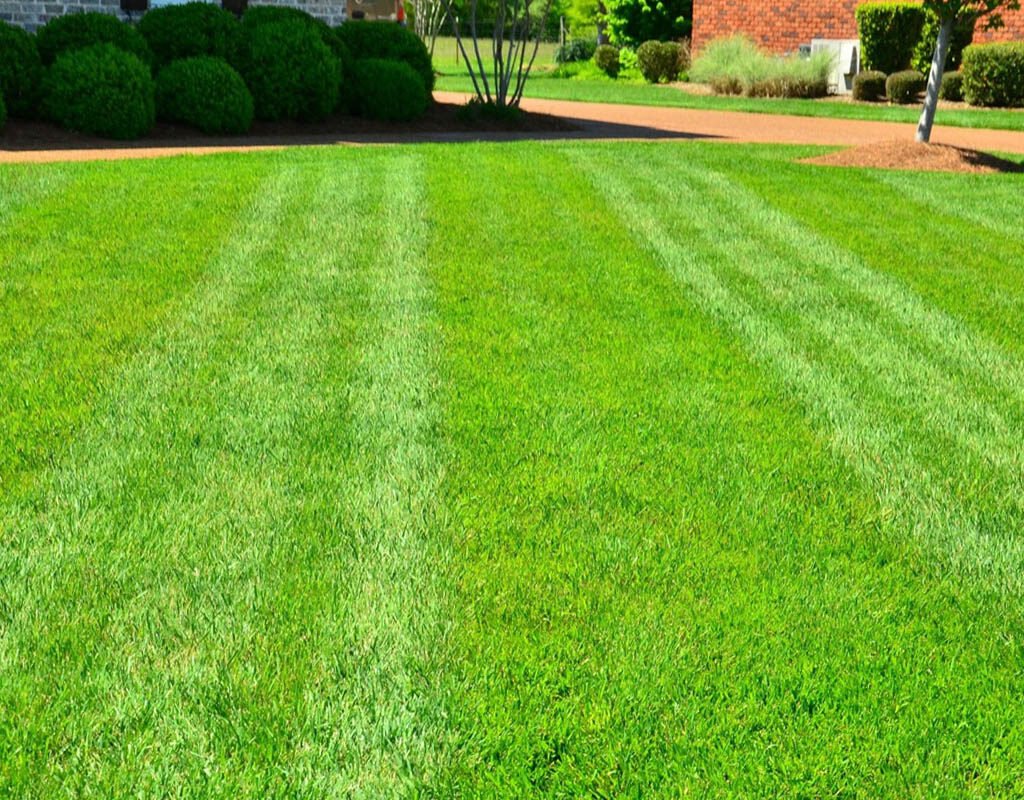
Autumn is a critical season for lawn care, and pests like grubs, chinch bugs, armyworms, sod webworms, billbugs, and cutworms pose significant threats to turf health. By learning to identify the warning signs and taking preventive measures, you can stop pests before they cause lasting damage.
A proactive approach—combining cultural practices like aeration and overseeding with targeted treatments—ensures that your lawn not only survives the autumn pest season but also emerges greener and stronger in spring.
In short, keeping an eye on these six common lawn pests this autumn can mean the difference between a struggling yard and a lush, healthy landscape that enhances your home’s beauty year-round.
As summer fades and autumn sets in, most homeowners assume their lawns are safe from damage. After all, the cooler temperatures and shorter days often reduce plant stress, making grass appear healthier. However, fall is actually a critical time when certain lawn pests become more active, feeding on grass roots, blades, or soil nutrients as they prepare for winter. If left unchecked, these pests can cause unsightly brown patches, thinning turf, or even long-term lawn damage that persists into spring.
In this article, we’ll take an in-depth look at six common lawn pests to watch out for this autumn, how to identify them, and effective ways to manage and prevent infestations.
1. Grubs
What They Are:
Grubs are the larvae of beetles such as Japanese beetles, June beetles, or chafer beetles. These white, C-shaped insects live beneath the soil surface and feed on grass roots.
Why They’re a Problem in Autumn:
In early autumn, grubs are in their most destructive stage. They aggressively consume grass roots, causing turf to weaken and die. Because the soil is still warm in fall, grub activity peaks during this season.
Signs of Grub Damage:
- Brown, irregular patches of dying grass
- Grass that lifts easily like a carpet due to root damage
- Increased presence of birds, raccoons, or skunks digging in your lawn (they feed on grubs)
How to Control Grubs:
- Apply a fall grub control treatment containing ingredients like imidacloprid or chlorantraniliprole.
- Encourage natural predators, such as nematodes, which feed on grubs.
- Keep your lawn well-aerated and dethatched to discourage beetle egg-laying.
2. Chinch Bugs
What They Are:
Chinch bugs are small, black-and-white insects that suck the sap from grass blades. Though they are most active in summer, they can persist into early autumn, particularly in warm regions.
Why They’re a Problem in Autumn:
If autumn remains warm and dry, chinch bugs continue feeding, leaving behind yellowing and dead grass patches that resemble drought damage.
Signs of Chinch Bug Damage:
- Patches of yellow or brown grass that spread outward
- Grass that feels dry and brittle despite regular watering
- Visible tiny black insects with white wings at the soil surface
How to Control Chinch Bugs:
- Keep your lawn properly watered to reduce stress.
- Overseed with resistant grass varieties, such as endophyte-enhanced fescues.
- Apply insecticidal soap or pyrethroid-based treatments if the infestation is severe.
3. Armyworms
What They Are:
Armyworms are the larvae of moths. They are caterpillar-like pests with green, brown, or striped bodies. As their name suggests, they move in groups (“armies”), consuming large sections of grass in a short time.
Why They’re a Problem in Autumn:
Armyworms thrive in cooler weather after summer, especially in September and October. They feed at night, chewing grass blades down to the crown. Large infestations can devastate an entire lawn in just days.
Signs of Armyworm Damage:
- Rapidly expanding bare patches
- Grass that appears chewed or scalped
- Birds feeding on your lawn in large numbers
- Visible caterpillars when you inspect the lawn closely in the early morning or evening
How to Control Armyworms:
- Mow and water the lawn regularly to reduce stress and promote recovery.
- Apply biological controls such as Bacillus thuringiensis (Bt), which targets caterpillars.
- Use insecticides labeled for armyworm control in severe outbreaks.
4. Sod Webworms
What They Are:
Sod webworms are the larvae of small lawn moths. These worms live in silk-lined tunnels at the base of grass and feed at night on the leaves and stems.
Why They’re a Problem in Autumn:
While their activity peaks in summer, sod webworms often have a second generation in fall. During this period, they feed heavily, thinning out lawns that are already weakened from summer stress.
Signs of Sod Webworm Damage:
- Small brown patches that gradually enlarge
- Ragged, chewed grass blades
- Silky tunnels or webbing at soil level
- Increased moth activity flying over the lawn in the evening
How to Control Sod Webworms:
- Water deeply and fertilize in fall to help lawns recover from damage.
- Encourage natural predators like birds and beneficial nematodes.
- Apply biological or chemical insecticides if damage is widespread.
5. Billbugs
What They Are:
Billbugs are beetles whose larvae, like grubs, feed on grass stems and roots. Unlike grubs, billbug larvae are legless and tunnel inside grass stems before moving to the roots.
Why They’re a Problem in Autumn:
In fall, billbug larvae complete their feeding cycle, causing grass crowns and roots to weaken. Infestations often mimic drought damage, making them difficult to identify without closer inspection.
Signs of Billbug Damage:
- Grass that turns brown and pulls up easily
- Sawdust-like frass (insect waste) near the base of plants
- Dead patches that expand despite regular watering
How to Control Billbugs:
- Overseed with resistant turfgrass varieties, such as perennial ryegrass.
- Aerate and dethatch to improve lawn health and make it less attractive to pests.
- Apply systemic insecticides in spring or fall when larvae are active.
6. Cutworms
What They Are:
Cutworms are nocturnal caterpillars that feed on grass stems at or near the soil surface. They are usually gray or brown and curl up into a C-shape when disturbed.
Why They’re a Problem in Autumn:
Cooler autumn nights encourage cutworm activity. They cut grass blades near the crown, often leaving circular bare spots that expand with time.
Signs of Cutworm Damage:
- Small circular patches of dead grass
- Grass blades cut off at soil level
- Visible caterpillars at night or early morning when inspected with a flashlight
How to Control Cutworms:
- Encourage natural predators such as birds and ground beetles.
- Use biological controls like Bt (Bacillus thuringiensis) for caterpillar management.
- Apply targeted insecticides if infestations are severe.
Preventing Lawn Pest Problems in Autumn
While treatments help manage existing pest infestations, prevention is the most effective strategy for long-term lawn health. Here are key steps to keep pests at bay:
- Aerate and Dethatch: Improves soil health and reduces the buildup of thatch, which harbors pests.
- Fertilize in Fall: Applying a fall fertilizer strengthens grass roots, helping your lawn resist pest damage.
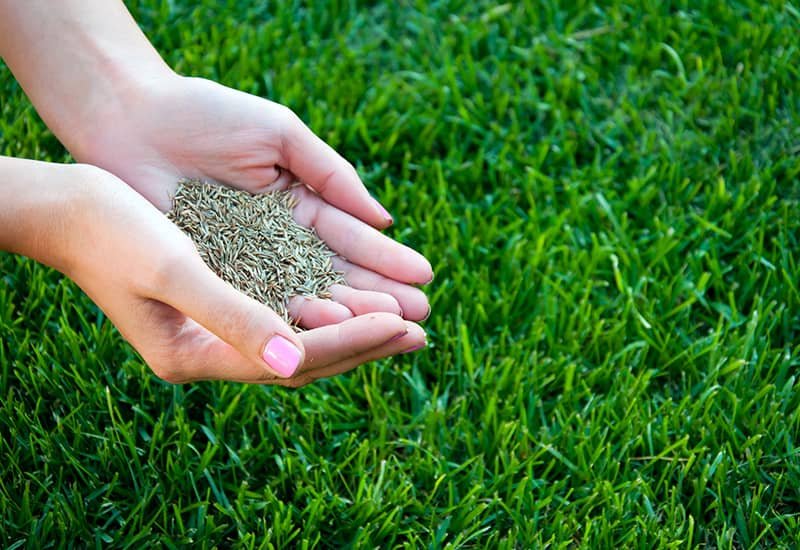
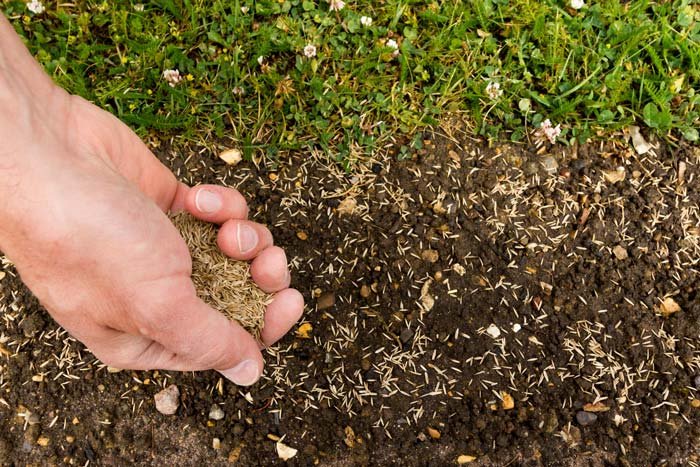
- Overseed Thin Areas: A dense lawn is less attractive to insects.
- Water Properly: Deep, infrequent watering discourages pests while supporting grass health.
- Monitor Regularly: Inspect your lawn weekly for early signs of pest activity.
Conclusion
Autumn is a critical season for lawn care, and pests like grubs, chinch bugs, armyworms, sod webworms, billbugs, and cutworms pose significant threats to turf health. By learning to identify the warning signs and taking preventive measures, you can stop pests before they cause lasting damage.
A proactive approach—combining cultural practices like aeration and overseeding with targeted treatments—ensures that your lawn not only survives the autumn pest season but also emerges greener and stronger in spring.
In short, keeping an eye on these six common lawn pests this autumn can mean the difference between a struggling yard and a lush, healthy landscape that enhances your home’s beauty year-round.