Bell peppers, also known as sweet peppers or capsicums, are a vibrant and versatile addition to any home garden. Available in shades of green, red, yellow, orange, and even purple, these colorful vegetables add crunch and sweetness to countless dishes. Beyond their culinary value, bell peppers are packed with vitamins A and C, making them a healthy choice for the dinner table.
While they are slightly more demanding than some other garden vegetables, with the right care and patience, you can successfully grow bell peppers at home—whether in the ground, raised beds, or containers. This step-by-step guide will take you through everything you need to know about growing bell peppers, from seed to harvest.
Why Grow Bell Peppers at Home?
Before diving into the steps, here are a few reasons why bell peppers are worth the effort:
- Flavor & Freshness: Homegrown peppers are crisper and more flavorful than store-bought ones.
- Variety: You can grow unique colors and heirloom types not always available in supermarkets.
- Health Benefits: Bell peppers are rich in vitamin C, antioxidants, and fiber.
- Cost-Effective: One healthy plant can produce several peppers throughout the season.
- Fun to Grow: Watching peppers change color as they ripen is rewarding and beautiful.
Step 1: Choose the Right Variety

Bell peppers come in a range of shapes, sizes, and colors. Choosing the right variety depends on your climate, taste preferences, and garden space.
- Green Bell Peppers: Harvested early, crisp, slightly bitter.
- Red, Yellow, and Orange Peppers: Sweeter and higher in vitamins as they ripen.
- Purple or Chocolate Varieties: Unique colors with mild flavors, great for adding visual appeal.
- Mini Bell Peppers: Small, sweet, and perfect for container gardening.
Pro Tip: Look for disease-resistant varieties like ‘California Wonder,’ ‘Big Bertha,’ or ‘King Arthur’ for a reliable harvest.
Step 2: Decide Between Seeds or Seedlings
- Seeds: Start indoors 8–10 weeks before the last frost date. This gives peppers the long warm season they need.
- Seedlings/Transplants: Easier and quicker for beginners; available at nurseries in spring.
If you want maximum control and variety, start from seeds. If you’re short on time, seedlings are the best option.
Step 3: Prepare the Growing Environment
Bell peppers thrive in warm, sunny conditions and well-drained soil.
- Sunlight: At least 6–8 hours of direct sun daily.
- Soil: Loose, fertile, and rich in organic matter. Sandy loam or loamy soils are ideal.
- pH Level: Slightly acidic to neutral (6.2–7.0).
- Temperature: Bell peppers prefer warm weather (70–85°F / 21–29°C). They do not tolerate frost.
Step 4: Start Seeds Indoors (if applicable)
If starting from seed, follow these steps:
- Timing: Begin seeds indoors 8–10 weeks before the last frost.
- Containers: Use seed trays or small pots filled with seed-starting mix.
- Planting Depth: Sow seeds ¼ inch deep and cover lightly with soil.
- Watering: Keep the soil moist but not waterlogged.
- Warmth: Maintain soil temperature around 75–80°F (use a heating mat if necessary).
- Light: Provide 12–16 hours of grow light daily or place near a bright window.
Seedlings should emerge within 7–14 days.
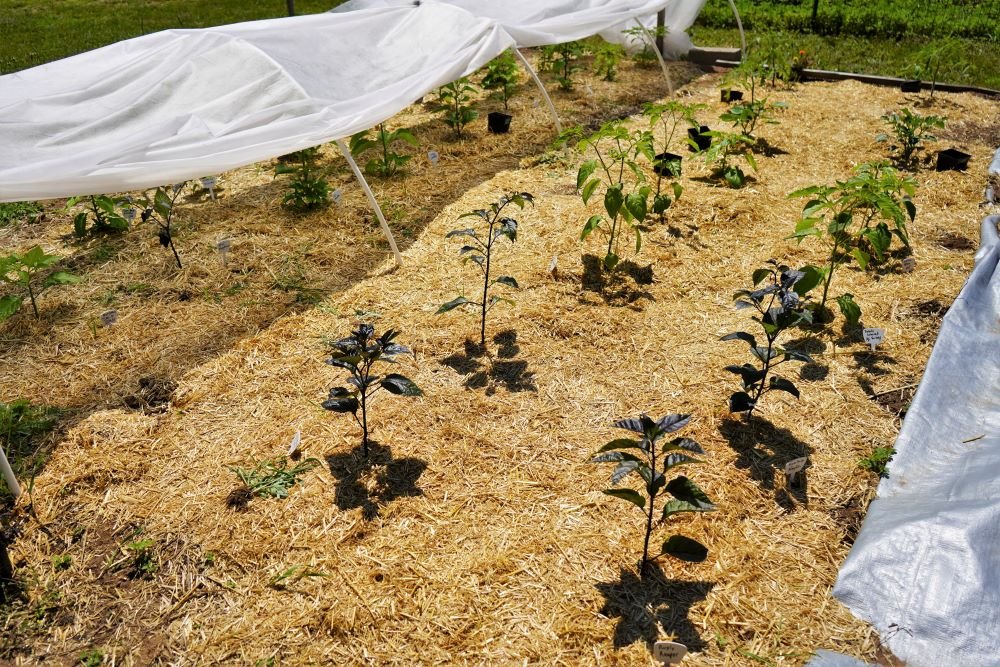
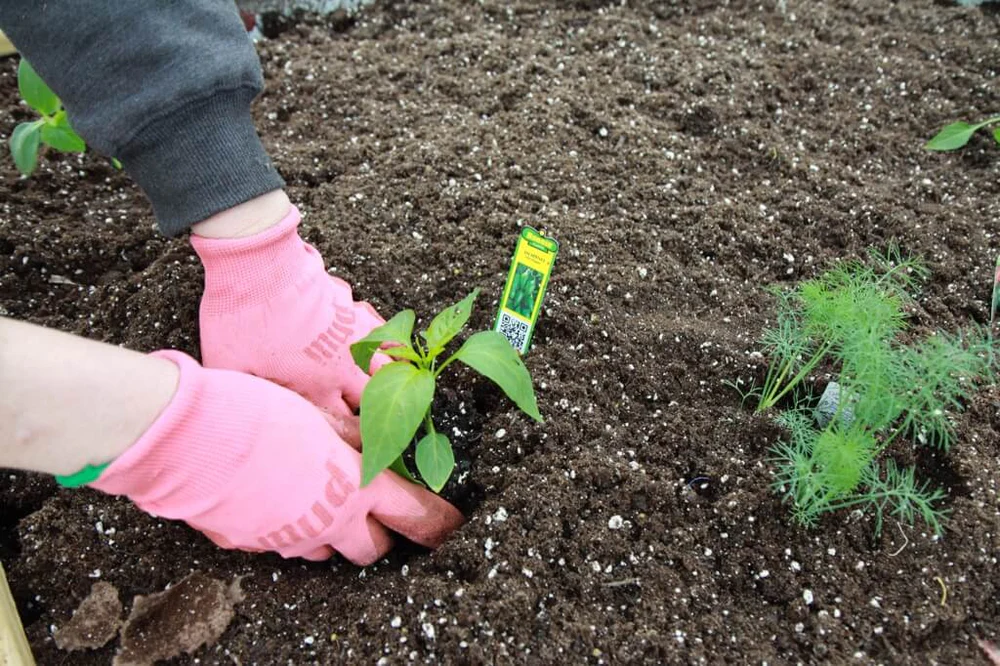
Step 5: Transplanting Outdoors
Once seedlings are 6–8 inches tall and have 2–4 sets of true leaves, they are ready for transplanting.
Hardening Off
Before planting outdoors, gradually acclimate seedlings to outdoor conditions by placing them outside for a few hours a day over 7–10 days.
Planting in the Garden
- Wait until nighttime temperatures are consistently above 55°F (13°C).
- Space plants 18–24 inches apart in rows 24–36 inches apart.
- Bury them slightly deeper than they were in their pots for better root development.
- Mulch around the base with straw or compost to retain moisture and suppress weeds.
Step 6: Watering and Feeding
Bell peppers are sensitive to both under- and overwatering.
- Watering: Provide 1–2 inches of water per week. Keep the soil evenly moist but never soggy. Water at the base, not overhead, to avoid fungal diseases.
- Mulching: Helps maintain soil moisture and regulate temperature.
- Fertilizing:
- Mix compost or organic matter into the soil before planting.
- Side-dress with compost tea or balanced fertilizer every 3–4 weeks.
- Avoid excessive nitrogen, which leads to leafy growth with fewer fruits.
Step 7: Supporting Bell Pepper Plants
As peppers grow heavier with fruit, they may need support.
- Use small stakes or tomato cages to prevent stems from breaking.
- Tie stems gently with soft twine or plant clips.
Step 8: Managing Pests and Diseases
Bell peppers are prone to certain pests and diseases, but preventive care keeps them healthy.
Common Pests
- Aphids: Suck sap from leaves, causing curling.
- Cutworms: Chew seedlings at the base.
- Spider Mites: Create fine webs and cause leaf yellowing.
- Pepper Maggots: Damage fruit.
Solutions: Neem oil, insecticidal soap, or introducing beneficial insects like ladybugs.
Common Diseases
- Blossom End Rot: Caused by calcium deficiency and uneven watering.
- Powdery Mildew: White fungal coating on leaves.
- Bacterial Leaf Spot: Small dark spots on leaves and fruit.
Prevention Tips:
- Rotate crops annually.
- Ensure proper spacing for airflow.
- Avoid overhead watering.
- Remove and destroy affected plants.
Step 9: Flowering and Pollination
Bell peppers produce small white flowers before fruiting. They are self-pollinating, but pollination improves with bee activity or gentle shaking of the plant.
Tip: In hot weather above 90°F (32°C), flowers may drop. Provide shade cloth during extreme heat to protect plants.
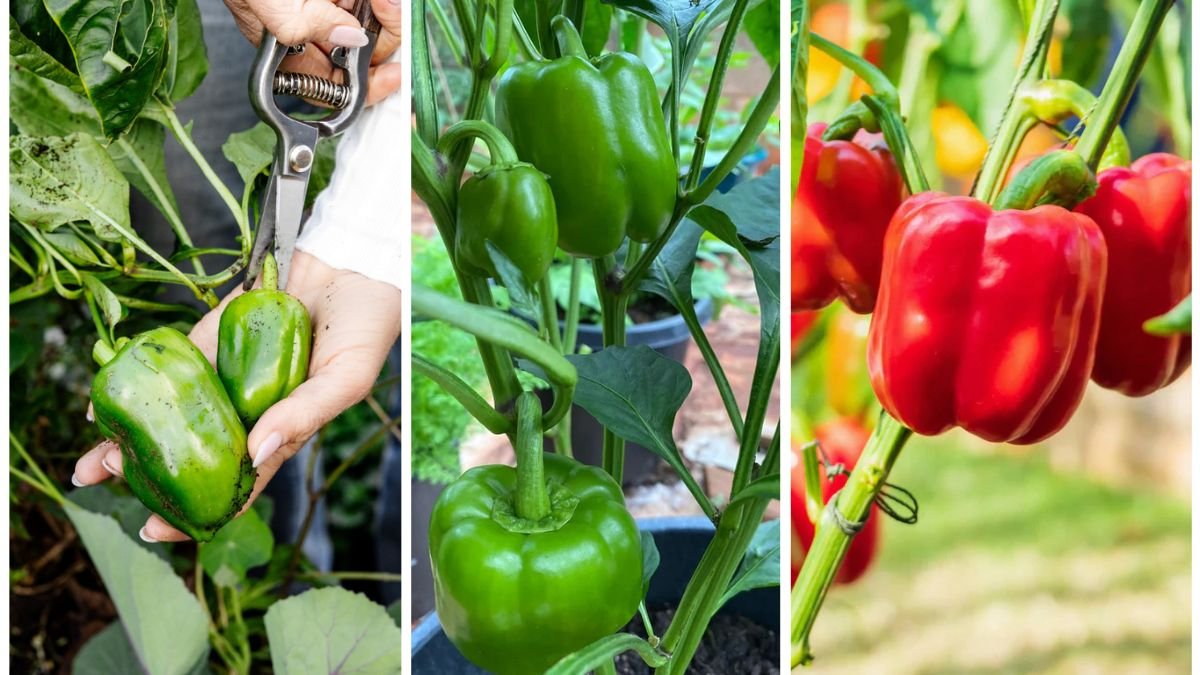
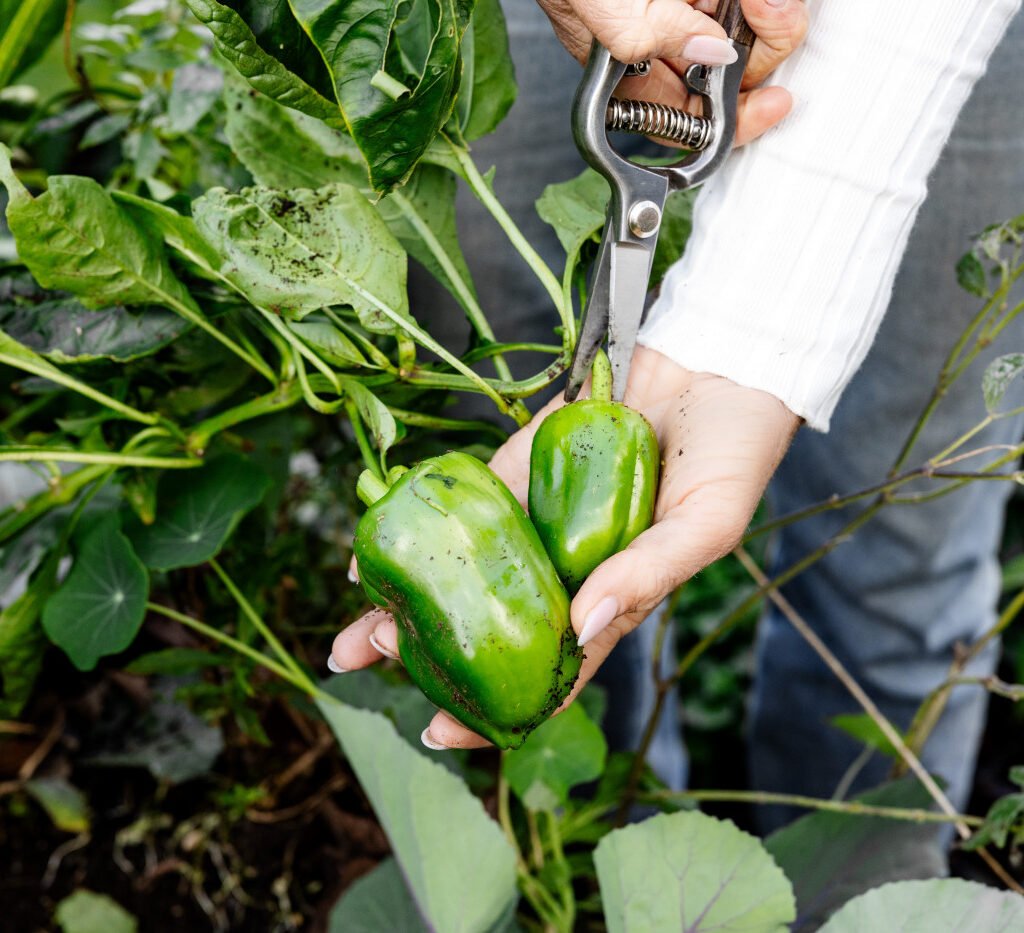
Step 10: Harvesting Bell Peppers
Bell peppers are ready to harvest in 60–90 days after transplanting, depending on the variety.
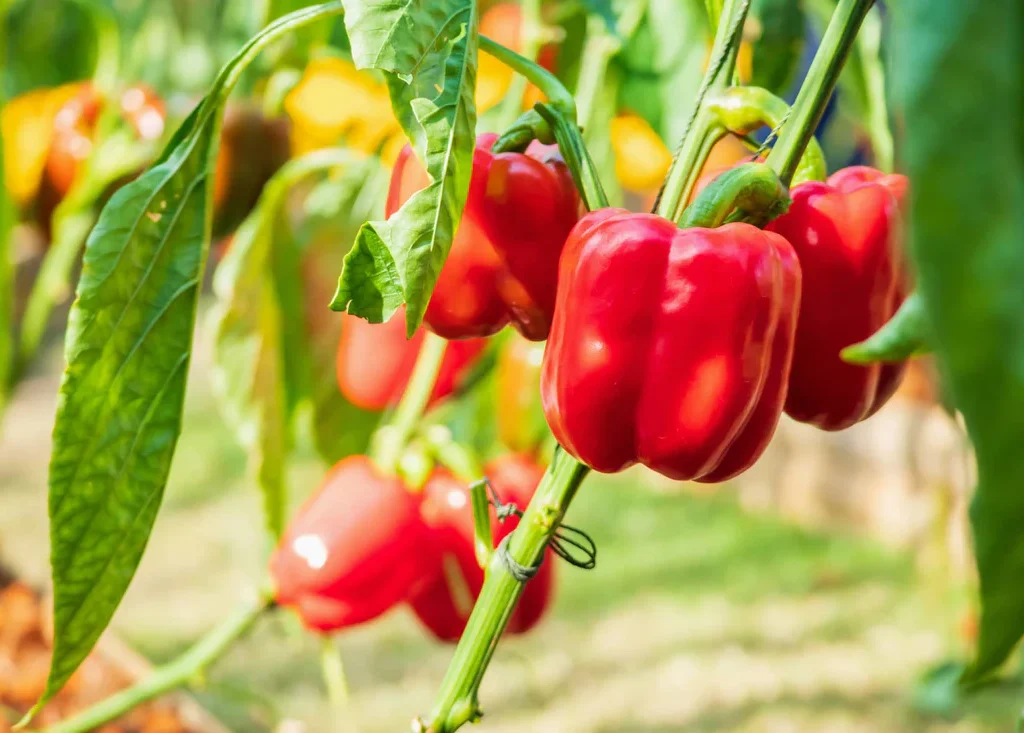
- Green Peppers: Can be harvested when they reach full size, typically firm and glossy.
- Colored Peppers: Leave peppers on the plant longer until they ripen into red, yellow, or orange. These are sweeter and more nutritious.
Harvesting Method: Use scissors or pruning shears to cut peppers from the plant, leaving a small stem attached. Pulling by hand may damage the plant.
Step 11: Post-Harvest Storage
- Store freshly harvested bell peppers in the refrigerator for up to 1–2 weeks.
- For long-term storage:
- Freeze: Slice and store in airtight bags.
- Dry: Dehydrate slices for use in soups and sauces.
- Pickle: Preserve in vinegar brines.
Growing Bell Peppers in Containers
Even if you lack garden space, bell peppers grow wonderfully in pots.
- Choose containers at least 12 inches deep with good drainage.
- Use a high-quality potting mix enriched with compost.
- Place containers in full sun and water consistently.
- Fertilize every 2–3 weeks with a balanced liquid fertilizer.
Container-grown peppers often mature faster due to the warmer soil.
Common Mistakes to Avoid
- Planting too early: Bell peppers dislike cold soil and will struggle.
- Overfertilizing with nitrogen: Leads to big leafy plants but little fruit.
- Inconsistent watering: Causes blossom end rot and misshapen fruits.
- Poor spacing: Increases risk of disease due to lack of airflow.
Final Thoughts
Growing bell peppers at home is both fun and rewarding. While they require a bit more attention than some garden vegetables, the payoff is worth it when you harvest crisp, colorful, and flavorful peppers. By carefully selecting varieties, preparing soil, and following these step-by-step practices, you’ll be well on your way to enjoying a bountiful harvest.
Whether you enjoy them raw in salads, grilled on the barbecue, or stuffed and baked, homegrown bell peppers add freshness and nutrition to your meals. Start small, nurture your plants, and with time, you’ll master the art of growing bell peppers right in your backyard or balcony.