
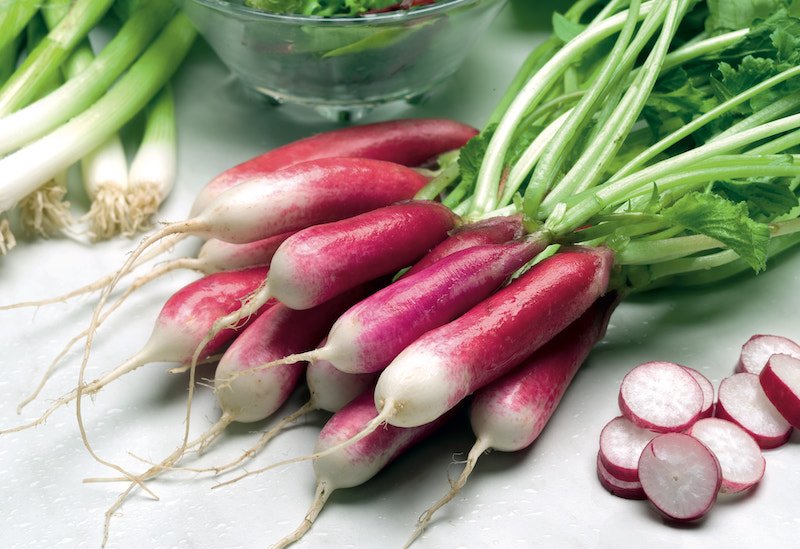
If you’re looking for a fast-growing, easy-to-care-for vegetable to add to your garden, radishes are a perfect choice. These crisp, peppery root vegetables are among the quickest crops you can grow, with some varieties ready to harvest in as little as three weeks. Whether you’re a beginner gardener or an experienced grower, radishes are a rewarding crop that can be grown in small spaces, raised beds, or even containers.
This guide will walk you step by step through everything you need to know to grow radishes quickly and easily, from choosing the right variety to harvesting and enjoying your homegrown crop.
Why Grow Radishes?
Radishes are often overlooked in favor of larger vegetables, but they offer many advantages:
- Quick Growth: Many varieties mature in just 20–30 days.
- Beginner Friendly: Radishes are low-maintenance and forgiving.
- Small-Space Gardening: Perfect for containers or interplanting with slower crops.
- Nutritional Value: High in vitamin C, fiber, and antioxidants.
- Versatile Use: Delicious raw in salads, pickled, roasted, or used as garnish.
Step 1: Choose the Right Radish Variety
There are several types of radishes, and choosing the right one depends on your needs and climate.
- Spring Radishes (Quick Growers)
- Examples: ‘Cherry Belle,’ ‘French Breakfast,’ ‘Easter Egg.’
- Maturity: 20–30 days.
- Flavor: Mild to peppery.
- Best for beginners.
- Winter Radishes (Larger and Slower)
- Examples: ‘Daikon,’ ‘Black Spanish,’ ‘China Rose.’
- Maturity: 50–70 days.
- Flavor: Stronger, more pungent.
- Better for storage and cooking.
Tip: If your goal is speed and simplicity, go with spring radishes.
Step 2: Best Time to Plant Radishes
Radishes are cool-season crops and grow best in moderate temperatures.
- Spring Planting: Start sowing 2–4 weeks before the last expected frost. Continue planting every 1–2 weeks for a continuous harvest.
- Fall Planting: Sow seeds 4–6 weeks before the first expected frost.
- Avoid Summer Heat: High temperatures cause radishes to bolt (go to seed) and produce woody, bitter roots.
Step 3: Preparing the Soil
Healthy soil is the key to quick-growing radishes.
- Soil Type: Loose, sandy, or loamy soil is ideal. Heavy clay soil leads to deformed roots.
- Drainage: Ensure well-drained soil to avoid rot.
- pH Level: Slightly acidic to neutral (6.0–7.0).
- Fertility: Add compost before planting, but avoid excessive nitrogen, which encourages leafy tops instead of roots.
Step 4: Planting Radish Seeds

Radishes are always grown from seed, not transplants.
- Direct Sowing: Sow seeds directly into the garden or container.
- Depth: Plant seeds ½ inch deep.
- Spacing: Thin seedlings to 2 inches apart for spring radishes and 4–6 inches apart for larger winter types.
- Row Spacing: Keep rows 8–12 inches apart.
- Succession Planting: Plant every 7–10 days for continuous harvests.
Step 5: Watering and Care
Radishes need consistent moisture to grow quickly and develop tender roots.
- Watering: Provide 1 inch of water per week. Keep soil evenly moist but not soggy.
- Mulching: Apply a thin layer of mulch to conserve moisture and suppress weeds.
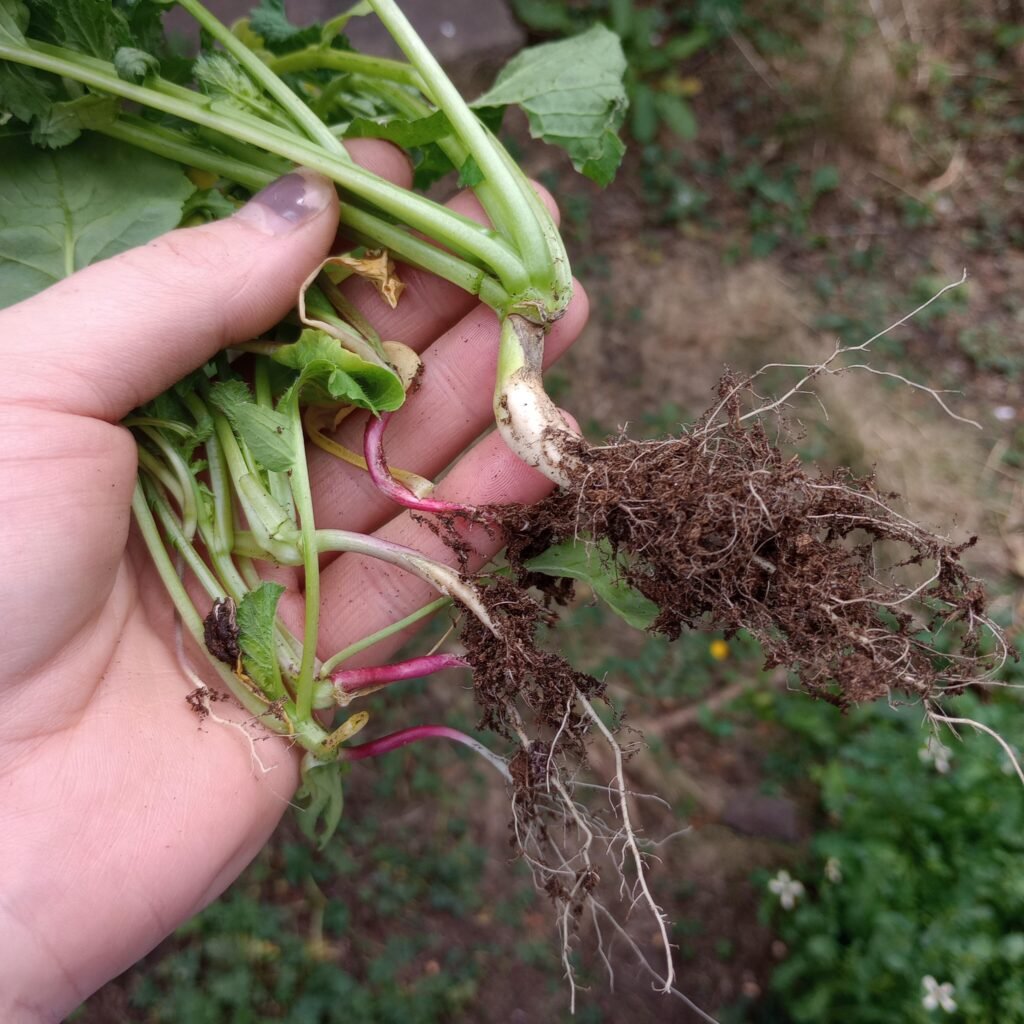
- Thinning: Thin seedlings promptly to prevent overcrowding, which causes small or misshapen roots.
Step 6: Sunlight Requirements
- Radishes prefer full sun (6–8 hours daily).
- They can tolerate partial shade, especially in warm climates, but growth will be slower.
Step 7: Managing Pests and Diseases
Radishes are relatively pest-resistant, but some problems may arise:
Common Pests
- Flea Beetles: Small holes in leaves.
- Root Maggots: Damage roots, making them inedible.
- Aphids: Cluster on leaves, sucking sap.
Control Methods:
- Use row covers to protect seedlings.
- Rotate crops yearly to avoid soil-borne pests.
- Encourage beneficial insects like ladybugs.
Common Diseases
- Downy Mildew: Yellow spots on leaves.
- Clubroot: Swollen, deformed roots caused by soil fungus.
- Black Rot: Yellowing and wilting of leaves.
Prevention:
- Avoid waterlogged soil.
- Practice crop rotation.
- Use disease-resistant varieties.
Step 8: Companion Planting
Radishes make excellent companion plants because they grow quickly and deter pests.
- Good Companions: Lettuce, spinach, cucumbers, beans, carrots.
- Bad Companions: Hyssop and potatoes (can stunt growth).
Radishes also work well as a “trap crop,” luring pests away from other vegetables.
Step 9: Harvesting Radishes
Radishes are one of the fastest crops to mature.
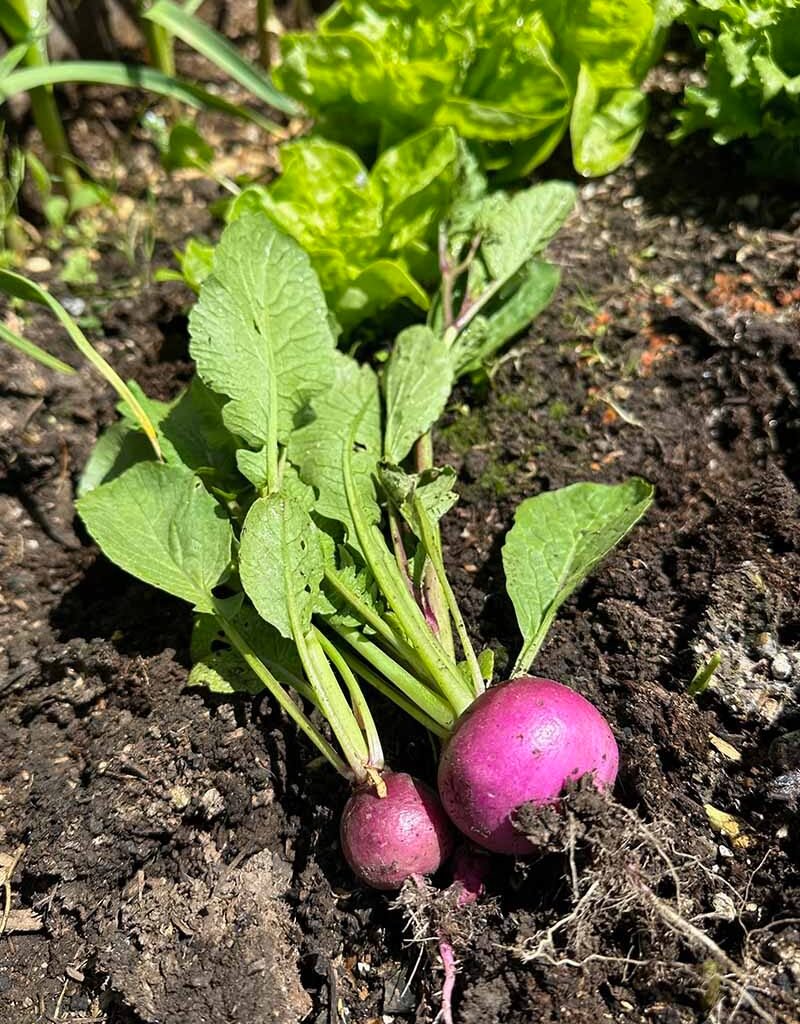
- Spring Varieties: Ready in 20–30 days. Check roots when tops are about 1 inch wide.
- Winter Varieties: Harvest in 50–70 days when roots reach their mature size.
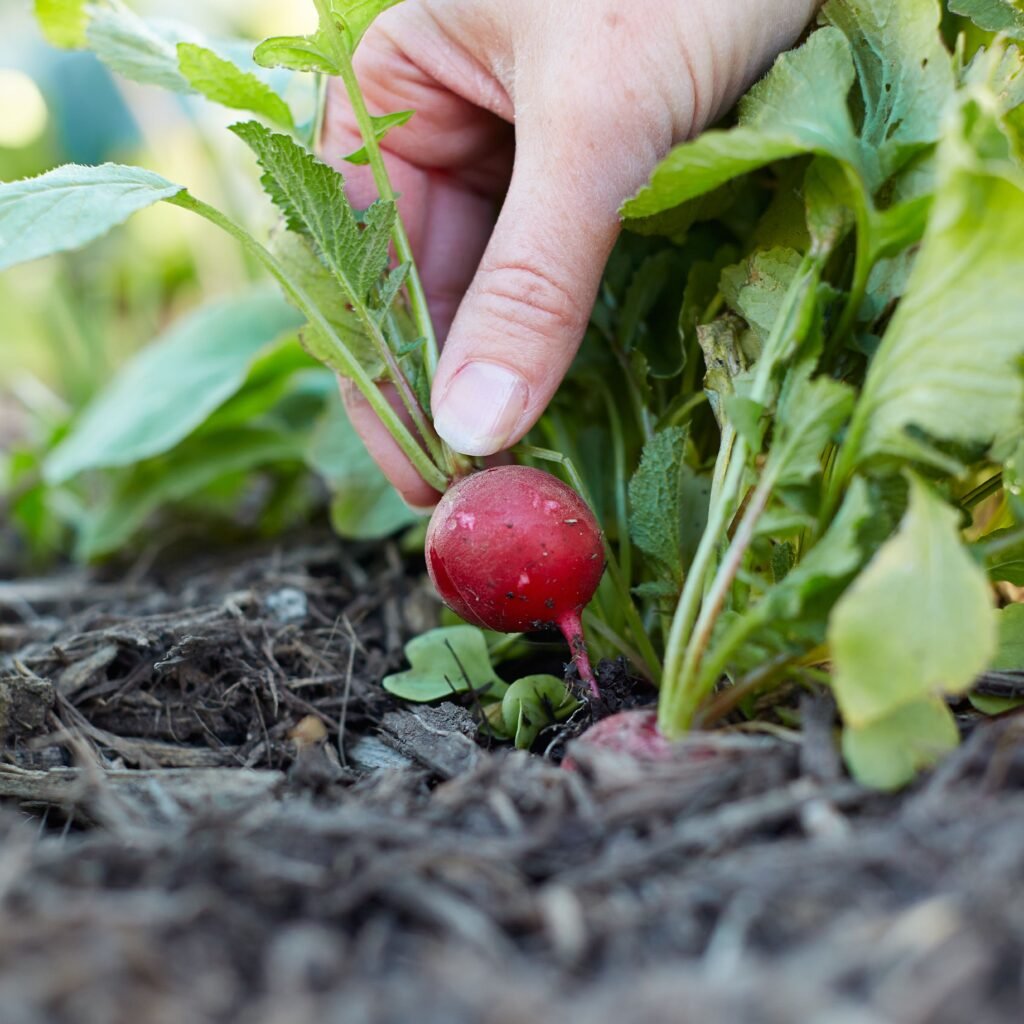
How to Harvest:
- Gently pull radishes by their tops.
- If the soil is compact, loosen it with a garden fork before pulling.
Tip: Don’t leave radishes in the ground too long. They quickly become woody, hollow, and bitter.
Step 10: Storing and Using Radishes
- Fresh Storage: Store radishes in the refrigerator for up to 2 weeks. Remove leaves before storing to prevent moisture loss.
- Long-Term Storage: Winter radishes like daikon can be stored in cool, damp sand or sawdust for months.
- Culinary Uses:
- Slice raw into salads for crunch.
- Roast for a sweeter flavor.
- Pickle for tangy snacks.
- Use radish greens in stir-fries or as a sautéed side dish.
Growing Radishes in Containers
If you don’t have garden space, radishes thrive in containers.
- Container Size: At least 6 inches deep for spring radishes, 12 inches for winter varieties.
- Soil: Use light, well-draining potting mix.
- Spacing: Sow seeds 2 inches apart.
- Watering: Containers dry out faster, so water more frequently.
- Placement: Keep pots in full sun for fastest growth.
Common Mistakes to Avoid
- Overcrowding: Leads to small, deformed roots. Thin seedlings properly.
- Too Much Nitrogen: Produces lush leaves but small or no roots.
- Lack of Water: Causes woody, bitter radishes.
- Planting in Heat: Hot weather makes radishes bolt before forming roots.
Quick Growing Timeline
- Day 1: Sow seeds directly in soil.
- Day 3–7: Seedlings sprout.
- Day 10–14: Thin seedlings to proper spacing.
- Day 20–30: Harvest spring radishes.
- Day 50–70: Harvest winter radishes.
Final Thoughts
Radishes are one of the most rewarding vegetables to grow—fast, simple, and delicious. With just a little attention to soil, water, and spacing, you can enjoy fresh radishes from your garden in less than a month. They are the perfect crop for beginners learning to garden, as well as seasoned growers who want quick results.
Whether you enjoy the peppery bite of fresh radishes in a salad, the sweetness of roasted roots, or the zing of pickled slices, growing your own ensures freshness and flavor you won’t find at the store. Plus, their fast growth makes them an excellent filler crop between slower-growing vegetables.
Start small, experiment with different varieties, and soon you’ll have a steady supply of crisp, colorful radishes at your table.