
Gardening is one of the most rewarding hobbies, but it can also come with its challenges—poor soil quality, weeds, pests, and back strain from bending too much. One solution that addresses all of these issues is the raised garden bed. Raised beds not only add structure and beauty to your yard but also make gardening more efficient, comfortable, and productive.
Whether you’re a beginner or an experienced gardener, building your own raised garden bed is a straightforward project that can be completed in a single afternoon. In this step-by-step guide, we’ll walk you through everything you need to know—from choosing the right location and materials to constructing and filling your bed. By the end, you’ll be ready to plant a thriving, organized, and low-maintenance garden.
Why Choose a Raised Garden Bed?
Before diving into the steps, it’s worth understanding the benefits of raised beds:
- Improved soil quality: You control the soil mix, ensuring it’s fertile, well-draining, and ideal for your plants.
- Fewer weeds: Weeds are easier to manage and less likely to invade.
- Better drainage: Raised beds prevent waterlogging, protecting roots.
- Extended growing season: Soil warms up earlier in spring and retains heat longer in fall.
- Accessibility: Raised beds reduce bending and strain, making gardening easier for everyone.
- Pest control: Elevating plants can deter certain ground-dwelling pests.
With these advantages, it’s easy to see why raised garden beds are popular among home gardeners.
Step 1: Choose the Right Location
A raised bed should be placed where your plants will thrive.
- Sunlight: Most vegetables and flowers need at least 6–8 hours of direct sunlight daily. Choose a sunny spot.
- Water access: Place your bed close to a water source for easy irrigation.
- Level ground: While you can build on a slope, a flat area makes construction easier.
- Accessibility: Ensure the bed is easy to reach from all sides without stepping into it.
Pro Tip: If possible, orient your bed north-to-south for maximum sunlight exposure.
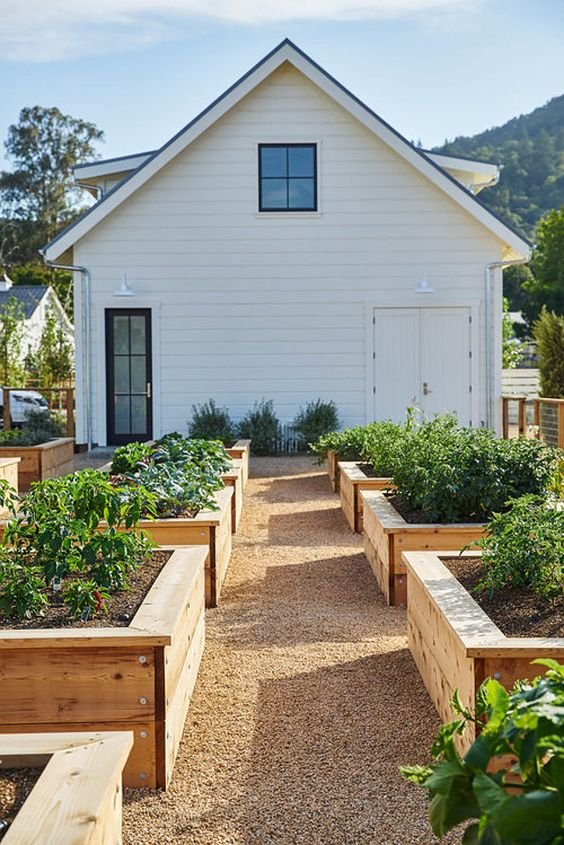
Step 2: Decide on Size and Shape
When it comes to raised beds, size matters—for both plant health and your convenience.
- Width: Keep the bed 3–4 feet wide so you can reach the center from either side.
- Length: Beds can be as long as you want, but 6–8 feet is manageable.
- Depth: 12–18 inches is ideal for most crops, but even 6 inches can work for shallow-rooted plants.
Raised beds can be rectangular, square, L-shaped, or even circular depending on your space and creativity.
Step 3: Gather Materials and Tools
Materials:
- Untreated wood planks (cedar or redwood are rot-resistant) OR alternative materials like stone, concrete blocks, or metal.
- Galvanized screws or nails.
- Landscape fabric (optional, for weed control).
- Soil mix (a blend of topsoil, compost, and organic matter).
Tools:
- Saw (if cutting wood).
- Drill or hammer.
- Measuring tape.
- Carpenter’s square (for corners).
- Shovel or rake.
Pro Tip: Avoid treated lumber, as the chemicals may leach into your soil.
Step 4: Prepare the Ground
Clear the area where your bed will sit.
- Remove grass, weeds, and rocks.
- Level the ground with a rake.
- Lay down cardboard or landscape fabric if you want extra weed protection.
This preparation step ensures your bed has a solid foundation.
Step 5: Build the Frame

Now comes the fun part—construction!
- Measure and cut wood to your desired dimensions.
- Assemble the sides: Place the boards upright to form a rectangle. Use a carpenter’s square to ensure corners are at 90 degrees.
- Secure with screws: Drill 2–3 screws at each corner to hold the boards together. For taller beds, stack multiple layers of boards and secure them with corner posts.
- Check alignment: Place the frame in position and make sure it’s level.
If using stone or blocks, stack them in layers, ensuring stability.
Step 6: Place and Secure the Bed
Position your frame in the prepared area. For added durability:
- Drive wooden stakes or metal brackets at the corners and screw them into the frame for extra support.
- If desired, staple landscape fabric along the inside walls to prevent soil erosion through cracks.
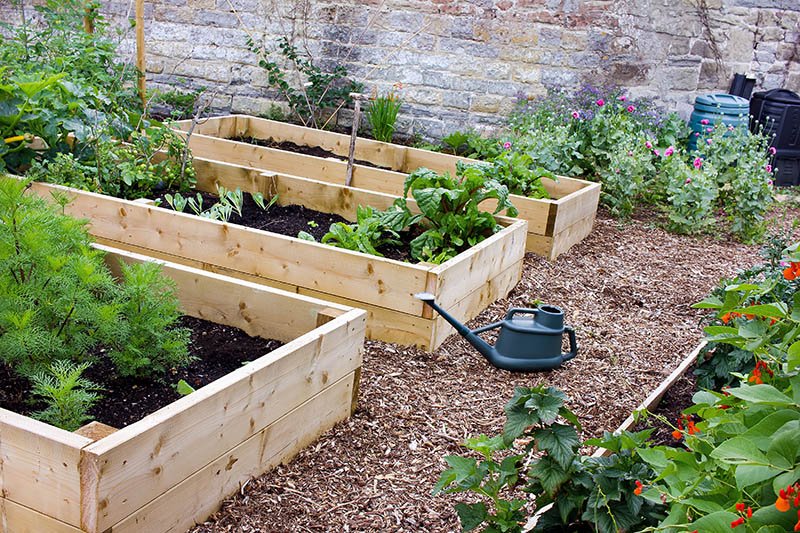
Step 7: Fill the Bed with Soil
The soil you choose is the key to your garden’s success. A raised bed should be filled with a nutrient-rich, well-draining mix.
Recommended mix (per 1 cubic yard):
- 50% topsoil
- 30% compost
- 20% peat moss, coconut coir, or vermiculite for aeration
Layer the soil evenly, raking as you go. Fill to within 1–2 inches of the top to allow space for watering.
Pro Tip: Refresh the soil with compost each season to maintain fertility.
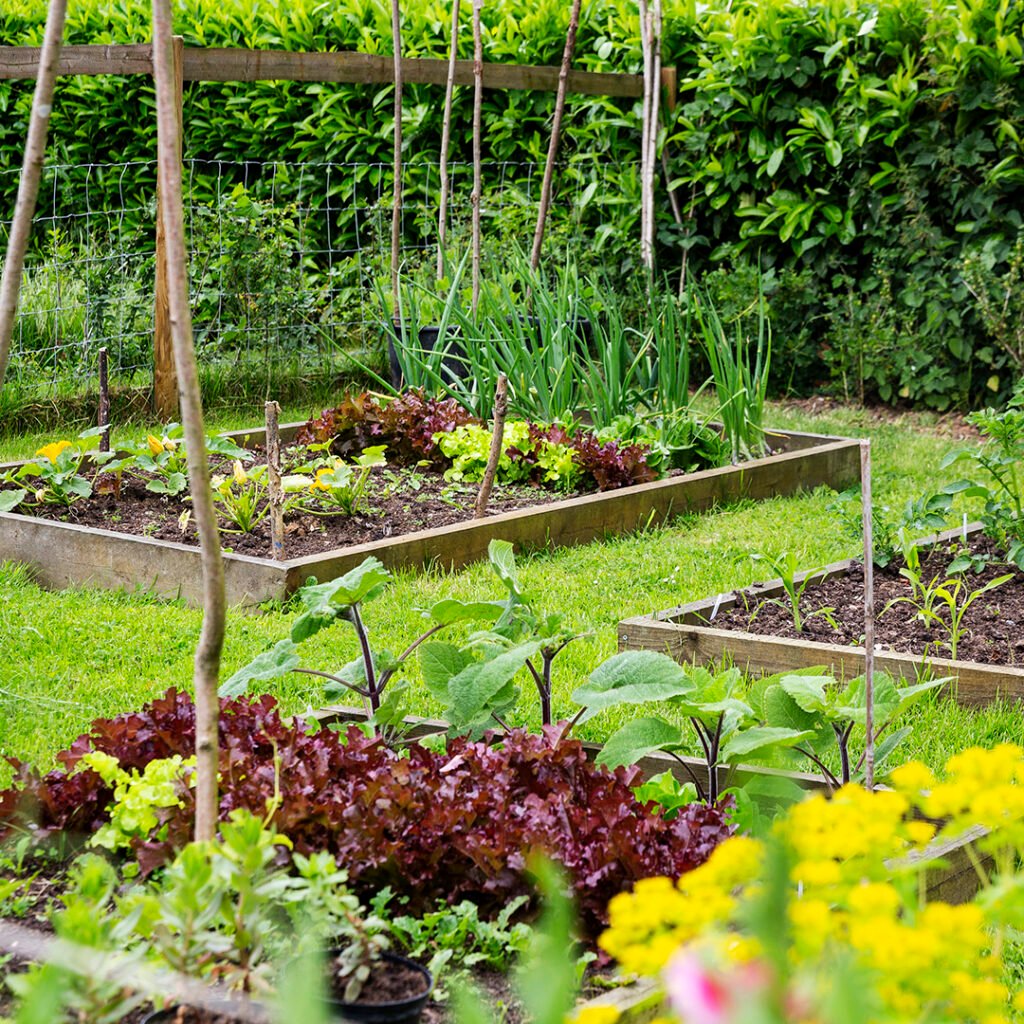
Step 8: Plant Your Garden
Now that your raised bed is ready, it’s time to plant!
- Plan your layout: Tall crops like tomatoes should go in the back, with shorter plants like lettuce in front.
- Practice crop rotation: Rotate plant families each season to prevent soil depletion and pest buildup.
- Companion planting: Pair compatible plants (e.g., basil near tomatoes, carrots with onions) to maximize space and reduce pests.
Raised beds are especially great for vegetables, herbs, and flowers that need consistent soil conditions.
Step 9: Maintain Your Raised Garden Bed
Building your raised bed is just the beginning. To keep it productive:
- Water regularly: Raised beds dry out faster than in-ground gardens. Drip irrigation or soaker hoses work best.
- Mulch: Apply organic mulch (straw, shredded leaves, or wood chips) to retain moisture and suppress weeds.
- Fertilize organically: Add compost or natural fertilizers like fish emulsion or seaweed extract.
- Weed control: Pull weeds promptly before they spread.
- Seasonal care: In winter, cover your bed with mulch or a tarp to protect the soil.
Creative Variations of Raised Beds
Raised beds don’t have to be boring! Consider these unique twists:
- Tiered raised beds: Great for sloped yards and adding visual interest.
- Metal beds: Durable and modern-looking.
- Stone or brick beds: Rustic and long-lasting.
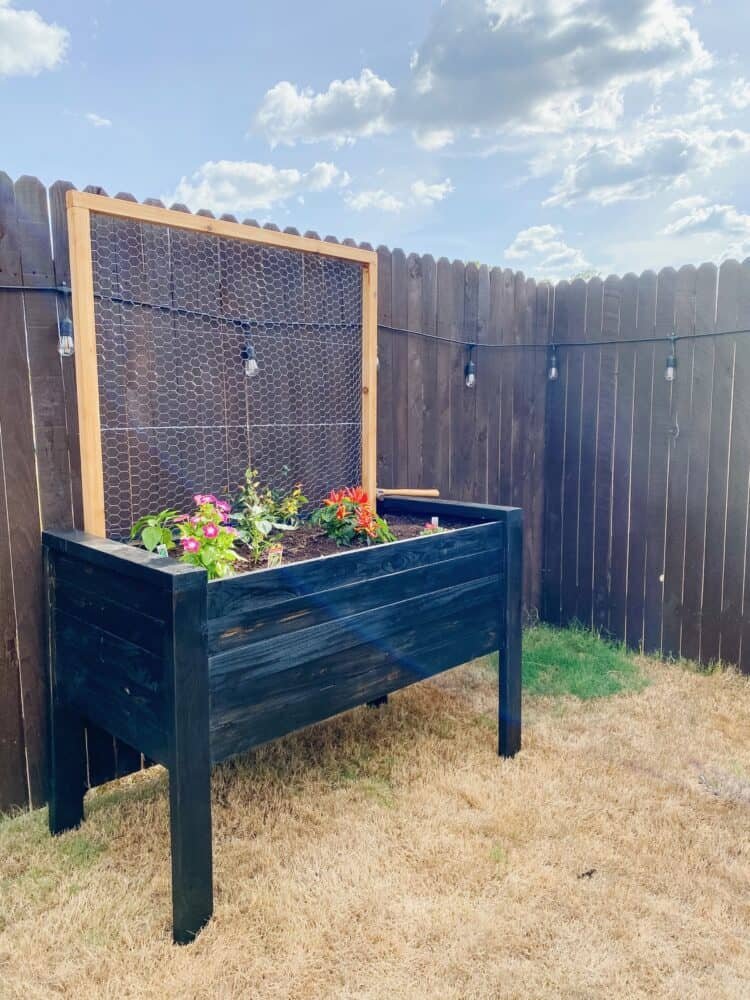
- Vertical raised beds: Add trellises for climbing crops like beans and cucumbers.
- Portable raised beds: Use large containers or build beds with wheels for small spaces.
Your raised bed can be as functional or decorative as you like.
Common Mistakes to Avoid
- Using treated wood: Can leach harmful chemicals.
- Making the bed too wide: You shouldn’t have to step inside, as this compacts the soil.
- Poor soil mix: Avoid filling with only garden soil—it compacts easily and drains poorly.
- Neglecting watering needs: Raised beds dry out quicker, so monitor moisture levels.
- Skipping crop rotation: Planting the same crop repeatedly invites pests and depletes nutrients.
Avoiding these mistakes will save you frustration and ensure long-term success.
Final Thoughts
Building a raised garden bed is one of the best projects you can do to improve your gardening experience. With just a few tools, some simple materials, and a little effort, you’ll create a productive, organized, and beautiful space for growing vegetables, herbs, or flowers.
The best part? Raised beds give you greater control over your garden—better soil, fewer weeds, and healthier plants—all while making gardening more enjoyable. Whether you’re working with limited yard space or simply want a more efficient way to garden, raised beds are a practical and rewarding solution.
So, gather your tools, follow these steps, and start building your raised garden bed today. You’ll be harvesting fresh, homegrown produce before you know it!