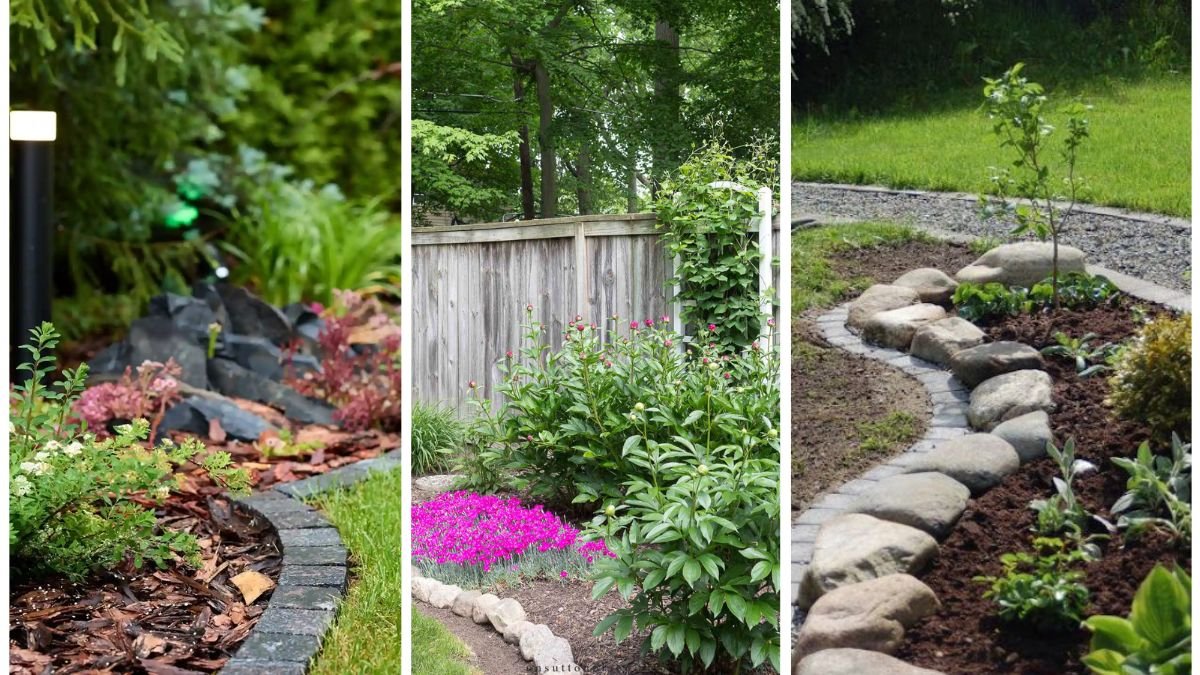
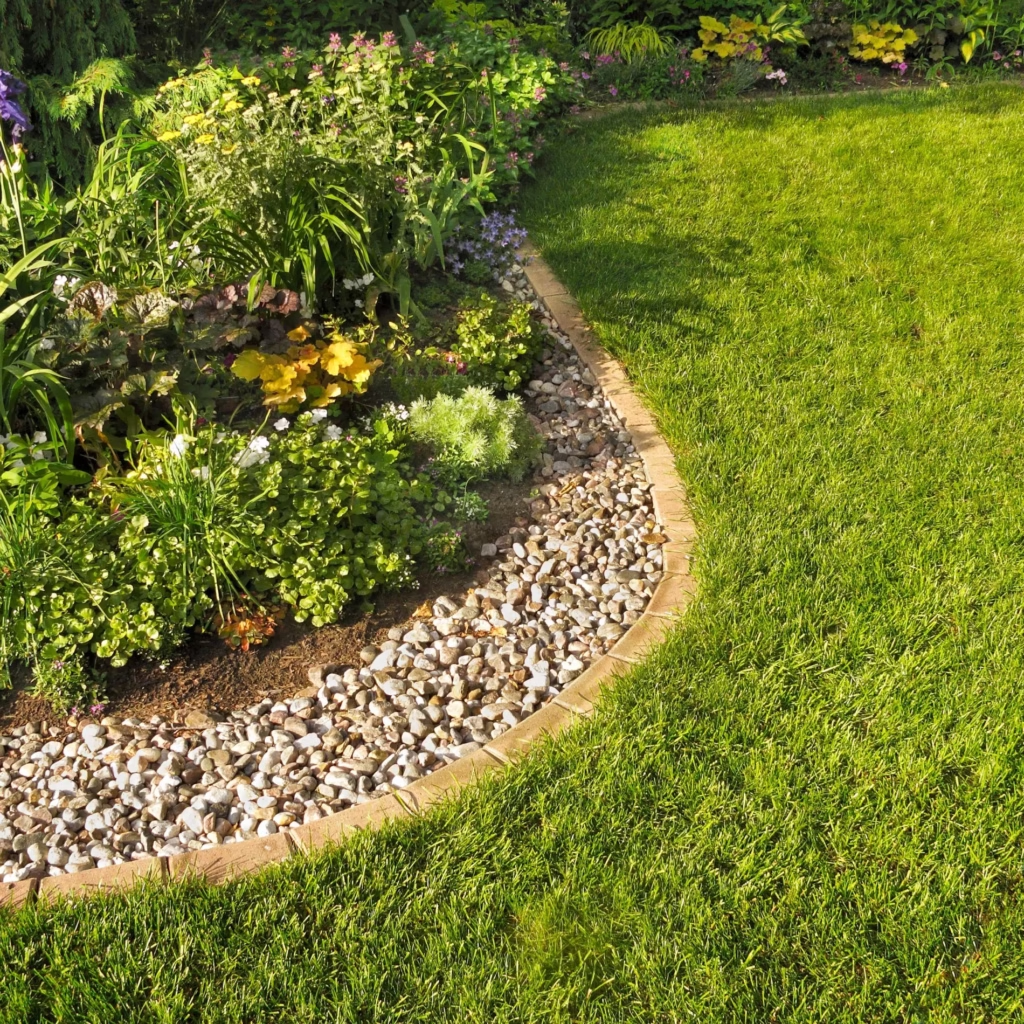
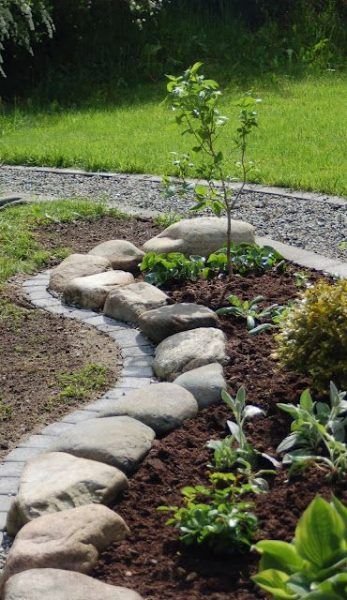
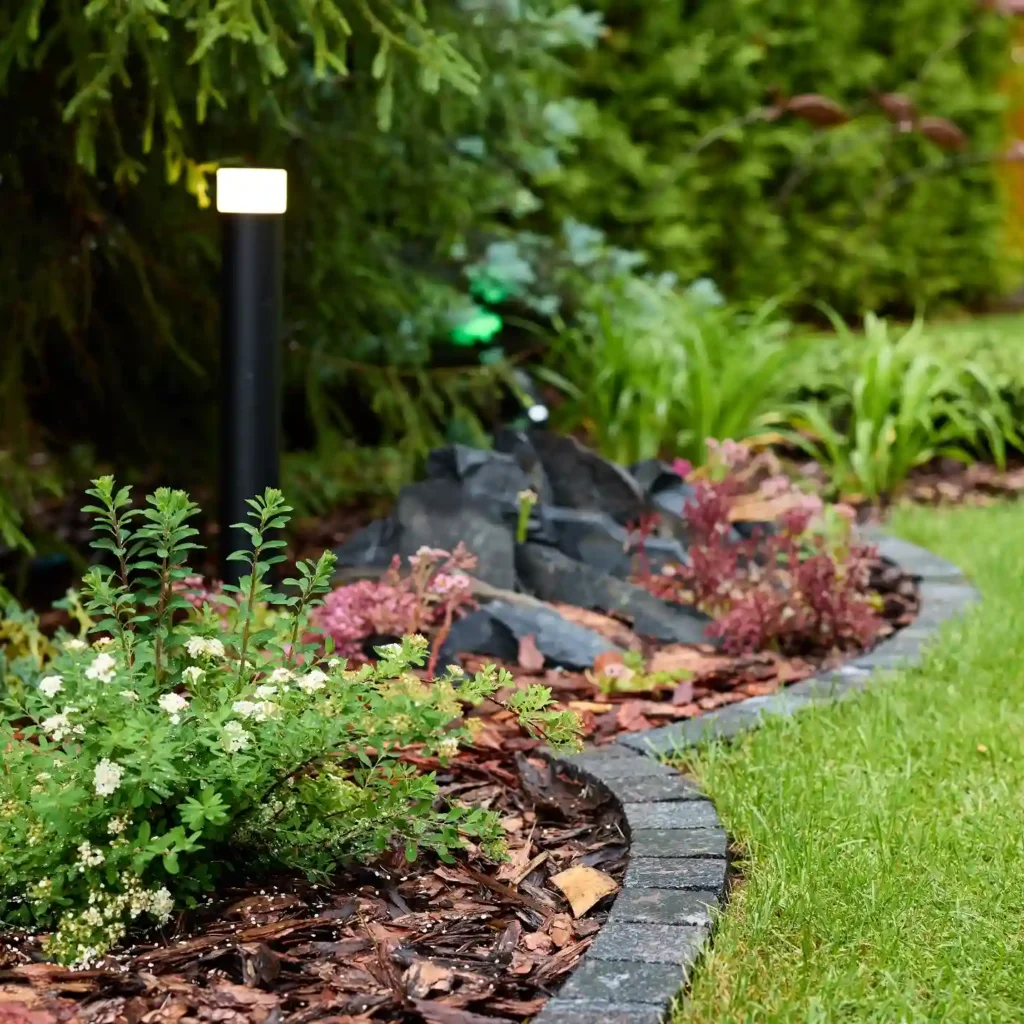
Natural rock borders are one of the most versatile and timeless landscaping features you can add to your yard or garden. Whether you want to define flower beds, create pathways, edge a lawn, or prevent soil erosion, rock borders provide both function and beauty. Unlike plastic or manufactured edging materials, natural stones blend seamlessly with the environment, adding rustic charm while requiring minimal maintenance.
Building a rock border may seem like a complex task, but with the right planning and step-by-step approach, it becomes an enjoyable DIY project. In this guide, we’ll explore the benefits of rock borders, the tools and materials you’ll need, and a detailed process to build one successfully.
Why Choose a Natural Rock Border?
Before you start gathering rocks and digging into your yard, it’s helpful to understand why natural rock borders are such a great choice.
- Durability: Rocks don’t rot, warp, or degrade like wood or plastic. They can withstand weather extremes for decades.
- Low Maintenance: Once installed, rock borders require very little upkeep beyond occasional cleaning or resetting.
- Aesthetic Appeal: Stones give a natural, rustic, and timeless look that complements any garden style.
- Versatility: Rock borders can define flower beds, walkways, ponds, driveways, or even vegetable gardens.
- Eco-Friendly: Unlike synthetic edging materials, natural rocks are sustainable and blend seamlessly with the environment.
- Erosion Control: Rocks help retain soil and prevent mulch from washing away during heavy rains.
With so many advantages, it’s easy to see why natural rock borders remain a favorite choice for gardeners and landscapers alike.
Step 1: Plan Your Rock Border
The success of your project begins with careful planning.
- Decide the Purpose: Are you edging a flower bed, walkway, or lawn? The purpose will determine the size, height, and style of the rock border.
- Sketch the Layout: Use paper to draft your border shape. Curves often look more natural than straight lines.
- Mark the Area: In your yard, mark the outline with spray paint, garden hoses, or stakes and string.
- Consider Style: Do you want a rustic, irregular look with varied rock sizes or a more formal design with uniform stones?
A clear plan ensures you gather the right materials and avoid unnecessary work later.
Step 2: Gather Materials and Tools
Having the right supplies makes the process smoother and more efficient.
Materials:
- Natural Rocks or Stones – Choose stones that match your style (fieldstone, river rock, flagstone, or slate).
- Landscape Fabric – Prevents weeds from growing between rocks.
- Gravel or Sand – Provides a stable base.
- Soil or Mulch – For filling in gaps around your border.
Tools:
- Shovel
- Garden hoe or rake
- Rubber mallet (to adjust rocks)
- Level (for even placement)
- Wheelbarrow (for transporting rocks)
- Work gloves (for protection)
Step 3: Choose the Right Rocks
Not all rocks are created equal for borders. The type of rock you select should complement your garden style and intended purpose.
- Fieldstone: Rough and irregular, perfect for rustic and natural looks.
- River Rock: Smooth and rounded, great for informal borders or pathways.
- Flagstone/Slate: Flat rocks that create a polished and uniform appearance.
- Boulders: Larger stones used as focal points or for sturdy, tall borders.
Tip: When selecting rocks, try to stay consistent in color and texture for a cohesive design.
Step 4: Prepare the Site
Proper site preparation ensures stability and longevity for your rock border.
- Clear the Area – Remove grass, weeds, and debris along your marked line.
- Dig a Trench – Dig about 4–6 inches deep and as wide as your largest rock. This trench will hold your rocks securely.
- Add Base Layer – Fill the trench with a few inches of gravel or sand. This provides drainage and prevents rocks from shifting.
- Lay Landscape Fabric – Place fabric over the trench and surrounding area to stop weeds from growing through your border.
Step 5: Lay the Rocks
This step brings your border to life.
- Start with Larger Stones – Place the biggest rocks first as a foundation. Position them snugly in the trench.
- Align and Adjust – Use a rubber mallet to tap rocks into place. Ensure they sit firmly and don’t wobble.
- Stagger Placement – Like bricks, stagger rocks to create stability. Avoid lining up vertical seams.
- Fill Gaps – Use smaller rocks, soil, or gravel to fill spaces between larger stones.
- Check for Level – Use a level to keep the border consistent, especially if edging walkways or lawns.
Step 6: Build Layers (Optional)
For taller borders or raised flower beds, you may want to stack rocks in multiple layers.
- First Layer: The foundation layer should be partially buried for stability.
- Second Layer: Place stones so they overlap joints from the first layer, similar to a brick wall.
- Backfill Soil: Add soil or gravel behind the rocks to reinforce the wall.
Two to three layers are usually enough for most garden borders.
Step 7: Finish and Beautify
Once the rocks are in place, finish the project with details that enhance its look and function.
- Backfill with Soil or Mulch: Fill the inside of your border with topsoil or mulch to complete flower beds or pathways.
- Add Plants: Plant low-growing flowers, ground covers, or ornamental grasses near the border to soften edges.
- Accent Lighting: Solar lights placed along the rock border can highlight its beauty at night.
- Clean Rocks: Rinse stones with water to remove dirt and dust for a polished appearance.
Maintenance Tips for Rock Borders
Rock borders are low-maintenance, but a little care keeps them looking their best:
- Weed Control: Check occasionally for weeds that sneak through gaps. Pull them promptly.
- Reset Rocks: Over time, rocks may shift due to soil movement or weather. Reposition them as needed.
- Clean Annually: Wash rocks with a hose or pressure washer to remove moss or dirt buildup.
- Replenish Mulch or Gravel: Add fresh mulch or gravel each year to maintain neatness.
Design Ideas for Rock Borders
Here are a few creative ways to use natural rock borders in your landscaping:
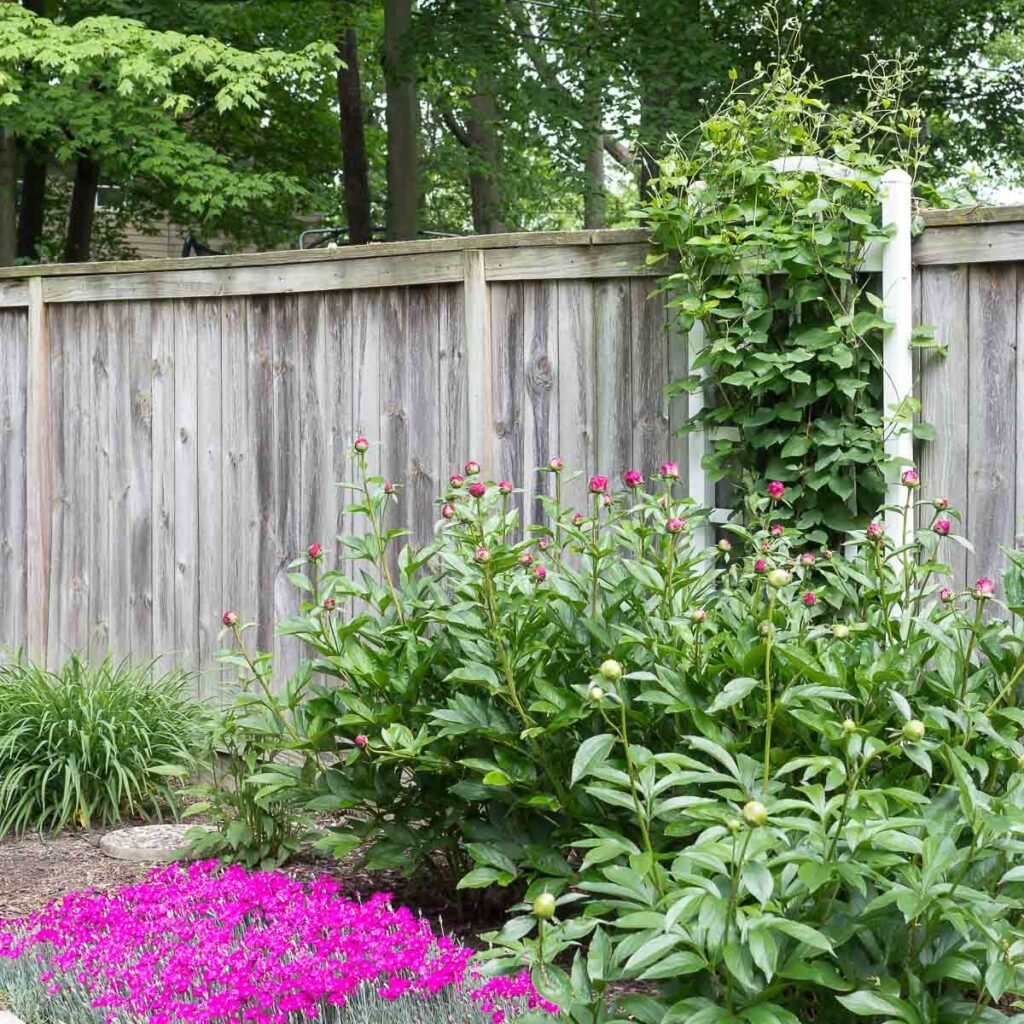
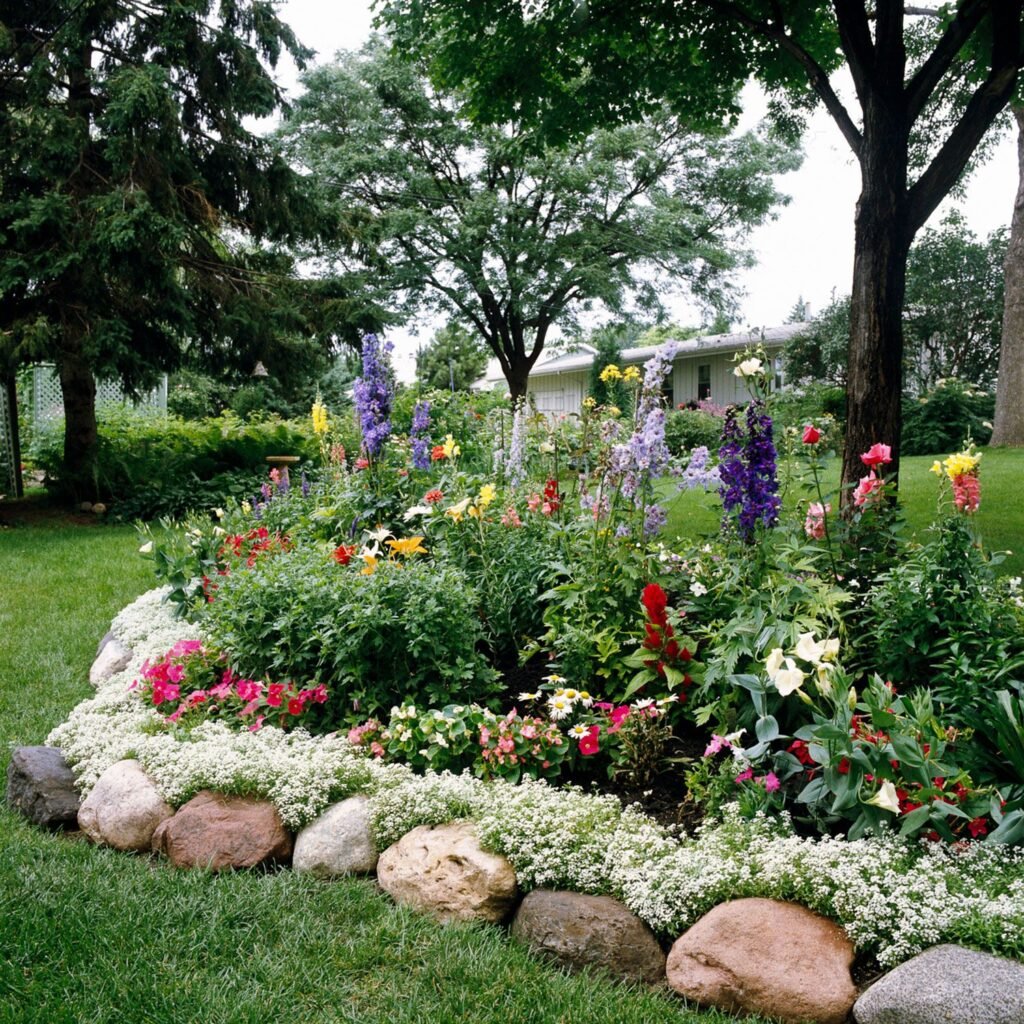
- Flower Bed Edging: Frame colorful perennials with a rustic rock border for contrast.
- Walkway Borders: Line garden paths with smooth river rocks for a natural guide.
- Pond or Water Feature: Use rocks to edge a pond or fountain, blending it into the landscape.
- Raised Beds: Stack flagstone or fieldstone to build elevated garden beds.
- Driveway Edging: Use large stones to mark boundaries and prevent erosion along driveways.
Benefits Beyond Beauty
Building a natural rock border isn’t just about aesthetics. It also brings practical advantages:
- Prevents Mulch Runoff: Rocks keep mulch and soil in place during heavy rains.
- Defines Spaces: Borders clearly separate lawn areas from garden beds or walkways.
- Wildlife Habitat: Small gaps between rocks create microhabitats for insects, frogs, and lizards, promoting biodiversity.
- Adds Value: Thoughtful landscaping increases curb appeal and property value.
Final Thoughts
Building a natural rock border is an excellent way to combine functionality with natural beauty in your outdoor space. With careful planning, the right materials, and step-by-step installation, you can create borders that not only last for decades but also elevate your garden’s charm.
Whether you’re edging flower beds, defining pathways, or preventing soil erosion, natural rocks offer a timeless solution. Their durability, low maintenance, and rustic appeal make them one of the best landscaping investments you can make.
So gather your rocks, grab your tools, and start shaping your outdoor space with a natural rock border—it’s a DIY project that pays off in both beauty and practicality.