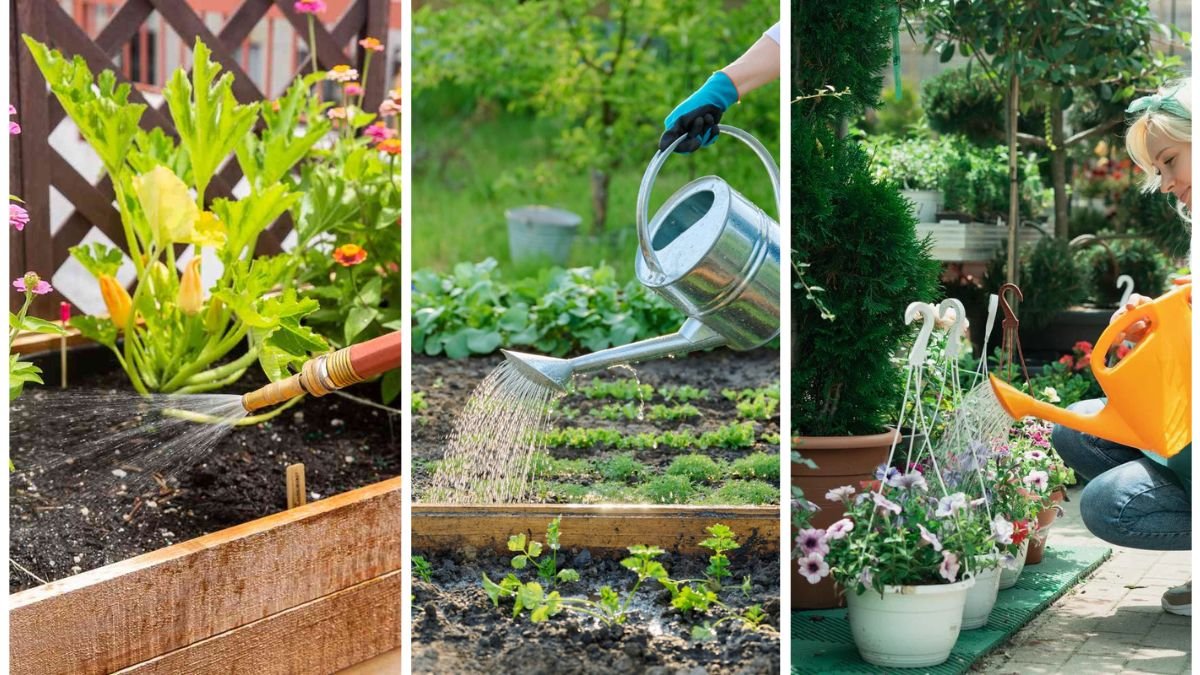
Container gardening is one of the most rewarding ways to enjoy plants, whether you’re cultivating flowers, herbs, or vegetables. However, unlike traditional in-ground gardening, container plants have limited access to water, nutrients, and soil. This makes watering schedules one of the most important aspects of successful container gardening. Too little water leads to wilting and nutrient deficiencies, while too much can suffocate roots and encourage root rot. Finding the right balance requires observation, consistency, and a solid watering plan.
In this guide, we’ll walk through step-by-step strategies for creating and following effective watering schedules for container gardens. By the end, you’ll have the tools to keep your plants healthy, vibrant, and productive.
Step 1: Understand Your Plants’ Watering Needs
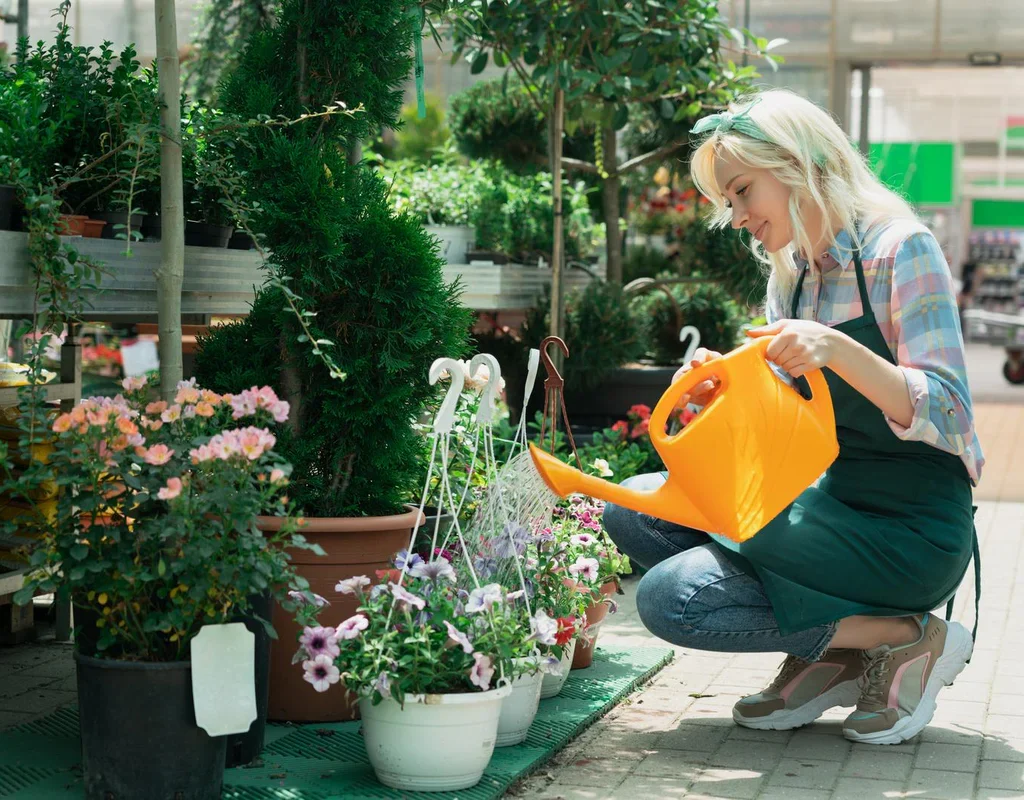
Different plants have different water requirements. For instance, succulents and cacti prefer dry conditions and should only be watered when the soil is completely dry. On the other hand, vegetables like tomatoes, peppers, and leafy greens need consistently moist soil to thrive.
Here are some broad categories:
- Herbs (basil, parsley, mint): Prefer evenly moist soil, but don’t like waterlogged conditions.
- Flowering annuals (petunias, geraniums): Require frequent watering, especially during blooming.
- Vegetables (tomatoes, cucumbers, peppers): Thrive in consistent moisture, usually daily watering in summer.
- Succulents (aloes, echeverias): Low-water needs; water deeply but infrequently.
Tip: Research the specific needs of each plant variety in your containers to create a tailored schedule.
Step 2: Choose the Right Containers
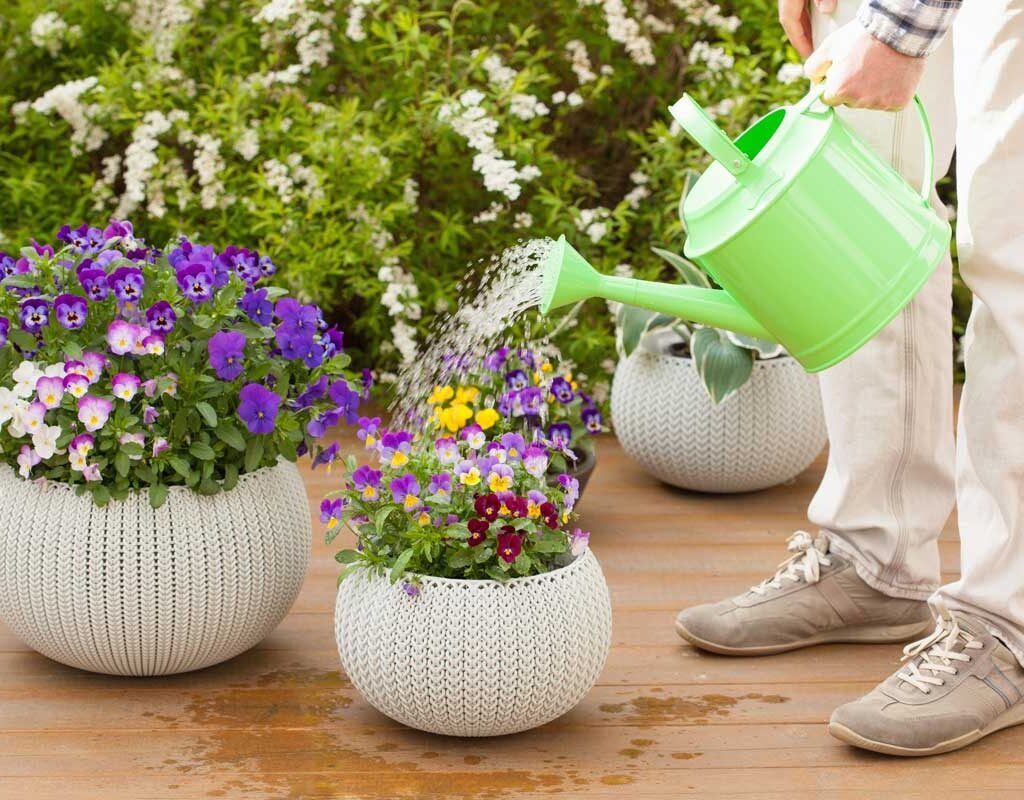
Your watering schedule will depend heavily on the type of container you use.
- Terracotta pots: These are porous and dry out quickly, often requiring more frequent watering.
- Plastic or glazed ceramic pots: Retain moisture longer, meaning you can water less frequently.
- Fabric grow bags: Allow good airflow and drainage but dry out faster than solid containers.
- Self-watering containers: Excellent for busy gardeners; they hold a reservoir that supplies water as needed.
General Rule: The smaller and more porous the container, the faster it will dry out. Always match your container type to your plant’s water needs.
Step 3: Check Soil Moisture Before Watering
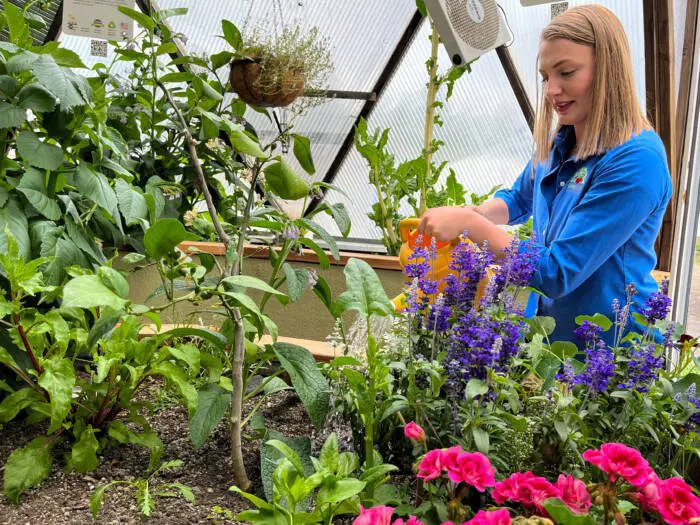
Overwatering is just as harmful as underwatering. The simplest way to avoid mistakes is to check the soil moisture before watering.
- Finger test: Insert your finger 1–2 inches into the soil. If it feels dry, water the plant. If it feels moist, wait a bit longer.
- Moisture meters: Affordable tools that provide more accurate readings, especially for deeper containers.
- Visual cues: Soil that is pulling away from the sides of the container or looks dusty often needs water.
Tip: Morning checks are best because they help you plan your watering for the day.
Step 4: Create a Daily or Weekly Watering Routine
Consistency is key. While watering needs vary, setting a daily or weekly routine helps ensure plants aren’t neglected.
- Spring and Fall: Water every 2–3 days as temperatures are moderate.
- Summer: Expect to water daily, especially for vegetables and flowers in full sun.
- Winter (indoor containers): Water less frequently, every 7–10 days depending on indoor humidity.
A sample routine might look like this:
- Morning (7–9 AM): Best time to water, as it allows plants to absorb moisture before the heat of the day.
- Afternoon: Check moisture; water only if plants are wilting or soil feels dry.
- Evening: Avoid watering late at night to prevent fungal issues.
Step 5: Use the Right Watering Techniques
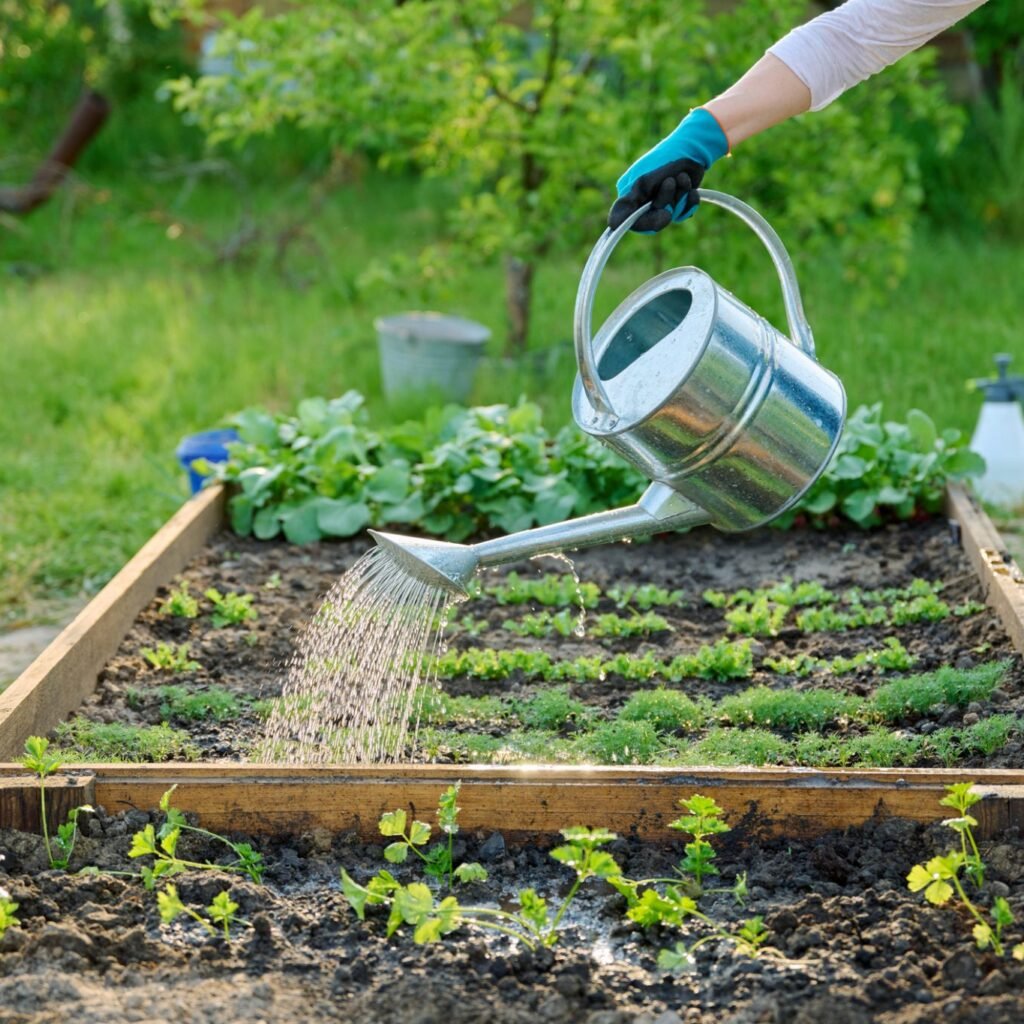
Watering correctly is as important as how often you water.
- Water deeply: Ensure water penetrates to the root zone. A quick splash on the surface doesn’t help plants much.
- Bottom watering: Place pots in a tray of water and let them soak for 15–20 minutes. This is ideal for seedlings and houseplants.
- Avoid overhead watering: Wet leaves can encourage fungal problems. Instead, water directly at the base of the plant.
- Self-watering systems: Drip irrigation, watering globes, or self-watering planters can help maintain even moisture.
Step 6: Adjust for Weather Conditions
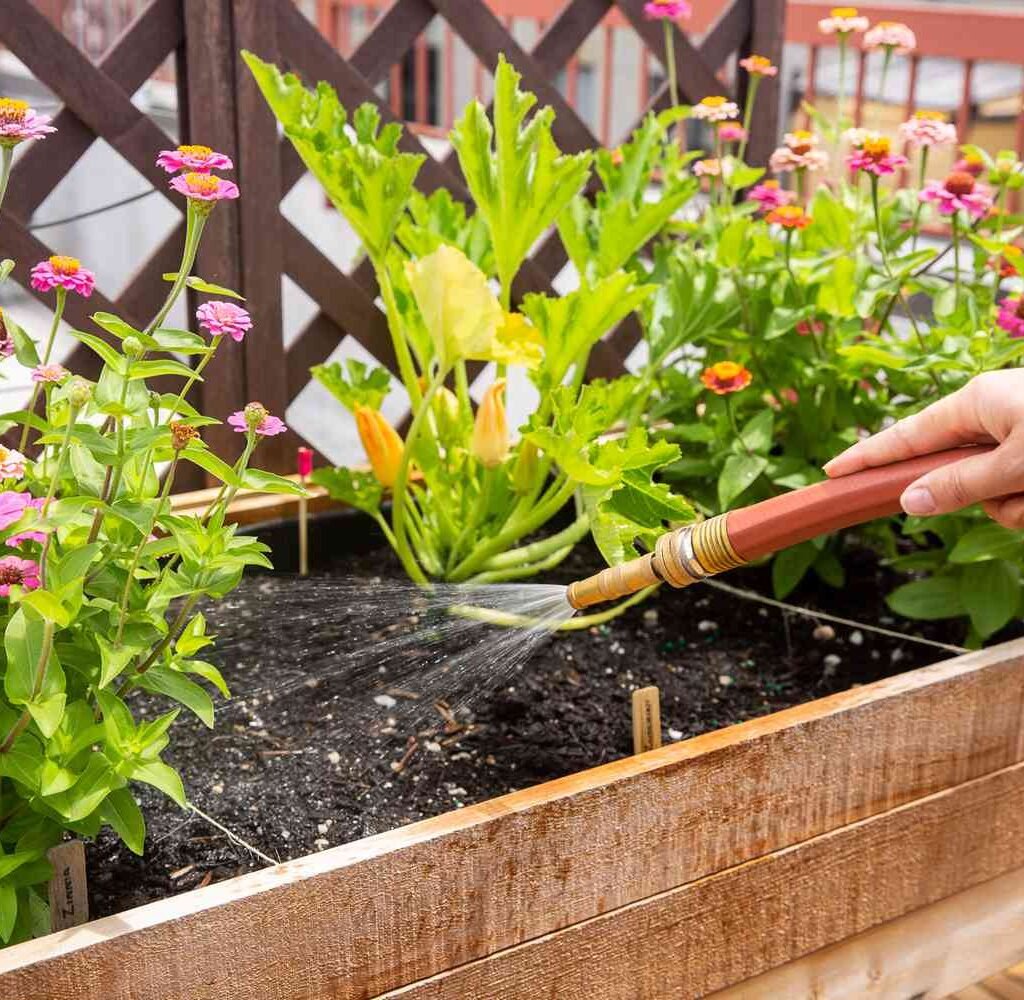
Your watering schedule should always be flexible depending on weather.
- Hot, dry days: Increase watering frequency. Containers in full sun may need water twice daily.
- Rainy weather: Reduce watering; outdoor containers may not need any additional water during heavy rain.
- Windy conditions: Increase watering, as wind dries out soil faster.
- Cool, cloudy days: Water less often, as soil moisture evaporates slowly.
Tip: Place mulch (like coconut husk, pebbles, or bark chips) on top of container soil to reduce evaporation and extend watering intervals.
Step 7: Watch for Plant Stress Signs
Plants often “communicate” when their watering schedule is off. Learn to recognize these signs:
- Underwatering: Wilting, dry leaves, stunted growth, and soil pulling away from the pot’s edges.
- Overwatering: Yellowing leaves, soft stems, mold on soil surface, or a foul smell from root rot.
If you notice these symptoms, adjust your schedule immediately.
Step 8: Seasonal Adjustments
Container watering isn’t static—it changes with the seasons:
- Spring: As plants begin active growth, gradually increase watering frequency.
- Summer: Peak watering season; expect daily or twice-daily waterings.
- Autumn: Reduce frequency as temperatures cool and plant growth slows.
- Winter: For dormant plants, cut back on watering, but ensure soil doesn’t completely dry out indoors.
Step 9: Keep a Watering Journal
For beginners, keeping a journal can be extremely helpful. Record the following:
- Plant type and container size.
- Date and time of watering.
- Soil moisture observations.
- Weather conditions.
This creates a personalized watering calendar that you can refine each season.
Step 10: Use Smart Tools for Convenience
Technology can simplify container watering schedules:
- Self-watering pots: Built-in reservoirs supply consistent moisture.
- Drip irrigation systems: Great for multiple containers on balconies or patios.
- Automatic timers: Perfect for vacations or busy schedules.
- Moisture sensors: Alerts you when soil is dry.
Conclusion
Mastering a container watering schedule is one of the most valuable skills for successful container gardening. By understanding your plants’ needs, choosing the right containers, monitoring soil moisture, and adjusting for seasons and weather, you can create a watering routine that promotes healthy, thriving plants. Whether you’re growing vibrant flowers, fresh herbs, or delicious vegetables, consistency and care will reward you with stunning results.
Think of watering not as a chore, but as a ritual—an opportunity to connect with your plants, observe their progress, and ensure their continued vitality. With the right step-by-step approach, you’ll soon find that watering schedules become second nature, and your container garden will flourish beautifully.
