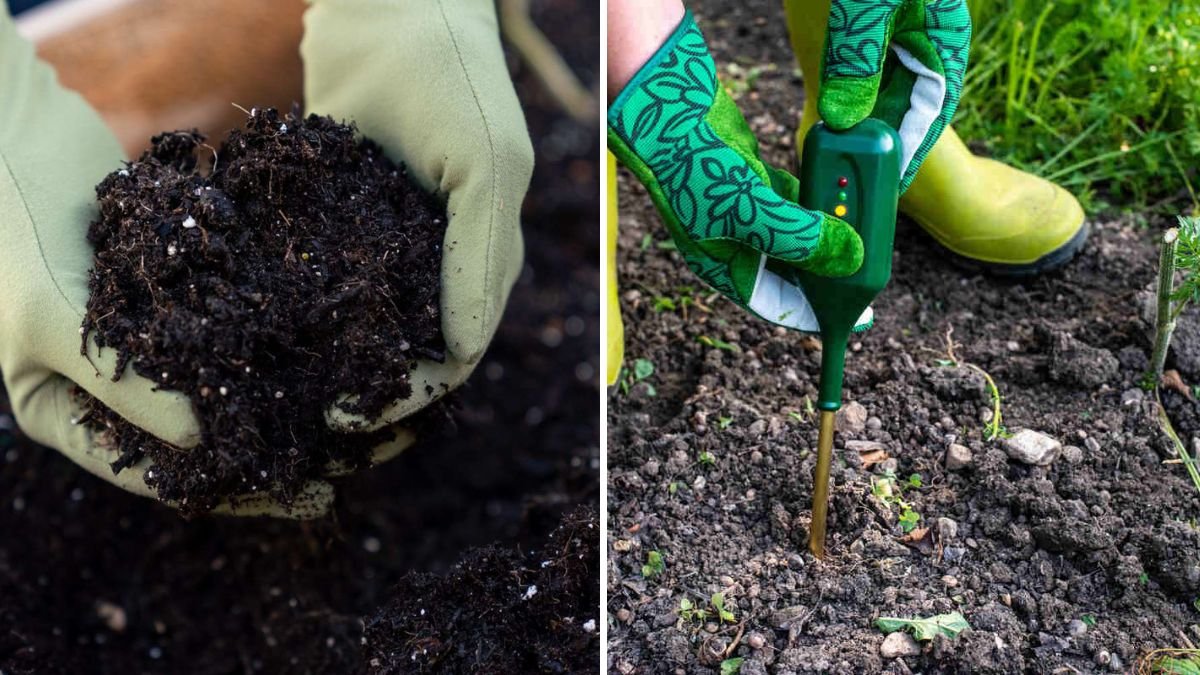
A thriving garden starts with healthy soil. Plants rely on soil not just for support, but also for nutrients, water, and oxygen. Knowing the condition of your garden soil is crucial for determining which crops will thrive and what amendments may be needed. While commercial soil testing kits are convenient, you don’t always need a kit to get valuable insights about your soil. With simple home techniques, you can assess soil texture, fertility, pH, drainage, and more, ensuring your garden has the best possible foundation.
In this article, we’ll explore how to test your garden soil at home without a kit, step by step, and what your results mean for your plants.
Why Testing Soil Matters

Garden soil is not uniform; it varies in texture, nutrient content, pH, and structure. Testing your soil helps you:
- Understand Nutrient Needs: Healthy soil provides essential nutrients—nitrogen, phosphorus, potassium, and trace elements—for strong plant growth.
- Identify pH Levels: Soil pH affects nutrient availability. Most vegetables prefer slightly acidic to neutral soil (pH 6–7).
- Improve Soil Structure: Loose, well-draining soil supports healthy roots, while compacted soil can stunt growth.
- Prevent Over- or Under-Amending: Knowing soil characteristics prevents wasting fertilizers or organic amendments.
- Boost Garden Productivity: Optimized soil conditions increase plant growth, yield, and disease resistance.
By performing simple at-home tests, you gain actionable insights without needing expensive equipment.
1. Soil Texture Test (The Jar Test)
Soil texture—proportion of sand, silt, and clay—affects drainage, nutrient retention, and root growth. You can determine texture using the jar test:
Steps:
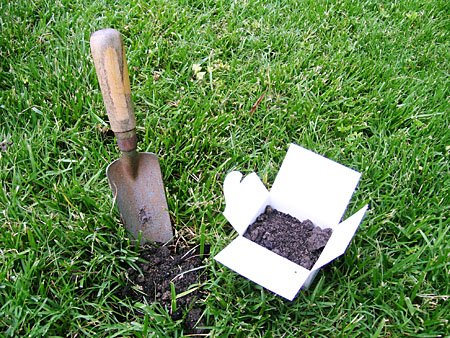
- Collect a soil sample from your garden (about a cup).
- Remove debris like rocks and roots.
- Fill a clear jar halfway with the soil and top with water. Add a teaspoon of salt or dish soap to help separate particles.
- Shake vigorously for 2–3 minutes, then let it settle for 24 hours.
- Observe the layers:
- Sand settles first at the bottom
- Silt forms a middle layer
- Clay stays on top
Interpretation:
- Sandy soil drains quickly but holds fewer nutrients.
- Clay soil retains water but may cause poor drainage.
- Loam (balanced sand, silt, clay) is ideal for most gardens.
2. Soil Drainage Test
Proper drainage ensures roots get oxygen and nutrients. Poor drainage can lead to root rot and stunted plants.
Steps:
- Dig a small hole (12 inches deep and wide).
- Fill with water and let it drain completely.
- Refill the hole and observe how long it takes to drain.
Interpretation:
- 1–2 inches/hour: Excellent drainage
- 2–4 inches/hour: Moderate, suitable for most vegetables
- Less than 1 inch/hour: Poor drainage; consider raised beds or adding organic matter
3. Soil Smell Test
Believe it or not, soil smell is a powerful indicator of its health:
- Fresh, earthy smell: Indicates a healthy microbial ecosystem.
- Sour, ammonia-like smell: Suggests anaerobic conditions or poor drainage.
- Chemical or bleach-like odor: May indicate contamination or overuse of synthetic fertilizers.
Tip: Healthy soil supports beneficial microbes that help your plants grow strong.
4. Soil pH Test Using Vinegar and Baking Soda

pH affects nutrient availability. You can test soil acidity or alkalinity at home with simple kitchen ingredients:
Steps:
- Take 2 tablespoons of soil in separate small containers.
- Add 1 tablespoon of vinegar to the first sample. If it fizzes, soil is alkaline.
- Add 1 tablespoon of water and a pinch of baking soda to the second sample. If it fizzes, soil is acidic.
- No reaction in either test indicates neutral soil.
Interpretation:
- Slightly acidic to neutral soil (pH 6–7) is ideal for most vegetables.
- Acidic soil can be amended with lime, while alkaline soil benefits from sulfur or organic matter.
5. Soil Fertility Test with Plants
Another simple method is to observe plant performance:
- Plant fast-growing test crops like radishes, lettuce, or beans in a small area.
- Monitor growth, leaf color, and vigor over a few weeks.
Interpretation:
- Yellowing leaves may indicate nitrogen deficiency.
- Poor flowering can suggest low phosphorus.
- Weak, slow growth may indicate potassium or micronutrient deficiency.
This method gives a practical, plant-based measure of soil fertility.
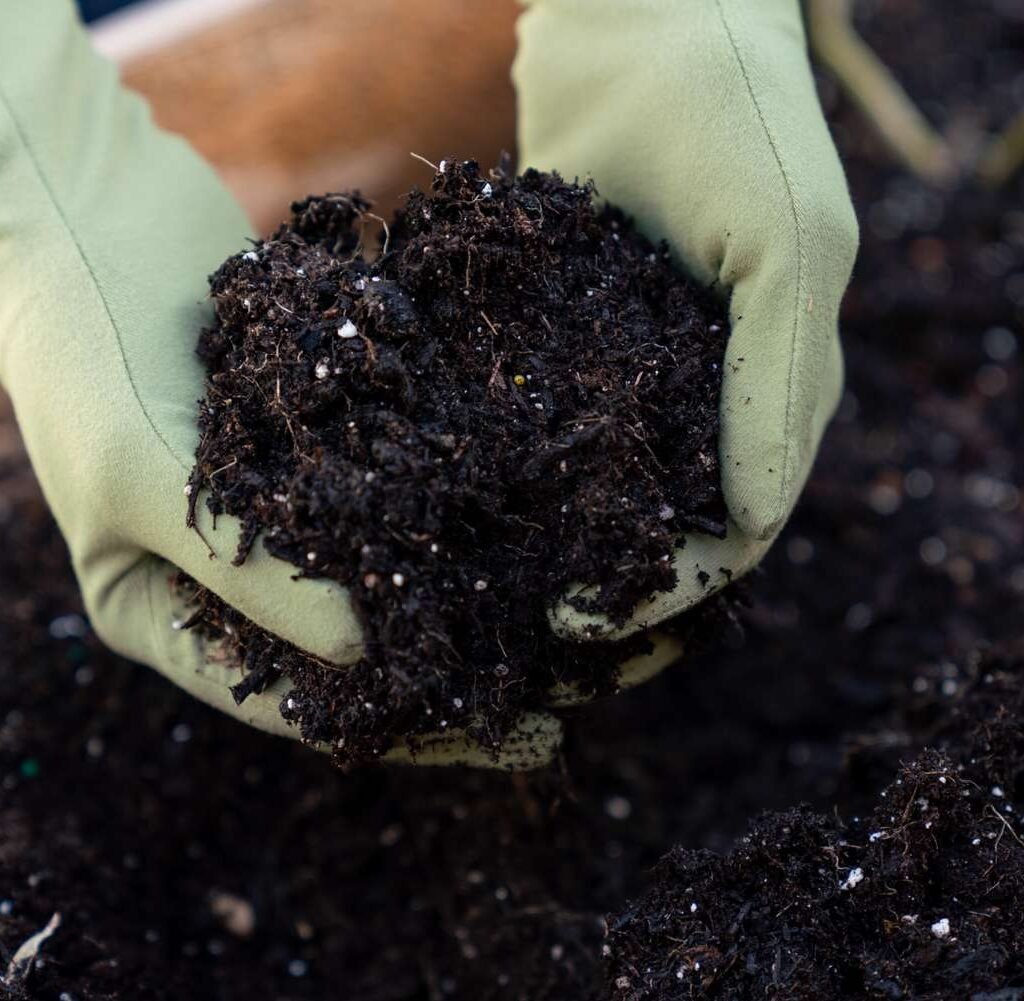
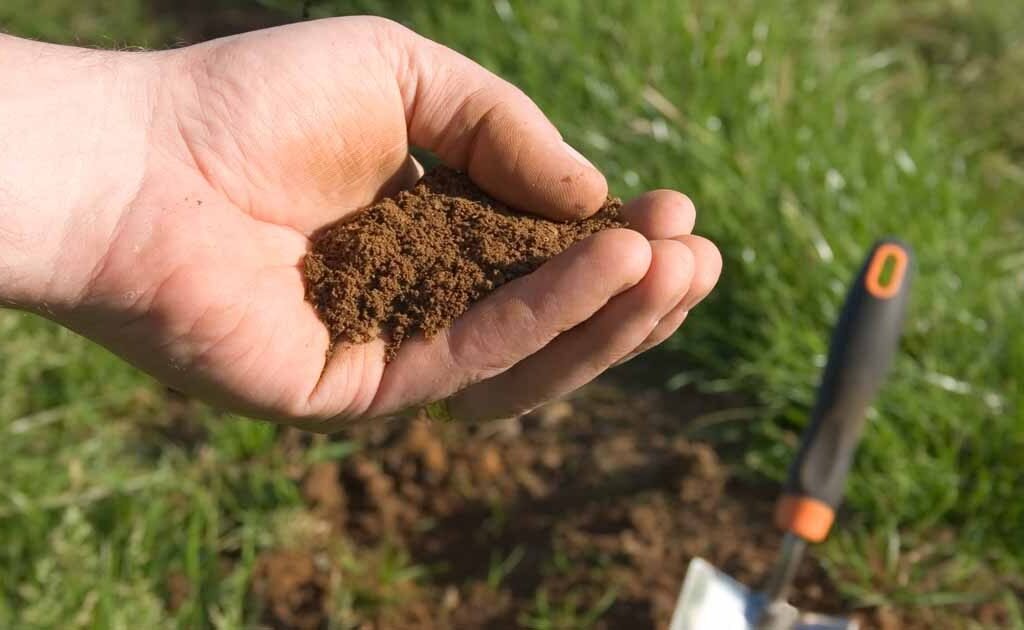
6. Soil Moisture Test (Hand Squeeze Test)
Soil moisture is critical for root health and nutrient uptake. You can estimate moisture without tools:
Steps:
- Take a handful of soil and squeeze it.
- Observe its behavior:
- Forms a ball, crumbles easily: Ideal moisture
- Drips water or sticks tightly: Too wet
- Falls apart immediately, dusty: Too dry
Tip: Repeat this test at different depths for a complete picture of soil moisture.
7. Soil Compaction Test
Compacted soil restricts root growth and limits nutrient and water absorption. A simple test:
Steps:
- Push a garden trowel or screwdriver into the soil.
- Evaluate resistance:
- Penetrates easily: Soil is loose and aerated
- Difficult to penetrate: Soil may be compacted; consider aeration or adding organic matter
Tip: Regularly adding compost and practicing minimal tillage reduces compaction over time.
8. Observing Soil Life
Healthy soil is teeming with life: worms, insects, and microorganisms. You can gauge soil health by observing soil fauna:
- Dig a small section of soil and count earthworms or visible insects.
- High numbers indicate a biologically active, fertile soil.
- Lack of life suggests poor organic content or overuse of chemicals.
Tip: Encourage soil life by adding mulch, compost, and avoiding harsh chemicals.
Bringing It All Together
Once you’ve performed these tests, you’ll have a clear picture of your soil’s:
- Texture and drainage
- pH level
- Fertility and nutrient status
- Moisture content
- Biological activity
Armed with this knowledge, you can:
- Add compost, manure, or organic amendments to improve fertility
- Adjust pH with lime or sulfur
- Improve drainage with raised beds or soil aeration
- Encourage soil life through mulching and minimal chemical use
Testing soil at home not only saves money but also empowers you to make informed decisions for a healthier, more productive garden.
Conclusion
Healthy soil is the cornerstone of a thriving garden. By using simple at-home methods—jar tests, drainage observations, pH tests with vinegar and baking soda, plant performance, moisture checks, and soil life observations—you can assess your soil’s condition without a commercial kit.
Regular soil assessment allows you to tailor amendments, optimize growth conditions, and prevent common gardening problems, ensuring your plants grow stronger, flowers bloom more vibrantly, and vegetables produce bountifully.
A little time and observation go a long way in creating a garden where both plants and soil thrive together, forming a sustainable and rewarding ecosystem for years to come.