Potatoes (Solanum tuberosum) are one of the world’s most important staple crops. Not only are they a versatile and nutritious food source, but they are also relatively easy to grow in home gardens and on larger scales. However, achieving maximum potato yield requires careful planning, proper soil preparation, appropriate planting techniques, and consistent care. This guide provides a comprehensive overview of how to plant potatoes effectively for the highest possible productivity.
1. Understanding Potato Growth and Yield Factors
Potato yield depends on several biological and environmental factors:
- Variety: Different potato varieties produce different sizes, numbers of tubers, and growth cycles.
- Soil fertility and structure: Potatoes need loose, well-draining, nutrient-rich soil for optimal tuber development.
- Planting time: Timing affects sprout development, tuber formation, and resistance to pests or disease.
- Watering and fertilization: Adequate moisture and nutrients are crucial during the growth stages.
- Pest and disease management: Protecting plants from pests and diseases ensures healthy growth and high yields.
By understanding these factors, gardeners can make informed decisions to maximize productivity.
2. Choosing the Right Potato Variety
Selecting the right variety is critical for high yields and desired characteristics. Potato varieties can be classified into:
- Early varieties: Mature in 70–90 days; ideal for quick harvests. Examples: ‘Yukon Gold’, ‘Red Pontiac’.
- Mid-season varieties: Mature in 90–110 days; balance between yield and storage. Examples: ‘Kennebec’, ‘Katahdin’.
- Late varieties: Mature in 110–140 days; best for long-term storage and large yields. Examples: ‘Russet Burbank’, ‘Maris Piper’.
Choose varieties based on climate, soil type, intended use (fresh eating or storage), and disease resistance.
3. Preparing the Soil for Maximum Potato Yield

Potatoes thrive in loose, well-draining soil rich in organic matter. Proper soil preparation ensures tubers develop uniformly and reduces disease risks.
Soil Preparation Steps
- Select the planting site: Choose a sunny area with at least 6–8 hours of sunlight.
- Loosen the soil: Till or dig soil to a depth of 10–12 inches to allow tuber expansion.
- Test and amend pH: Optimal pH is 5.5–6.5. Add lime if soil is acidic or sulfur if too alkaline.
- Incorporate organic matter: Mix compost, well-rotted manure, or leaf mold to improve fertility, moisture retention, and soil structure.
- Avoid waterlogging: Raised beds or ridges help prevent tuber rot in poorly drained areas.
Proper soil preparation lays the foundation for healthy plants and higher yields.
4. Selecting Seed Potatoes
Potatoes are propagated from seed potatoes, which are healthy, disease-free tubers.
Seed Potato Selection Tips
- Choose certified disease-free seed potatoes.
- Select medium-sized tubers (2–3 inches in diameter) for planting.
- Cut larger tubers into pieces, each with at least 1–2 eyes (buds). Allow cuts to dry for 1–2 days before planting to prevent rot.
- Avoid using supermarket potatoes treated with sprout inhibitors, as they may not sprout properly.
High-quality seed potatoes increase the chances of vigorous growth and abundant tuber formation.
5. Planting Techniques for Maximum Yield

Potatoes can be planted in rows, ridges, or mounds, depending on soil and space.
Step-by-Step Planting
- Planting time:
- Plant early varieties 2–4 weeks before the last frost.
- Mid-season and late varieties can be planted as soon as soil reaches 45–50°F (7–10°C).
- Spacing:
- Rows: 2–3 feet apart.
- Tubers: 12–15 inches apart in each row.
- Depth: Plant tubers 3–4 inches deep, with eyes facing up.
- Covering: Initially cover with 2–3 inches of soil. Gradually hill soil around stems as plants grow to encourage tuber formation and prevent greening.
- Mulching: Apply organic mulch to conserve moisture, suppress weeds, and regulate soil temperature.
Correct planting and spacing ensure each potato plant has adequate nutrients and room for tuber expansion.
6. Watering and Fertilization
Potatoes require consistent moisture and nutrients throughout the growing season.
Watering Tips
- Keep soil evenly moist, especially during tuber initiation and growth (flowering stage).
- Avoid waterlogging, which causes rot and fungal diseases.
- Drip irrigation or soaker hoses provide uniform moisture without wetting foliage excessively.
Fertilization
- Pre-plant: Incorporate compost or balanced fertilizer into the soil.
- During growth: Apply side dressing with nitrogen-rich fertilizer when plants reach 6 inches tall.
- Potassium and phosphorus: Important for tuber development; apply according to soil test recommendations.
Proper watering and fertilization directly influence tuber size, number, and quality.
7. Hilling for Larger Yields
Hilling is the process of piling soil around potato stems as they grow.
Benefits of Hilling
- Encourages more tuber formation along buried stems.
- Prevents tubers from turning green when exposed to sunlight.
- Improves soil aeration and moisture retention.
- Reduces weed competition and pest damage.
Hill soil 2–3 times during the growing season, starting when plants are 6 inches tall.
8. Pest and Disease Management
Potato crops are vulnerable to pests and diseases that can reduce yield. Effective management ensures healthy growth.
Common Pests
- Colorado potato beetle: Feed on leaves; remove manually or use neem oil.
- Aphids: Transmit viral diseases; use insecticidal soap or biological controls.
- Wireworms: Damage tubers; rotate crops and avoid planting in previous grass-heavy soils.
Common Diseases
- Late blight: Causes dark lesions on leaves and tubers; use resistant varieties and fungicides if needed.
- Scab: Results in rough, corky tubers; control by maintaining slightly acidic soil (pH 5.5–6.0).
- Powdery mildew and Fusarium wilt: Prevent with proper spacing, crop rotation, and ventilation.
Regular monitoring, crop rotation, and good sanitation practices help prevent major losses.
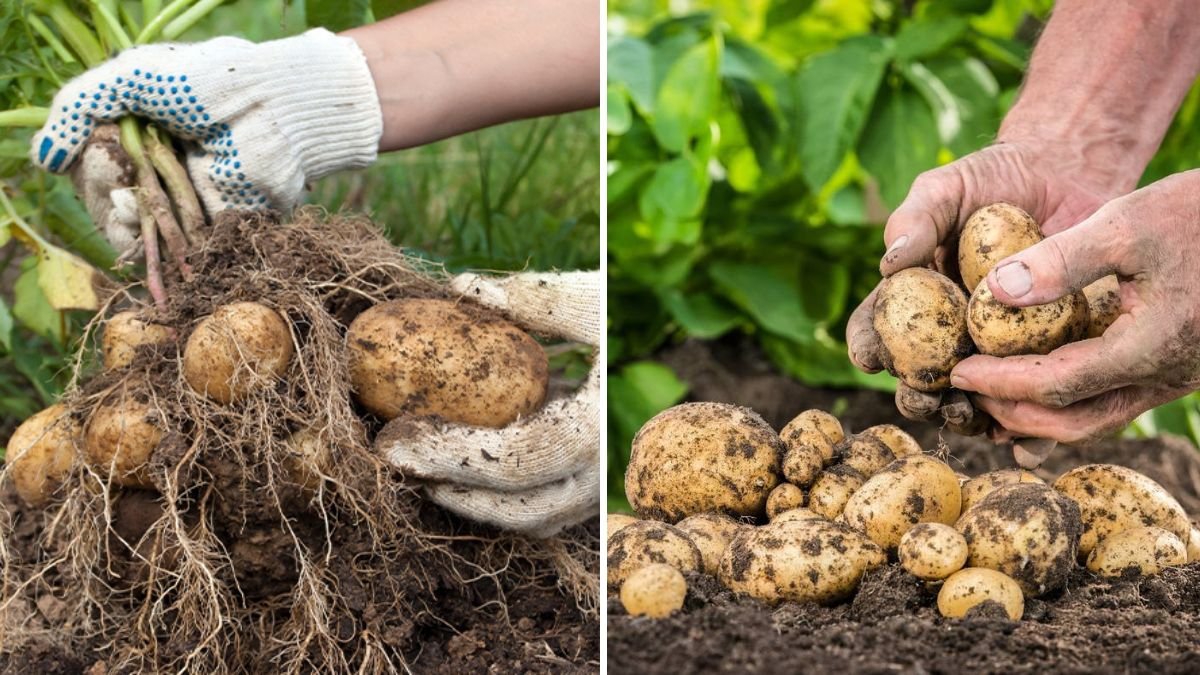
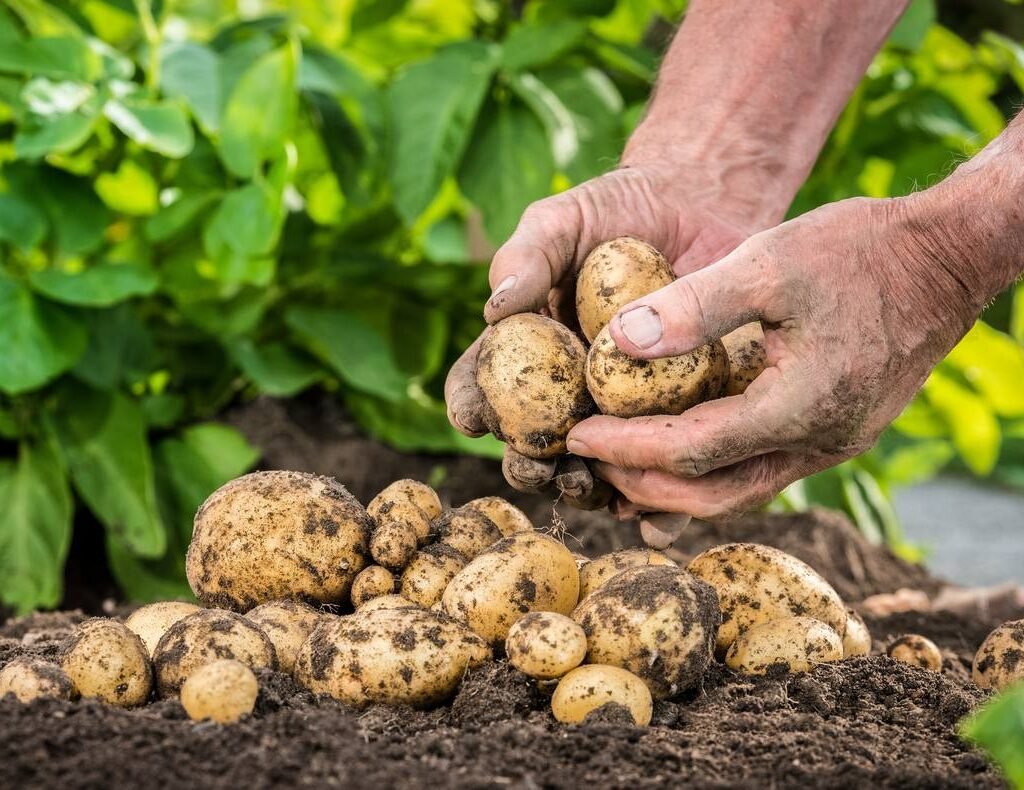
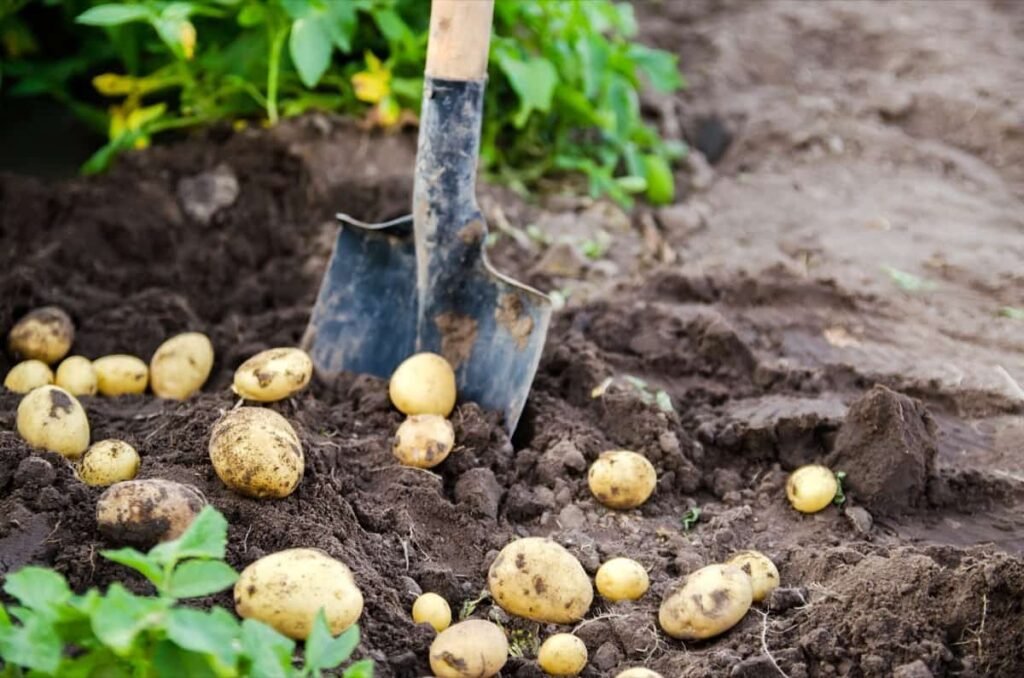
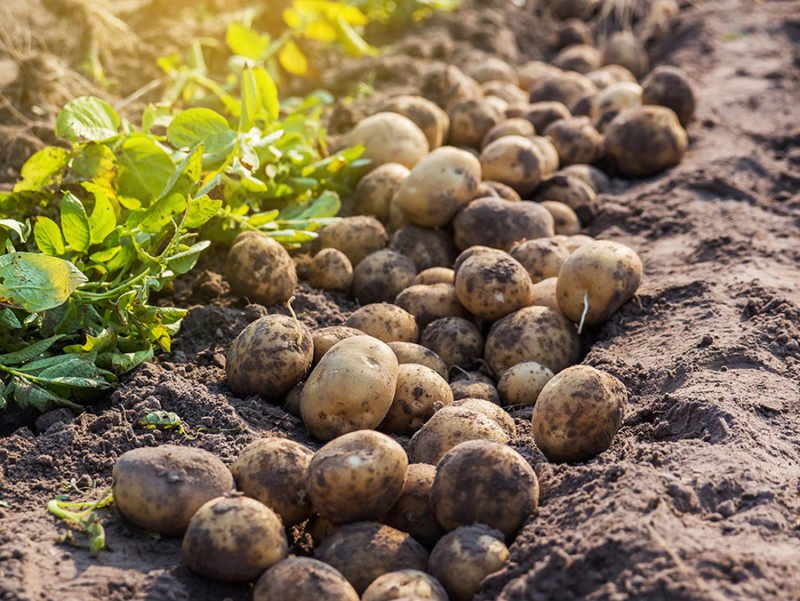
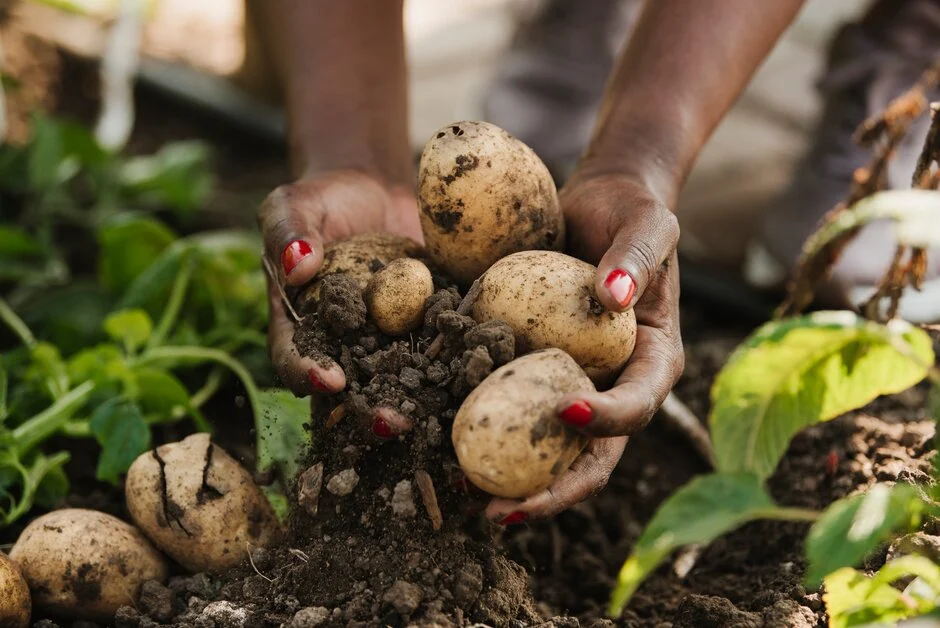
9. Harvesting Potatoes for Maximum Yield
Harvesting at the right time ensures maximum yield and storage potential.
Harvesting Guidelines
- New potatoes: Harvest small, tender tubers 2–3 weeks after plants flower.
- Mature potatoes: Wait until foliage turns yellow and dies back, usually 90–120 days after planting depending on the variety.
- Gently lift tubers with a fork or spade to avoid bruising.
- Leave small tubers in the soil for further growth if the season allows.
Proper harvesting techniques minimize damage and post-harvest loss.
10. Curing and Storing Potatoes
After harvest, potatoes need to be cured and stored properly for long-term use.
Curing
- Spread tubers in a dark, ventilated area at 60–65°F (15–18°C) for 1–2 weeks.
- This hardens the skin, reduces moisture loss, and prevents disease during storage.
Storage
- Store in a cool, dark, and dry place (40–50°F or 4–10°C).
- Keep potatoes in ventilated containers (baskets, crates, or mesh bags).
- Avoid storing near onions, as gases from onions can spoil potatoes faster.
- Check periodically and remove any sprouted or rotting tubers.
Cured and stored potatoes can last several months, extending your harvest well beyond the growing season.
11. Tips for Sustainable Potato Production
- Crop rotation: Avoid planting potatoes in the same location consecutively to reduce disease risk.
- Organic matter: Regularly enrich soil with compost for sustained fertility.
- Companion planting: Use herbs like basil or marigolds to deter pests naturally.
- Succession planting: Plant early and late varieties to stagger harvests and maintain supply.
By following these practices, gardeners can enjoy high yields year after year with minimal input.
12. Conclusion
Growing potatoes for maximum yield requires careful planning, attention to soil, planting techniques, pest management, and post-harvest care. By selecting the right variety, preparing fertile soil, planting correctly, and maintaining consistent care, gardeners can maximize both the quantity and quality of their potato harvests.
Key Takeaways:
- Choose disease-resistant, climate-appropriate varieties.
- Prepare well-drained, fertile soil and plant tubers at correct spacing and depth.
- Water consistently, fertilize appropriately, and hill soil to encourage tuber growth.
- Monitor for pests and diseases, and harvest at the proper stage for maximum yield.
- Cure and store potatoes in cool, ventilated conditions to extend shelf life.
With attention to detail and consistent care, potato cultivation can provide a reliable and productive harvest season after season, making it a highly rewarding crop for home gardeners and commercial growers alike.