Composting is one of the simplest, most eco-friendly practices you can adopt to improve your garden and reduce household waste. Instead of throwing away kitchen scraps, grass clippings, or dry leaves, you can transform them into nutrient-rich compost that feeds your soil naturally. A compost bin is the heart of this process—it keeps everything contained, speeds up decomposition, and makes composting cleaner and more efficient.
The good news? You don’t need to buy an expensive compost bin from the store. With a little creativity, you can build your own compost bin at home using simple, inexpensive, or even recycled materials. In this guide, we’ll explore why composting is important, the different bin options you can try, step-by-step instructions for building one, and some pro tips to help you succeed.
Why Composting Matters

Before diving into construction, it’s worth understanding why composting is such a game-changer:
- Reduces Waste: About 30% of household waste is organic material that can be composted.
- Improves Soil Health: Compost enriches the soil with essential nutrients and beneficial microorganisms.
- Saves Money: No need for chemical fertilizers when you can make your own natural soil booster.
- Eco-Friendly: Composting reduces methane emissions from landfills and helps fight climate change.
Simply put, composting is a win for your garden and the environment.
Types of Compost Bins You Can Build
There isn’t just one way to make a compost bin—you can choose a design that suits your space, budget, and needs. Here are five popular DIY options:
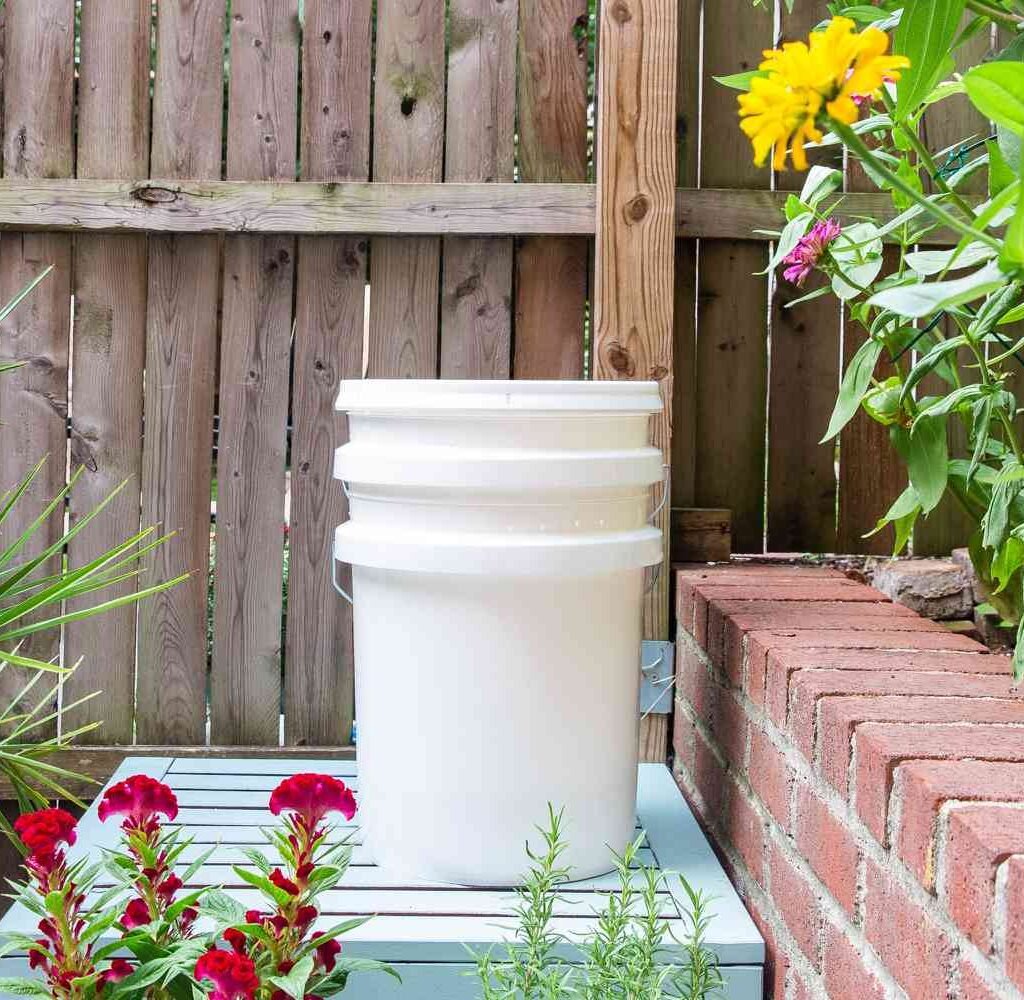
1. Plastic Storage Bin Compost Bin
A great choice for beginners with small spaces, this is made from a large plastic tote. It’s compact, easy to manage, and perfect for balconies or patios.
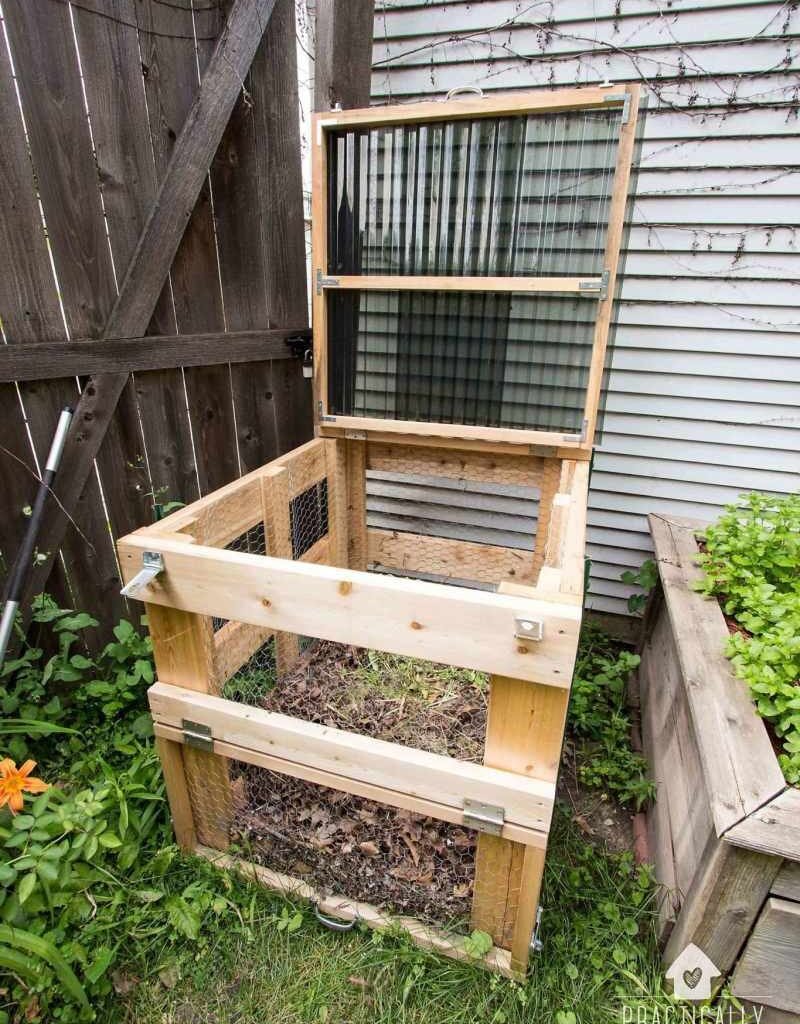
2. Wooden Pallet Bin
If you have a bigger yard, wooden pallets make sturdy, breathable compost bins. They’re ideal for handling larger volumes of compostable material.
3. Wire Mesh Bin
A simple, affordable option made with chicken wire or hardware cloth. It’s lightweight and easy to move around the garden.
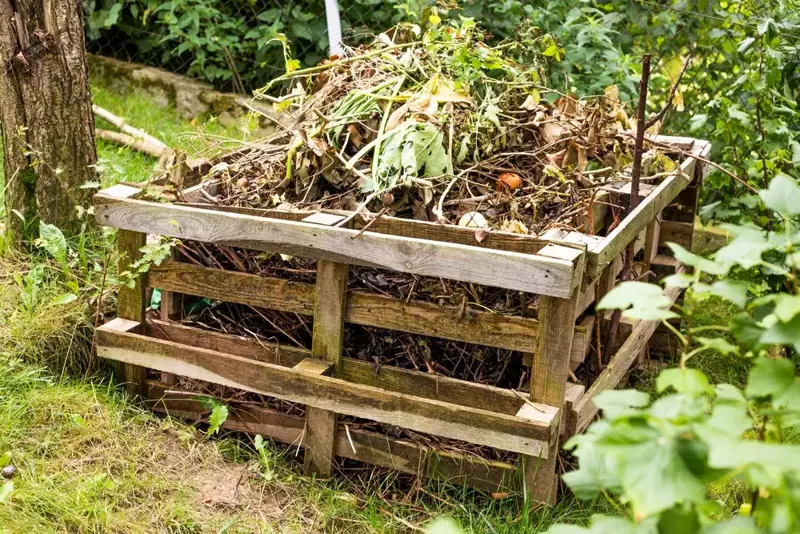
4. Trash Can Compost Bin
Drill holes in a plastic or metal trash can, and you have a ready-to-use compost bin. Adding wheels makes it portable and easy to aerate by rolling.
5. Three-Bin System
For advanced gardeners, a three-bin system allows you to compost in stages—fresh materials, partially decomposed, and finished compost.
Each of these bins follows the same principles, but their scale and durability differ. Let’s walk through step-by-step instructions for a couple of the most practical designs.
Step-by-Step Guide: Plastic Storage Bin Compost Bin
This is the easiest and most beginner-friendly method.
Materials Needed:
- One large plastic storage bin with a lid (at least 18–30 gallons)
- Drill with ¼-inch drill bit
- Bricks or wooden blocks (optional, for elevation)
Instructions:
- Drill holes in the sides, bottom, and lid of the bin for aeration and drainage. Space them about 2–3 inches apart.
- Place the bin on bricks or blocks to allow air circulation underneath.
- Add a layer of dry material (leaves, shredded cardboard, or newspaper) at the bottom.
- Start adding kitchen scraps, alternating with dry “brown” materials like leaves or cardboard.
- Stir the contents weekly to aerate and speed up decomposition.
This bin works best for households with limited garden waste and is small enough to tuck away in a corner.
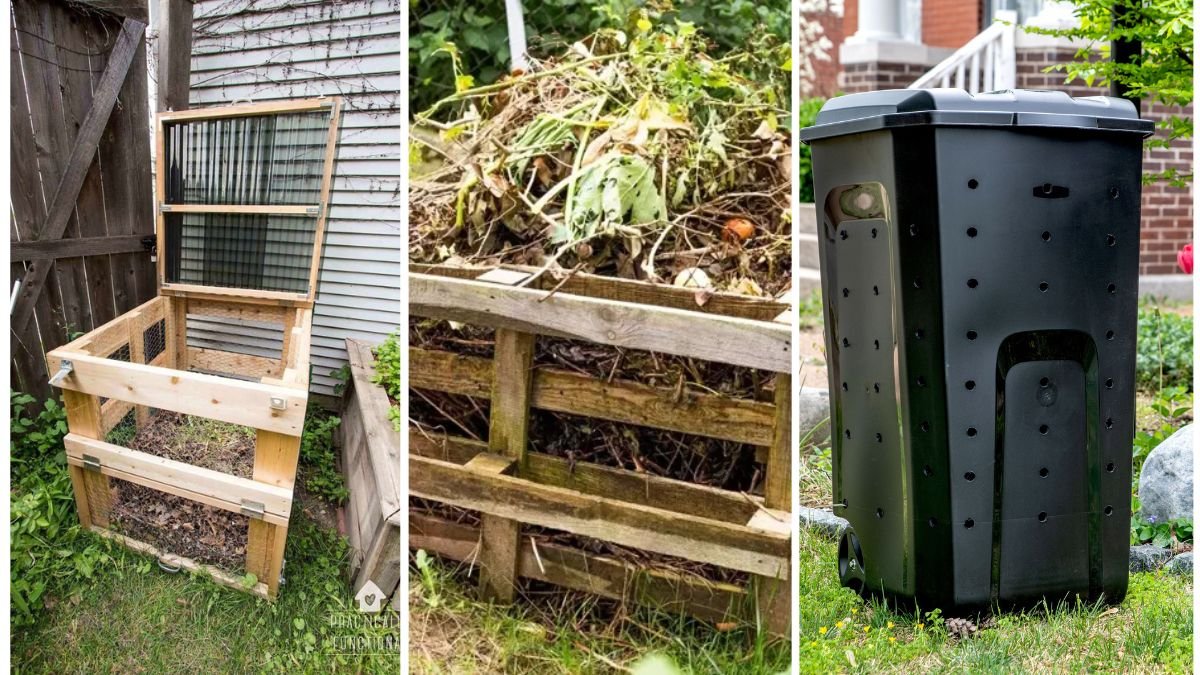
Step-by-Step Guide: Wooden Pallet Compost Bin
This option is perfect for larger gardens and can handle big amounts of waste.
Materials Needed:
- Four wooden pallets (same size)
- Screws or nails
- Drill or hammer
- Hinges (optional, for a door)
Instructions:
- Stand three pallets upright to form a U-shape.
- Secure them together with screws or nails.
- Attach the fourth pallet to the front with hinges for easy access, or fix it permanently if you prefer.
- Place the bin directly on soil, so worms and microorganisms can enter naturally.
- Start layering your compost materials inside, turning every couple of weeks.
This design is breathable, sturdy, and large enough to handle yard clippings, kitchen scraps, and more.
Composting Basics: What to Add and What to Avoid
The secret to healthy compost lies in maintaining a balance between green materials (nitrogen-rich) and brown materials (carbon-rich).
Compostable Materials:
- Greens: Fruit and vegetable scraps, coffee grounds, tea bags, grass clippings, eggshells.
- Browns: Dry leaves, cardboard, newspaper, sawdust, straw, wood chips.
- Others: Small amounts of garden soil, old plant trimmings.
Avoid Adding:
- Meat, dairy, and oily foods (they attract pests).
- Pet waste (may contain harmful pathogens).
- Diseased plants or weeds that have gone to seed.
- Glossy or coated paper.
Following these guidelines keeps your compost healthy, pest-free, and quick to decompose.
Tips for Composting Success
Even with the perfect bin, composting takes a little practice. Here are some key tips:
- Maintain Balance: Aim for a 2:1 ratio of browns to greens. Too much green material makes compost smelly, while too much brown slows decomposition.
- Aeration is Key: Stir or turn your pile regularly to supply oxygen and prevent foul odors.
- Moisture Matters: Compost should feel like a wrung-out sponge—damp but not soggy. If it’s too dry, add water; if too wet, mix in dry leaves or cardboard.
- Chop Materials: Smaller pieces decompose faster. Chop vegetable scraps and shred cardboard before adding.
- Patience Pays Off: Compost can take 2–6 months to fully break down, depending on materials, climate, and care.
How to Know When Compost is Ready
Finished compost should look and feel like rich, dark soil. It will have an earthy smell and crumble easily in your hands. You should no longer recognize the original food scraps or leaves.
This compost can then be used to:
- Enrich vegetable garden beds.
- Mix into potting soil for container plants.
- Spread around trees and shrubs as mulch.
- Improve the structure of sandy or clay-heavy soils.
Benefits of Making Your Own Compost Bin
- Cost Savings: No need to purchase expensive commercial bins.
- Customization: Build a bin that suits your garden size and style.
- Eco-Friendly: Repurpose materials like pallets, trash cans, or plastic bins.
- Convenience: Place your compost bin exactly where you need it—close to your kitchen or garden beds.
Conclusion
Building your own compost bin is a rewarding and practical project that transforms kitchen and garden waste into a powerful resource for your plants. Whether you start small with a plastic tote on your balcony or go big with a wooden pallet bin in your backyard, the process is simple, affordable, and eco-friendly.
By learning how to make your own compost bin at home, you’re not just creating a tool for your garden—you’re taking a meaningful step toward sustainability, reducing waste, and building healthier soil for years to come.