Dividing perennials is one of the most effective ways to rejuvenate your garden, encourage vigorous growth, and propagate new plants without spending a fortune. Done correctly, it can lead to healthier, more productive plants and a more vibrant garden. Done incorrectly, it can stress or even kill your plants. Knowing how to divide perennials without damaging their roots is key to ensuring success.
In this comprehensive guide, we’ll cover everything you need to know about when, why, and how to divide perennials, along with step-by-step instructions, expert tips, and precautions to protect root systems.
Why Divide Perennials?
Perennials are plants that return year after year, but over time they can become overcrowded, woody, or less productive. Dividing them offers several benefits:
- Rejuvenates plants: Older plants may produce fewer flowers or smaller foliage. Dividing encourages fresh growth.
- Controls size: Overgrown clumps can be cut back and redistributed to manage garden space.
- Prevents disease: Dense plantings can trap moisture and harbor pests; dividing improves airflow and reduces risk.
- Propagates new plants: A single perennial can yield multiple healthy plants for your garden or to share with friends.
Expert Insight: Most perennials benefit from division every 3–5 years, though some species require more frequent attention.
When Is the Best Time to Divide Perennials?
Timing depends on the type of perennial and your climate, but general guidelines include:
- Early spring: Just as shoots begin to emerge from the ground. This works well for perennials that bloom in summer.
- Late summer to early fall: After flowering and before the first frost. This is ideal for fall-blooming perennials and allows roots time to establish before winter.
Avoid dividing during extreme heat or drought, as the stress can harm roots and hinder recovery.
Expert Tip: Mark perennials in your garden to plan for division after they bloom, making it easier to manage timing and track which plants need attention.
Tools You’ll Need
Proper tools make division easier and minimize damage to roots. Essential tools include:
- Garden spade or shovel – for digging up the entire clump.
- Garden fork – to gently lift the plant without cutting roots.
- Sharp knife or pruning shears – for cleanly separating clumps.
- Buckets of water – to soak roots if they dry out during the process.
- Gloves – to protect hands from dirt, thorns, or irritants.
Expert Tip: Sterilize your tools with rubbing alcohol to prevent spreading disease between plants.
Step 1: Prepare the Area and Soil
Before digging, prepare the new planting location. Healthy soil ensures that divided perennials establish quickly.
- Loosen the soil to a depth of 8–12 inches and incorporate compost or well-rotted organic matter.
- Ensure proper drainage—perennials do not thrive in waterlogged conditions.
- Water the parent plant lightly a day before dividing to make digging easier and reduce stress on roots.
Expert Tip: Avoid fertilizing immediately before division, as fresh nutrients can stimulate growth too aggressively and stress the plant.
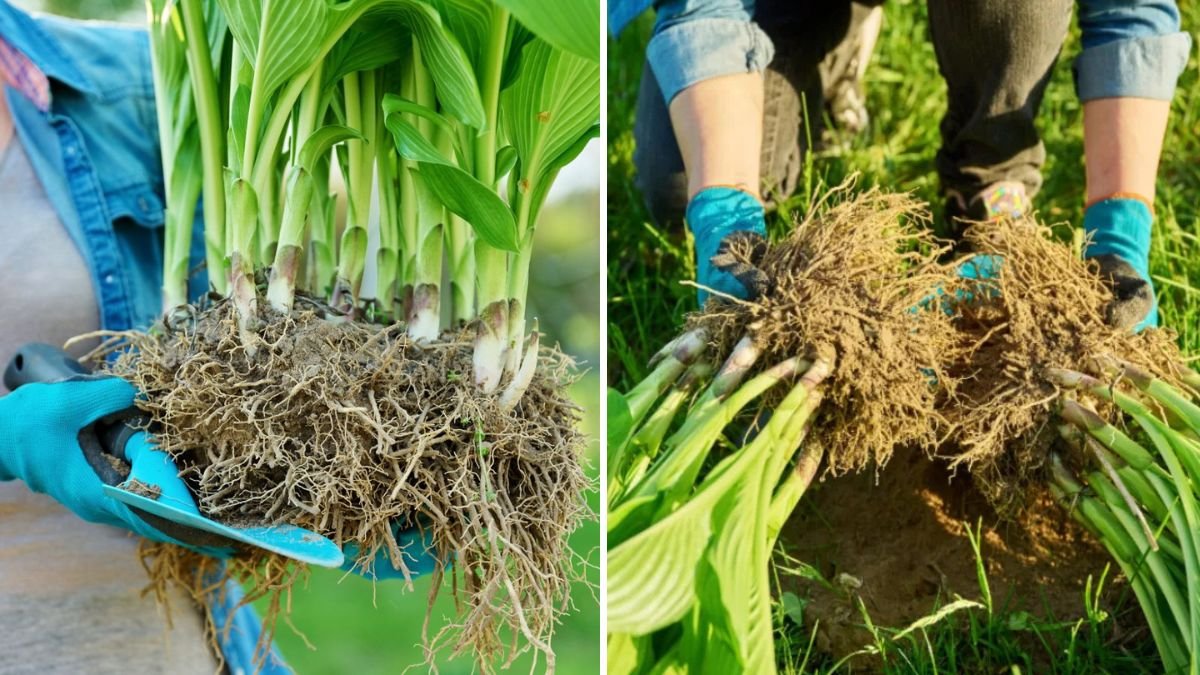
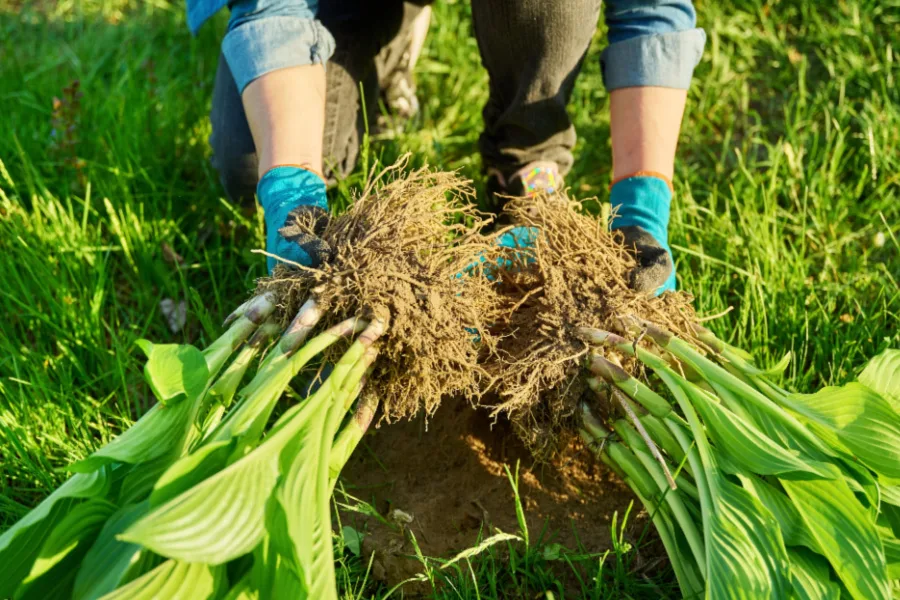
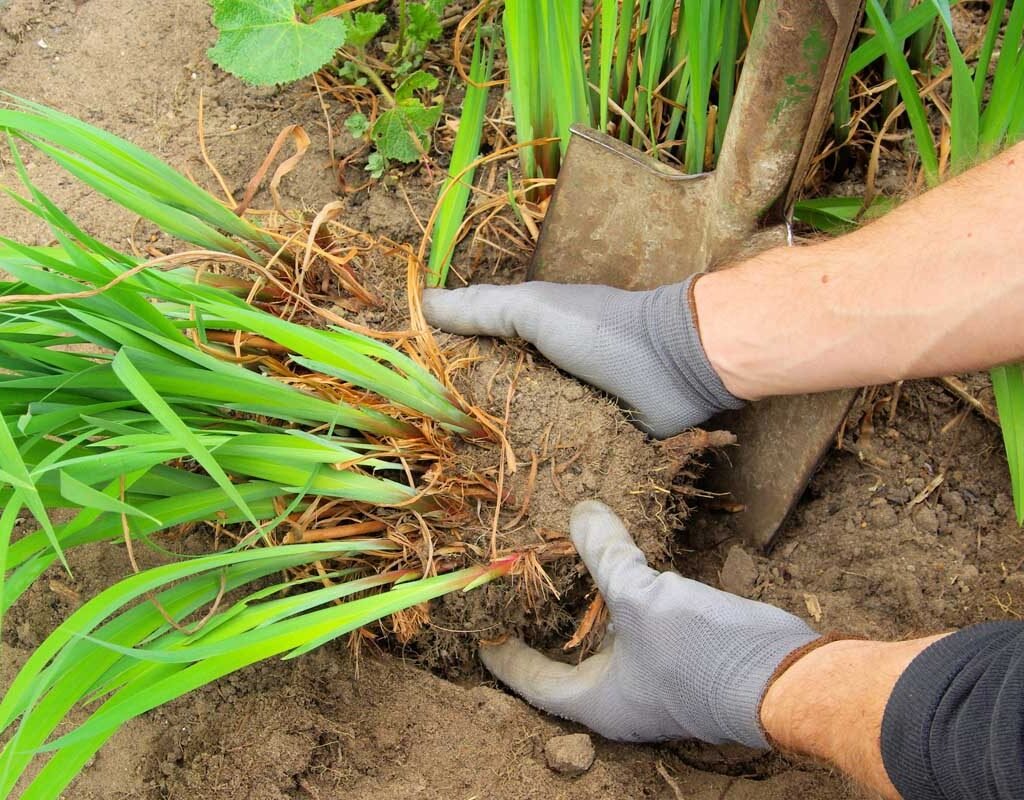
Step 2: Dig Up the Perennial
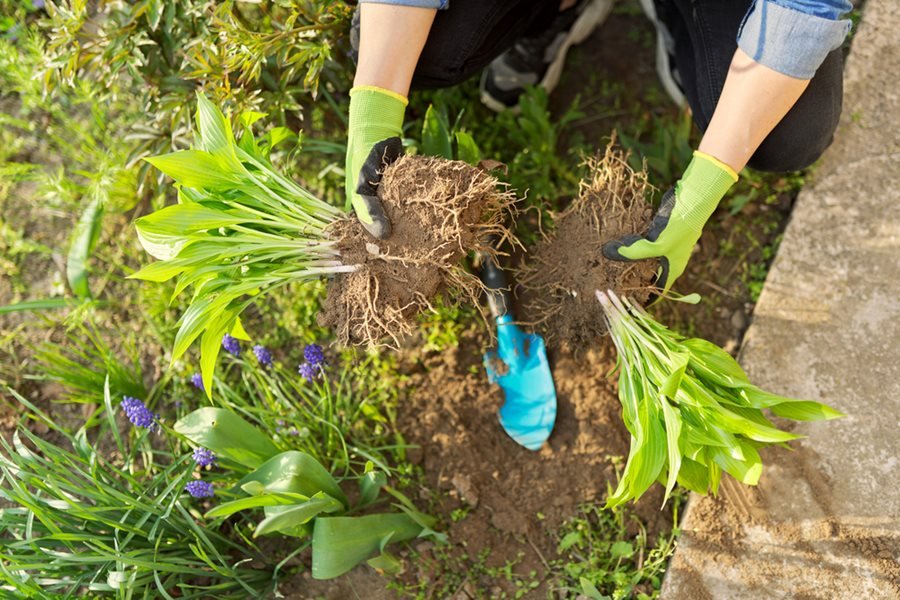
Carefully lift the plant from the ground to avoid damaging the roots.
- Start digging about 6–12 inches from the base, depending on the plant’s size.
- Use a garden fork or spade to loosen soil under the root ball.
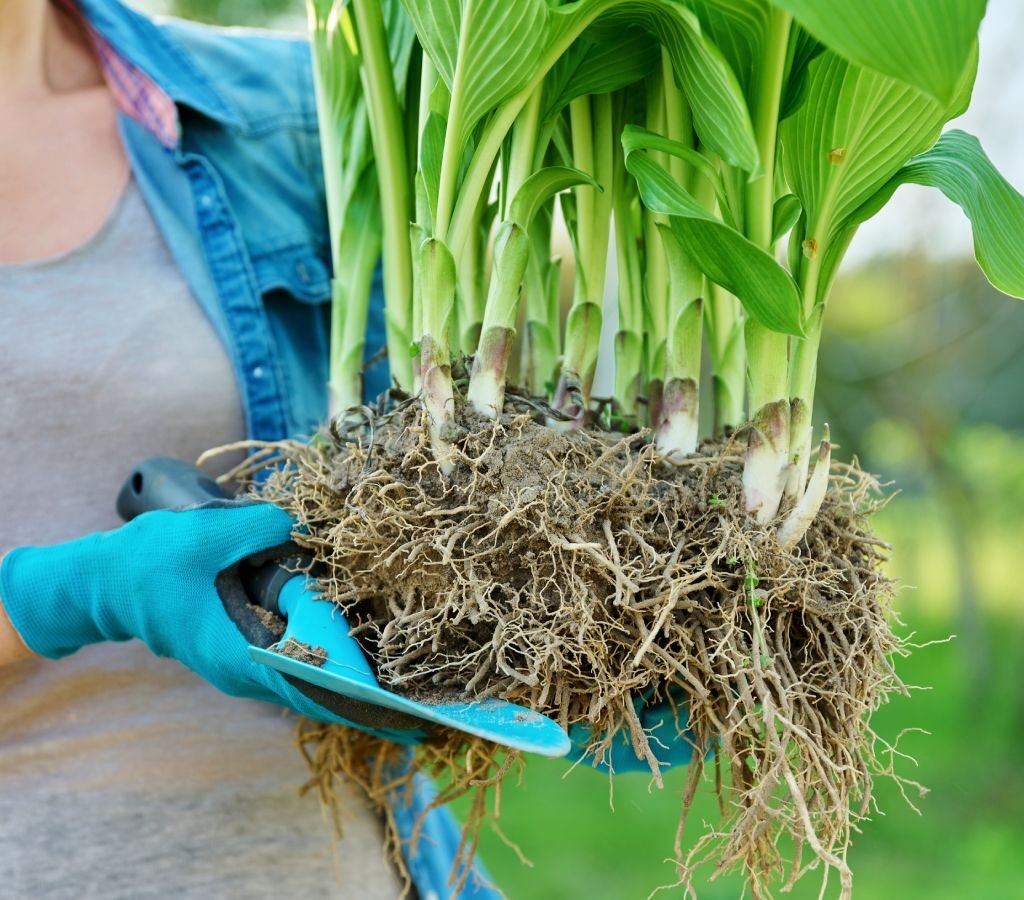
- Lift the plant gently, supporting the root mass with your hands.
- Shake off excess soil to expose the root structure for inspection.
Expert Tip: Keep the roots as intact as possible. Avoid pulling aggressively, as this can snap fine feeder roots.
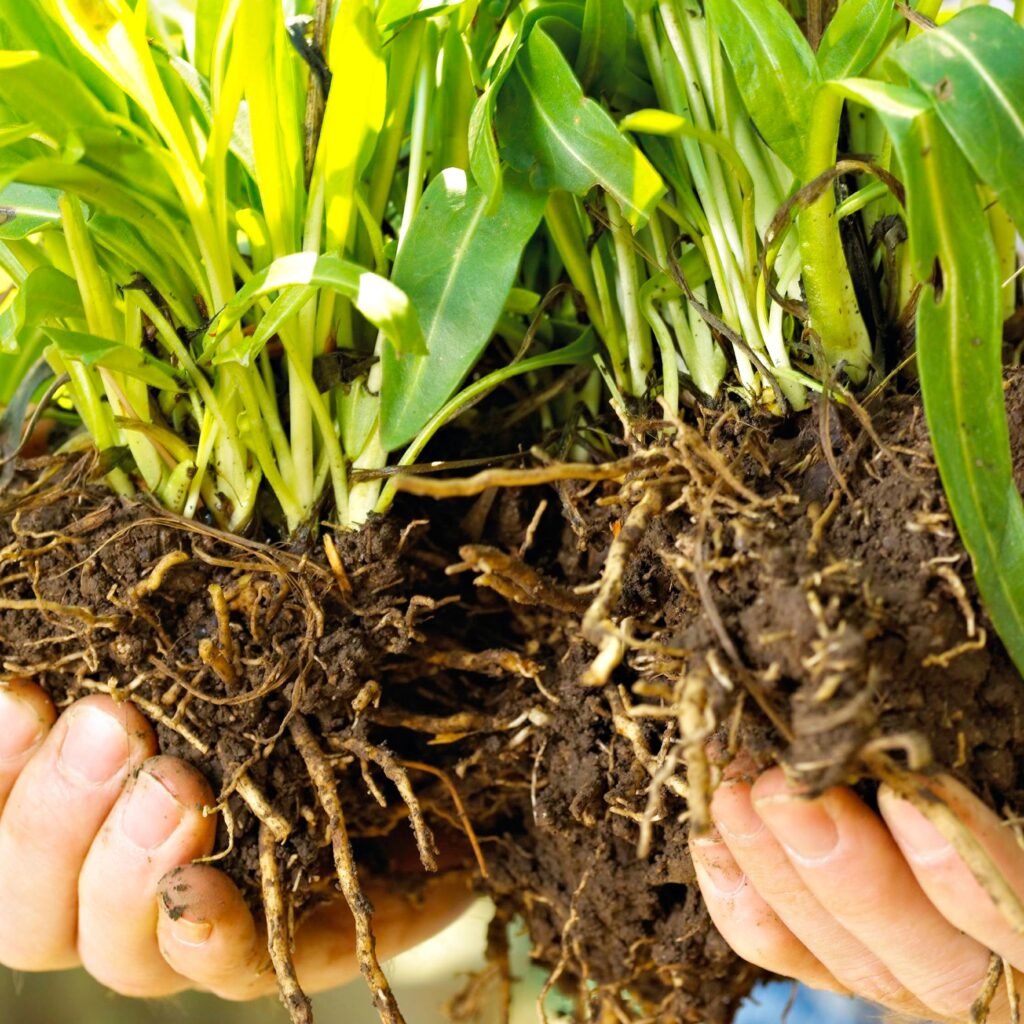
Step 3: Divide the Clump
Now comes the delicate process of dividing the plant. The goal is to create smaller clumps with healthy roots and shoots.
Techniques:
- Hand Separation: For soft-rooted plants like hostas or daylilies, gently pull apart the clumps by hand.
- Cutting with a Knife: For woody-rooted plants like peonies or rudbeckias, use a sharp, sterilized knife to cut the clump into sections.
- Using a Spade: For very large plants, a spade can cut through thick root masses.
Each division should have:
- At least 2–3 healthy shoots or buds.
- A strong portion of the root system to support growth.
Expert Tip: Trim damaged or diseased roots before planting the divisions. Shorten excessively long roots to encourage branching and reduce transplant shock.
Step 4: Plant the Divisions
Planting the divided perennials correctly is crucial for establishing strong roots.
- Plant at the same depth as they were previously growing.
- Spread the roots evenly in the soil to prevent crowding.
- Fill the hole with soil, gently firming it around the base.
- Water thoroughly after planting to settle the soil and reduce air pockets around the roots.
Spacing: Follow species-specific recommendations for spacing. Overcrowding can reduce air circulation and increase susceptibility to disease.
Expert Tip: Apply a layer of mulch around the base to conserve moisture, regulate soil temperature, and suppress weeds, leaving space near the crown to avoid rot.
Step 5: Aftercare and Maintenance
Once divided and replanted, your perennials need special attention to ensure recovery and strong growth.
- Water consistently for the first 2–4 weeks until roots establish. Avoid overwatering, which can cause rot.
- Monitor for stress signs, such as wilting or yellowing leaves. Temporary leaf loss is normal.
- Fertilize lightly in early spring after new growth appears.
- Protect from pests and disease, especially in the first season after division.
Expert Tip: Avoid heavy pruning immediately after division. Allow the plant to recover and focus on root development.
Common Mistakes to Avoid
- Dividing at the wrong time: Early spring or late fall is best; avoid hot summer months or frozen soil.
- Damaging roots: Pulling or cutting roots excessively can stress the plant.
- Dividing too small: Each division must have enough roots and shoots to survive.
- Planting too deep or shallow: Incorrect depth can stunt growth or cause crown rot.
- Neglecting aftercare: Watering, soil preparation, and mulch are critical for recovery.
Which Perennials Benefit Most from Division?
Some perennials respond particularly well to division:
- Hostas: Rejuvenate large clumps and reduce overcrowding.
- Daylilies: Promote larger blooms and more vigorous growth.
- Sedums and Stonecrops: Prevent legginess and encourage fuller clumps.
- Peonies: Maintain strong flowering and prevent root crowding.
- Astilbes and Ferns: Encourage healthy new shoots and reduce risk of disease.
Expert Insight: Perennials with fibrous root systems are generally easier to divide than those with deep taproots. Research your specific plant’s root structure for best results.
Conclusion: Divide Perennials with Care for a Healthier Garden
Dividing perennials is a gardening practice that rewards careful planning and proper technique. By choosing the right time, using the correct tools, and handling roots gently, you can rejuvenate older plants, propagate new ones, and create a more vibrant, productive garden.
Remember, successful division is as much about aftercare as the process itself. Proper watering, mulching, and monitoring ensure that your perennials recover quickly and thrive year after year.
With these expert tips, you’ll be able to divide perennials without damaging their roots, keeping your garden flourishing season after season, and enjoying beautiful blooms, lush foliage, and healthy growth for years to come.