Composting is one of the most effective ways to recycle kitchen scraps, yard waste, and other organic materials into nutrient-rich soil that can dramatically improve garden health. Building a DIY compost bin in your backyard allows you to create a controlled environment for decomposition while reducing household waste and promoting sustainable living. This guide will walk you through everything you need to know about how to build a compost bin, including materials, methods, and tips for maintaining a healthy compost system.
1. Understanding the Benefits of Composting
Before you start building, it’s important to understand why composting is beneficial:
- Enriches soil naturally: Compost adds essential nutrients, improving soil structure and fertility.
- Reduces waste: Kitchen scraps, yard clippings, and paper products are diverted from landfills.
- Encourages beneficial microorganisms: Compost promotes healthy soil biology, which enhances plant growth.
- Retains moisture: Compost-rich soil holds water better, reducing irrigation needs.
- Sustainable gardening: Compost reduces the need for chemical fertilizers.
A well-maintained compost bin is the foundation for a productive and eco-friendly backyard garden.
2. Choosing the Right Location for Your Compost Bin
The location of your compost bin affects its efficiency and convenience:
- Level ground: Place your bin on flat, stable soil to avoid tipping or uneven decomposition.
- Partial shade: A location with partial sun prevents excessive drying while keeping decomposition active.
- Accessible: Make sure it’s easy to add materials and turn the compost regularly.
- Good drainage: Avoid placing the bin in low areas where water can pool.
Proper placement ensures your compost breaks down efficiently without attracting pests or creating odors.
3. Materials Needed to Build a DIY Compost Bin
There are many ways to build a compost bin, but here are basic materials you can use:
- Wooden pallets: Easy to source and assemble into a three- or four-sided bin.
- Cinder blocks or bricks: Durable and adjustable for height and width.
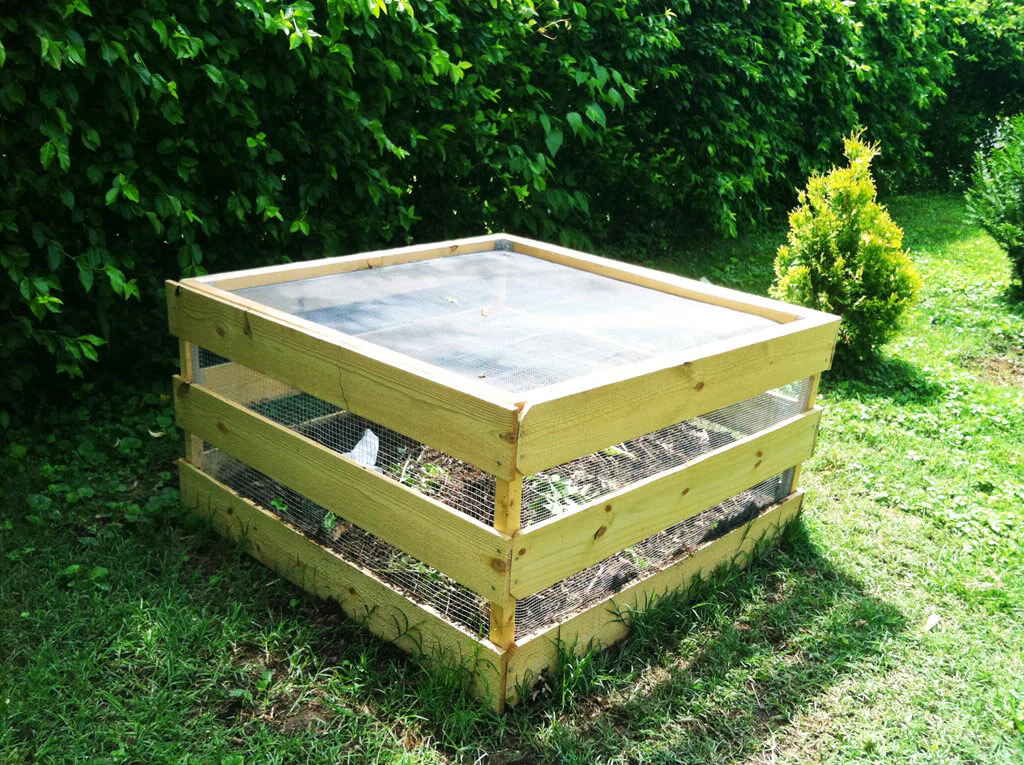
- Wire mesh or chicken wire: Provides ventilation while keeping pests out.
- Plastic storage bin: Suitable for small-space or indoor composting.
- Hardware: Screws, hinges, nails, and zip ties for securing components.
Choose materials based on your space, aesthetic preferences, and durability requirements.
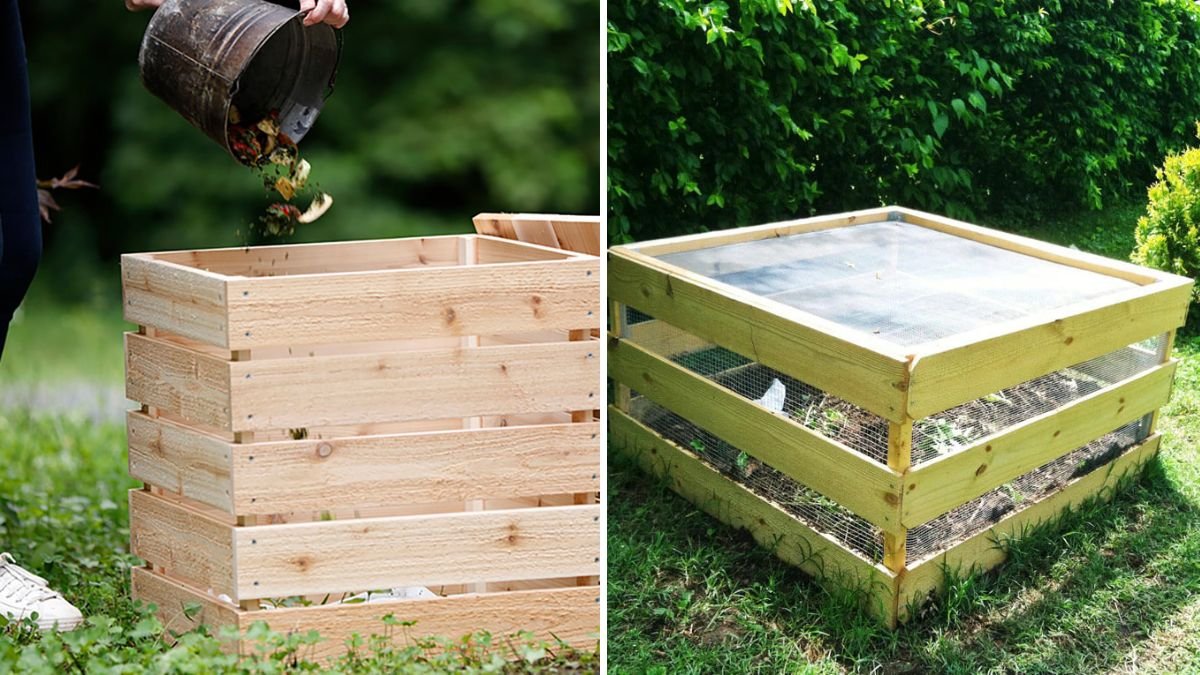
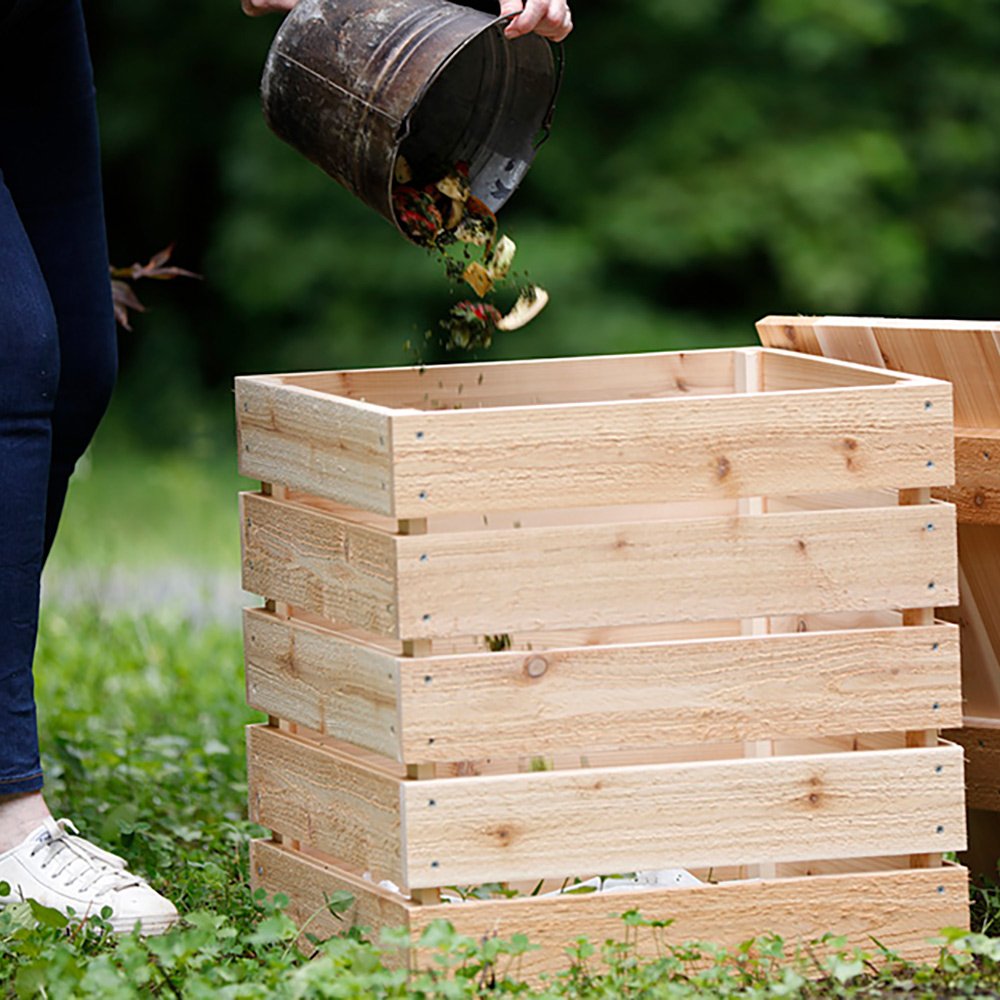
4. Step-by-Step Guide to Building a Simple Wooden Pallet Compost Bin
A wooden pallet compost bin is easy to construct and functional. Here’s how:
Step 1: Gather Pallets
- Collect 3–4 sturdy wooden pallets of similar size.
- Make sure the wood is untreated to avoid chemical contamination.
Step 2: Arrange the Structure
- Place three pallets in a U-shape, leaving the fourth side open for access.
- The open side will allow you to add materials and turn the compost easily.
Step 3: Secure the Pallets
- Use screws or nails to join the pallets at the corners.
- Ensure the bin is stable and the edges are flush to prevent gaps.
Step 4: Optional Lid
- Attach a hinged pallet or a piece of wood on top as a lid to retain moisture and heat.
- A lid is especially useful in rainy climates to prevent waterlogging.
Step 5: Provide Ventilation
- The gaps between pallet slats naturally provide airflow.
- Adequate ventilation is crucial for aerobic decomposition and preventing odors.
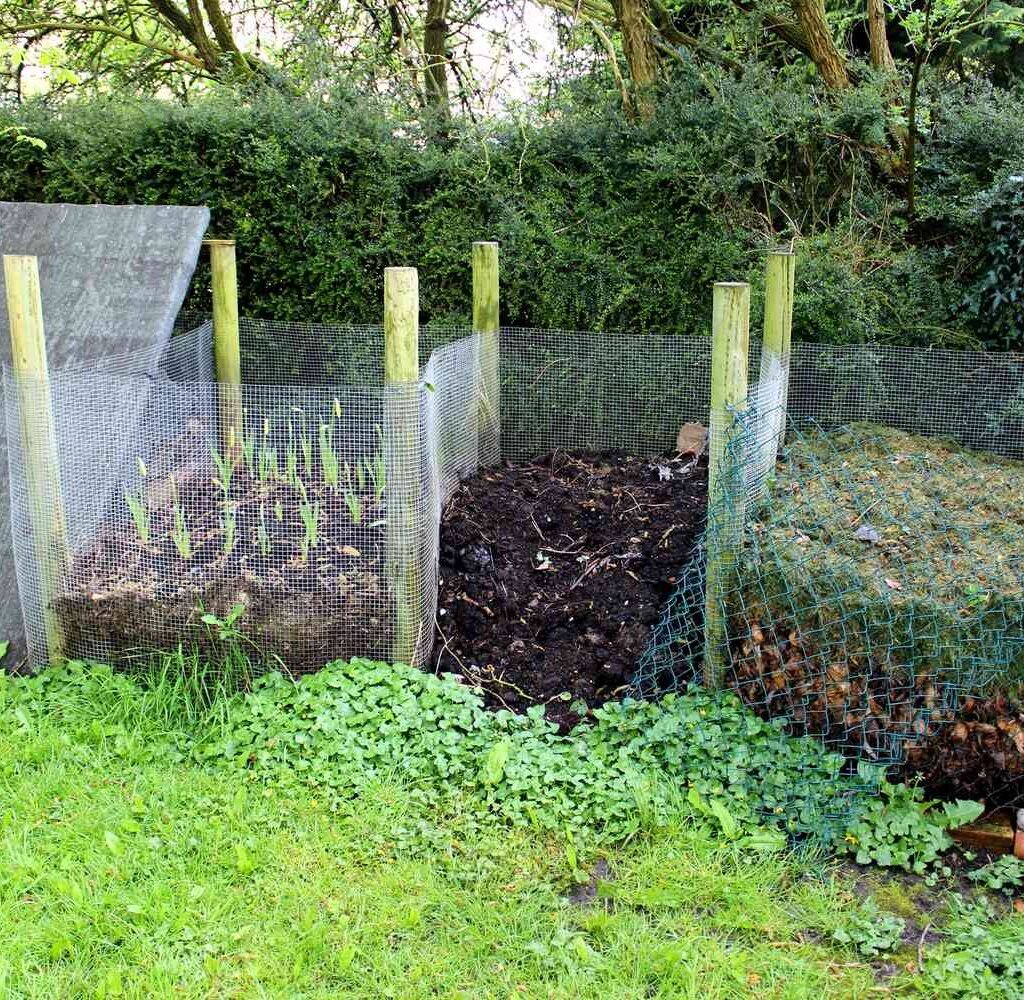
5. Alternative DIY Compost Bin Designs
Not every backyard requires a pallet structure. Other options include:
- Cinder Block Bin: Stack cinder blocks in a square or rectangle. Blocks are heavy but long-lasting and adjustable.
- Wire Mesh Cylinder: Form a circular bin using chicken wire. Great for small spaces and easy access.
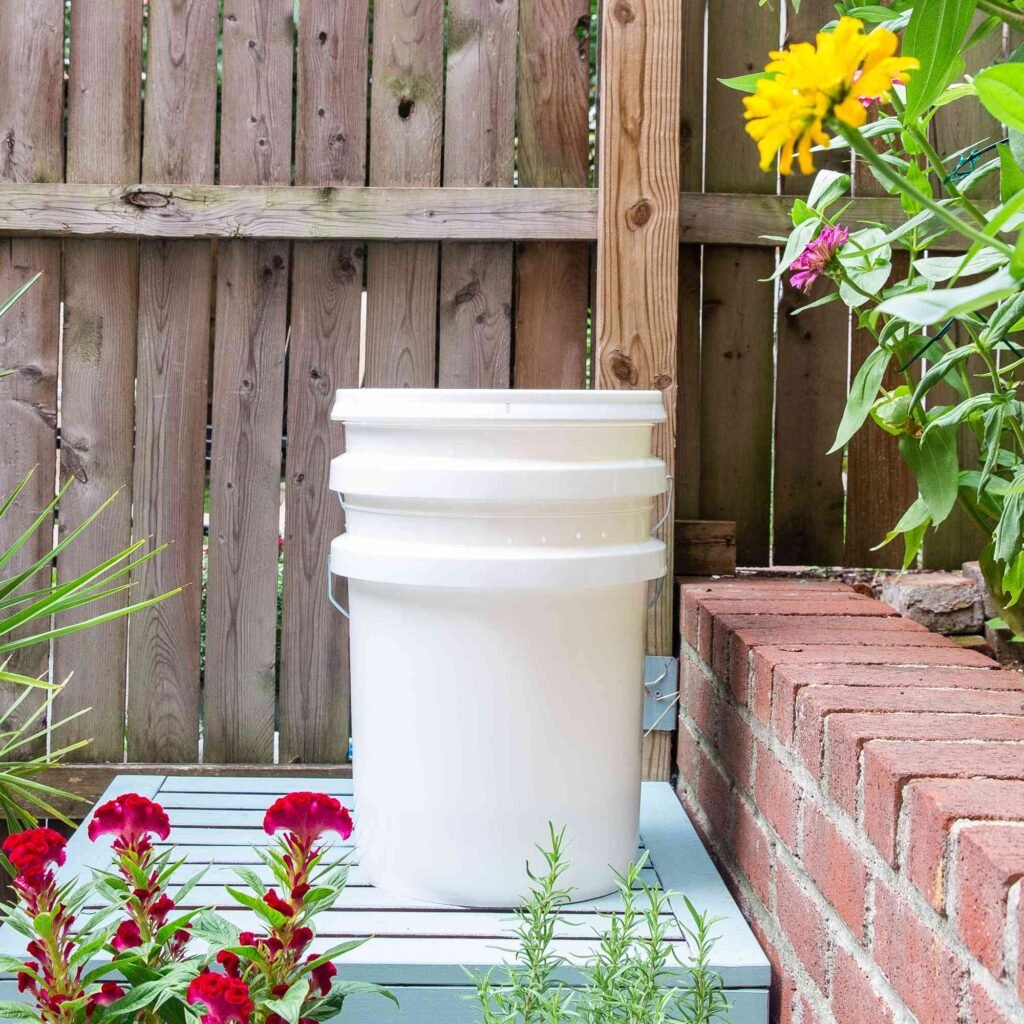
- Plastic Bin: Drill holes for drainage and ventilation. Ideal for apartment balconies or indoor composting.
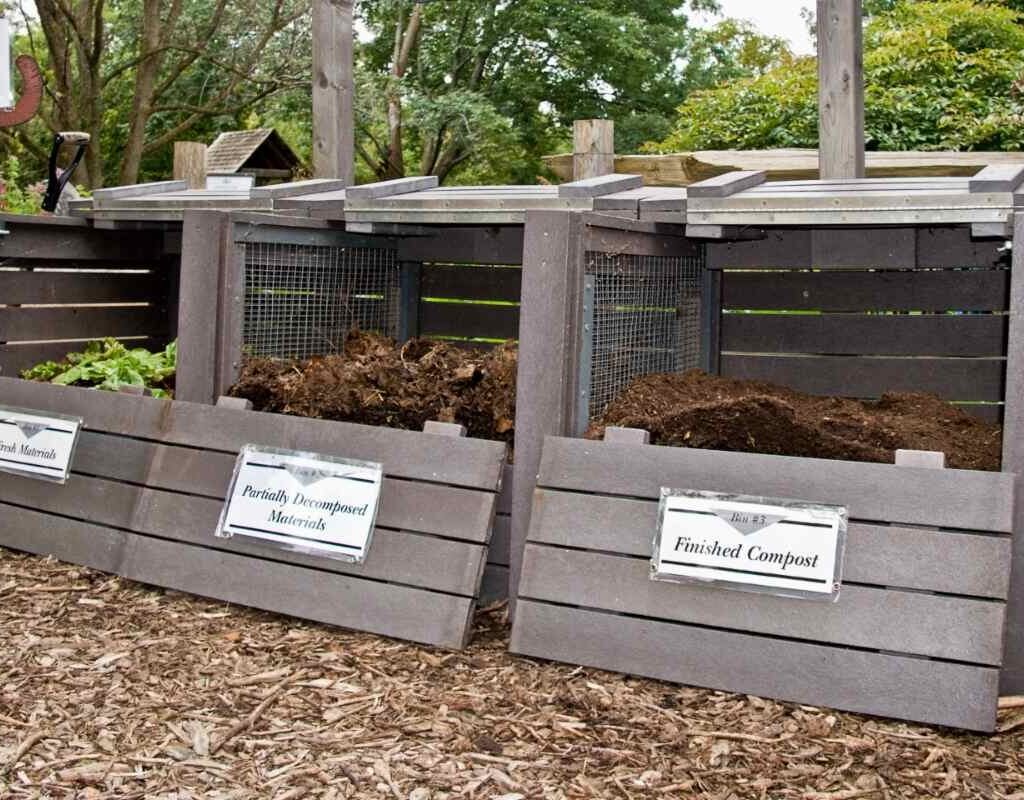
- Three-Bin System: Create three separate bins for “staging,” “active composting,” and “curing.” This is ideal for gardeners producing large amounts of compost.
Choose a design that fits your yard size, material availability, and compost volume.
6. What to Compost
Effective composting depends on the right mix of “greens” and “browns”:
Greens (Nitrogen-rich):
- Vegetable and fruit scraps
- Coffee grounds and tea leaves
- Grass clippings
Browns (Carbon-rich):
- Dry leaves
- Shredded newspaper or cardboard
- Straw and wood chips
Pro tip: Aim for a 2:1 ratio of browns to greens to promote faster decomposition and prevent odors.
Avoid in Compost:
- Meat, dairy, and oily foods (can attract pests)
- Diseased plants (may survive decomposition)
- Pet waste (can contain harmful pathogens)
Balancing greens and browns ensures efficient composting and nutrient-rich soil.
7. Maintaining Your Compost Bin
A compost bin requires minimal effort but regular attention:
- Turning: Mix the compost every 1–2 weeks to aerate and accelerate decomposition.
- Moisture: Compost should feel like a damp sponge; add water if dry or browns if too wet.
- Shredding materials: Chop large items into smaller pieces to speed breakdown.
- Monitor temperature: Active composting generates heat; aim for 130–150°F (55–65°C) in the center.
Consistent care ensures a steady production of high-quality compost.
8. Troubleshooting Common Compost Issues
Even with proper construction, compost bins may encounter problems:
- Foul odors: Usually caused by too much green material or poor aeration. Turn the pile and add browns.
- Pests: Rats or raccoons can be attracted to food scraps. Use a secure lid and avoid meat/dairy.
- Slow decomposition: Often due to dry material or lack of nitrogen. Add water and more greens.
- Excess moisture: Heavy rain can waterlog compost. Use a lid or cover with straw to absorb water.
Understanding these common issues allows for quick correction and a healthy composting process.
9. Harvesting Compost
Your compost will be ready in 2–6 months, depending on materials, bin size, and maintenance. Signs it’s ready:
- Dark, crumbly, soil-like texture
- Earthy smell (not sour or rotten)
- Reduced volume of original materials
How to Use:
- Mix into garden beds or flower pots
- Use as mulch around plants
- Add to potting soil for improved fertility
Harvested compost enriches soil naturally and supports sustainable gardening.
10. Tips for a Successful DIY Composting Experience
- Start small: Begin with a manageable bin and gradually expand.
- Keep it balanced: Alternate layers of greens and browns for consistent results.
- Shred and chop: Smaller pieces decompose faster and evenly.
- Cover the bin: Retains moisture and heat, especially in dry or rainy seasons.
- Monitor regularly: Check for odors, pests, and moisture levels weekly.
Following these tips will make composting an easy and rewarding part of your gardening routine.
Conclusion
Building a DIY compost bin in your backyard is a simple, sustainable way to turn kitchen scraps and yard waste into nutrient-rich soil. Whether you choose a wooden pallet bin, a cinder block structure, or a plastic container, proper construction, placement, and maintenance ensure effective decomposition. By combining greens and browns, monitoring moisture, and turning the pile regularly, you can produce high-quality compost that enhances soil fertility, strengthens plant roots, and encourages lush growth.
With a little effort and consistency, your DIY compost bin can transform waste into a valuable resource, promoting sustainable gardening and creating a thriving, eco-friendly backyard oasis. Not only does it save money on fertilizers, but it also contributes to a healthier environment—one pile at a time.