How To Prep Your Lawn For Winter Dormancy

How To Prep Your Lawn For Winter Dormancy

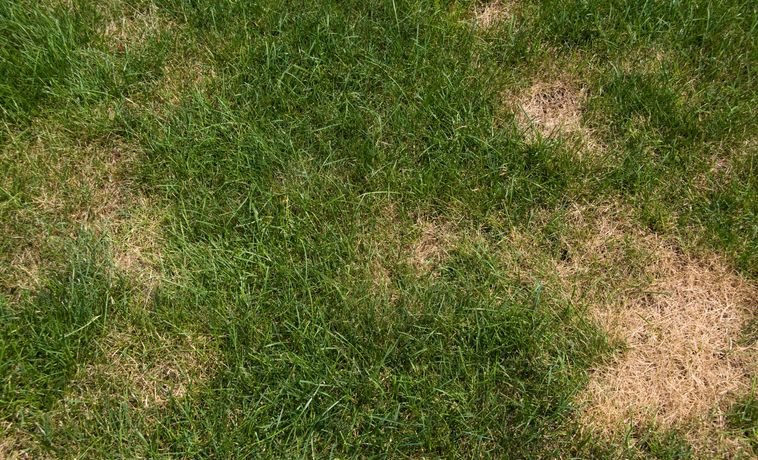
A lush, green lawn doesn’t simply fade away when winter arrives—it prepares itself for survival. During cold months, most grasses enter dormancy, a natural resting period where growth slows or stops, and lawns may turn brown. This doesn’t mean your grass is dead—it’s conserving energy to return healthy and vibrant in spring.

The way you prepare your lawn for winter dormancy determines how well it will bounce back. Without proper preparation, you may face thin patches, weeds, or disease in spring. With the right steps, however, you can ensure a smooth seasonal transition and set your lawn up for success.

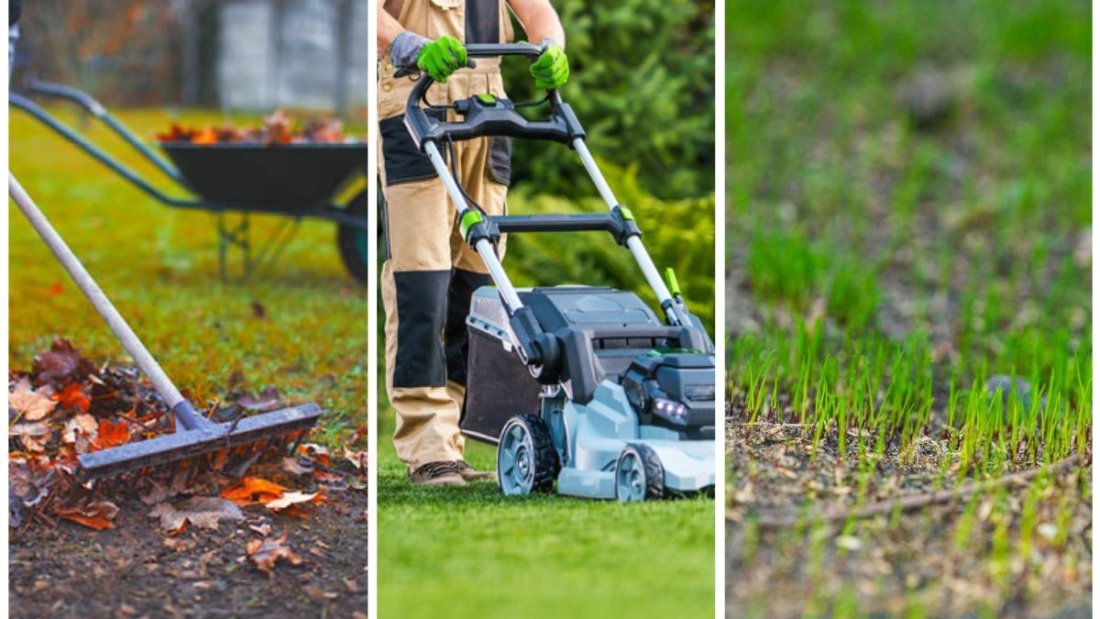
This article covers everything you need to know about how to prep your lawn for winter dormancy, from late-season mowing and fertilizing to aeration, weed control, and protection strategies.


Understanding Winter Dormancy

Dormancy is your lawn’s built-in survival mechanism. Grass slows down or stops visible growth, redirecting energy to its root system for protection against freezing temperatures.

  • Cool-season grasses (like Kentucky bluegrass, fescue, and ryegrass) remain green longer but still slow down significantly in winter.
  • Warm-season grasses (like Bermuda, zoysia, and St. Augustine) go fully dormant, often turning brown until spring.

Knowing your grass type is crucial, as it determines the best timing for winter prep.


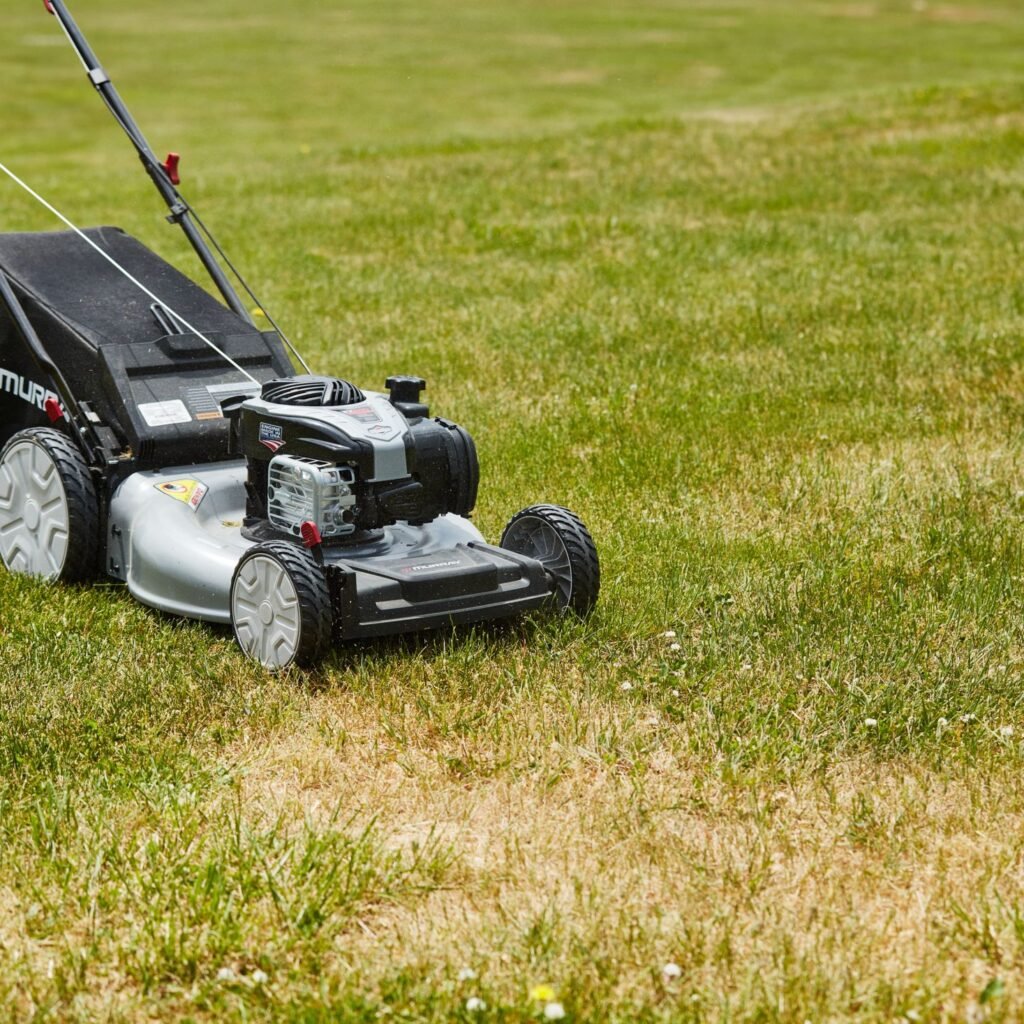
Step 1: Final Lawn Mowing

Mowing in late fall is an essential part of prepping for winter dormancy.

  • Lower the Mowing Height Gradually: Begin lowering the blade height during the last 2–3 cuts of the season. Aim for around 2 to 2.5 inches for cool-season grasses and slightly higher (2.5–3 inches) for warm-season grasses.
  • Why It Matters: Grass that’s too long becomes matted under snow, encouraging mold and disease. Grass cut too short exposes roots to extreme cold.

Tip: Always use sharp mower blades for a clean cut to minimize stress before dormancy.


Step 2: Fall Fertilization

Fall is the most important season for fertilizing your lawn. While grass growth above the soil slows, root systems remain active.

  • Use a Winterizing Fertilizer: Choose a product with higher potassium to strengthen roots and improve cold resistance.
  • Timing: Apply fertilizer in late fall, about 2–3 weeks before the ground freezes.
  • Benefits: Builds food reserves for winter and jump-starts green growth in spring.

Step 3: Aeration Before Dormancy

Compacted soil prevents water, nutrients, and oxygen from reaching grass roots. Aerating before winter allows your lawn to breathe and absorb essential resources.

  • When to Aerate: Early to mid-fall is ideal for cool-season grasses. For warm-season grasses, aerate in late summer or early fall.
  • How It Helps: Aeration loosens soil, improves water infiltration, and reduces thatch buildup, ensuring stronger roots to withstand dormancy.

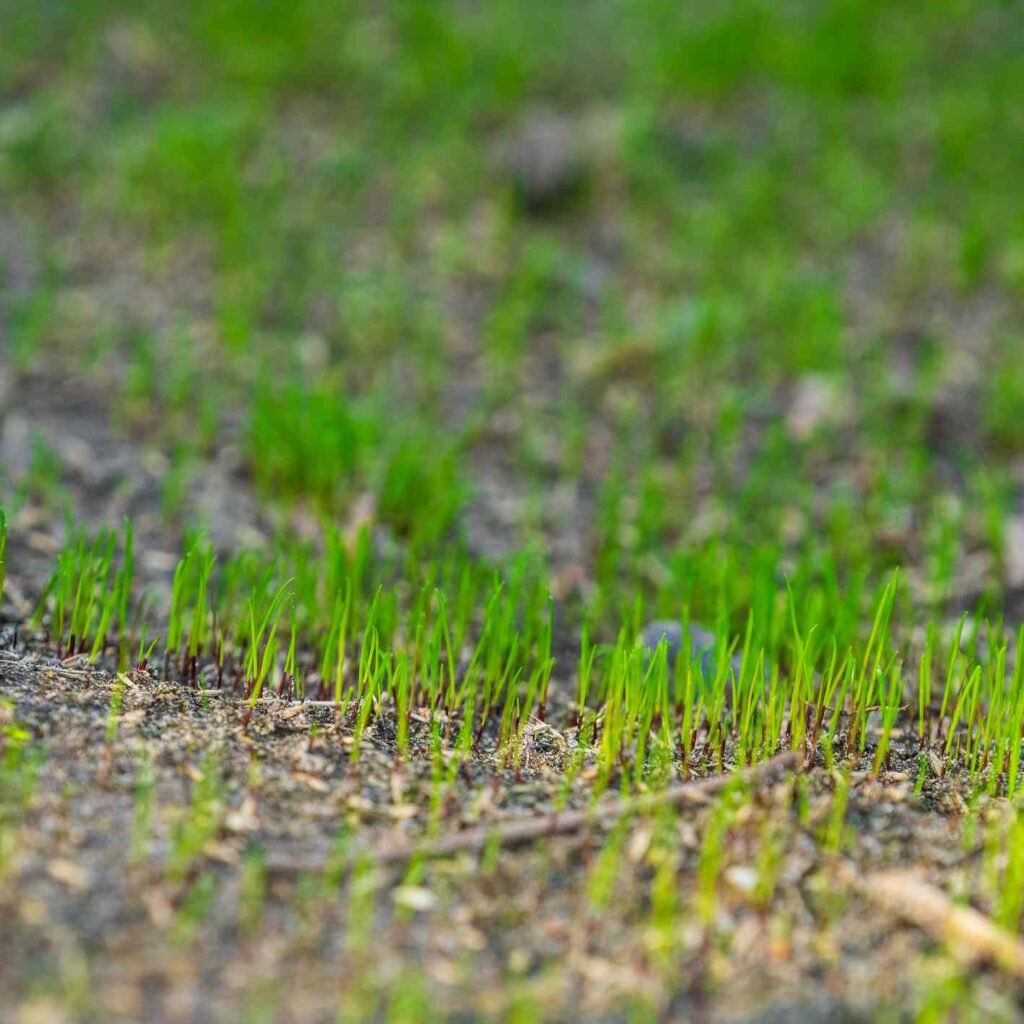
Step 4: Overseeding Thin Areas

Dormant lawns don’t grow, but seeds planted in fall germinate quickly before cold weather sets in.

  • Cool-season lawns benefit most from fall overseeding.
  • Overseeding fills bare spots, thickens the lawn, and prevents weeds from taking over in spring.
  • Water lightly and consistently until seedlings establish.

Step 5: Weed and Pest Control

Weeds often stay active longer than grass, competing for nutrients as your lawn heads into dormancy.

  • Apply a Pre-Emergent Herbicide: Prevents winter annual weeds like poa annua and chickweed.
  • Spot-Treat Persistent Weeds: Target dandelions and clover before they go dormant.
  • Check for Pests: Grubs can damage roots before winter. Treat infestations with grub control products in early fall.

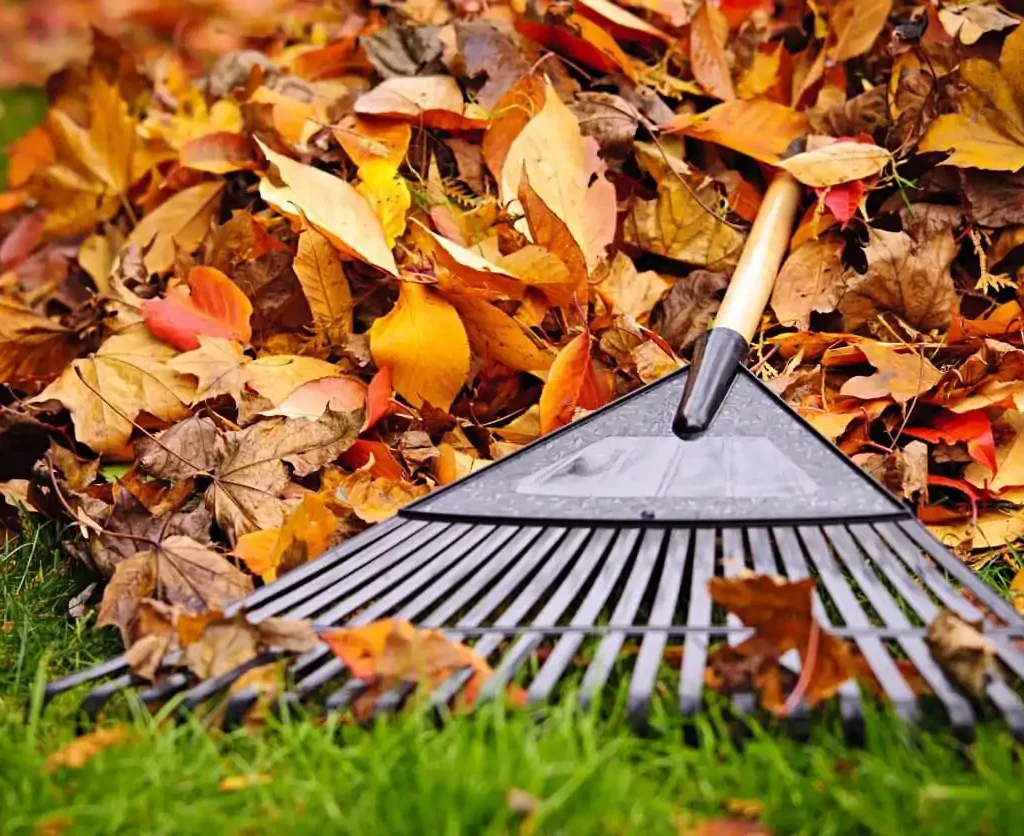
Step 6: Rake and Remove Debris

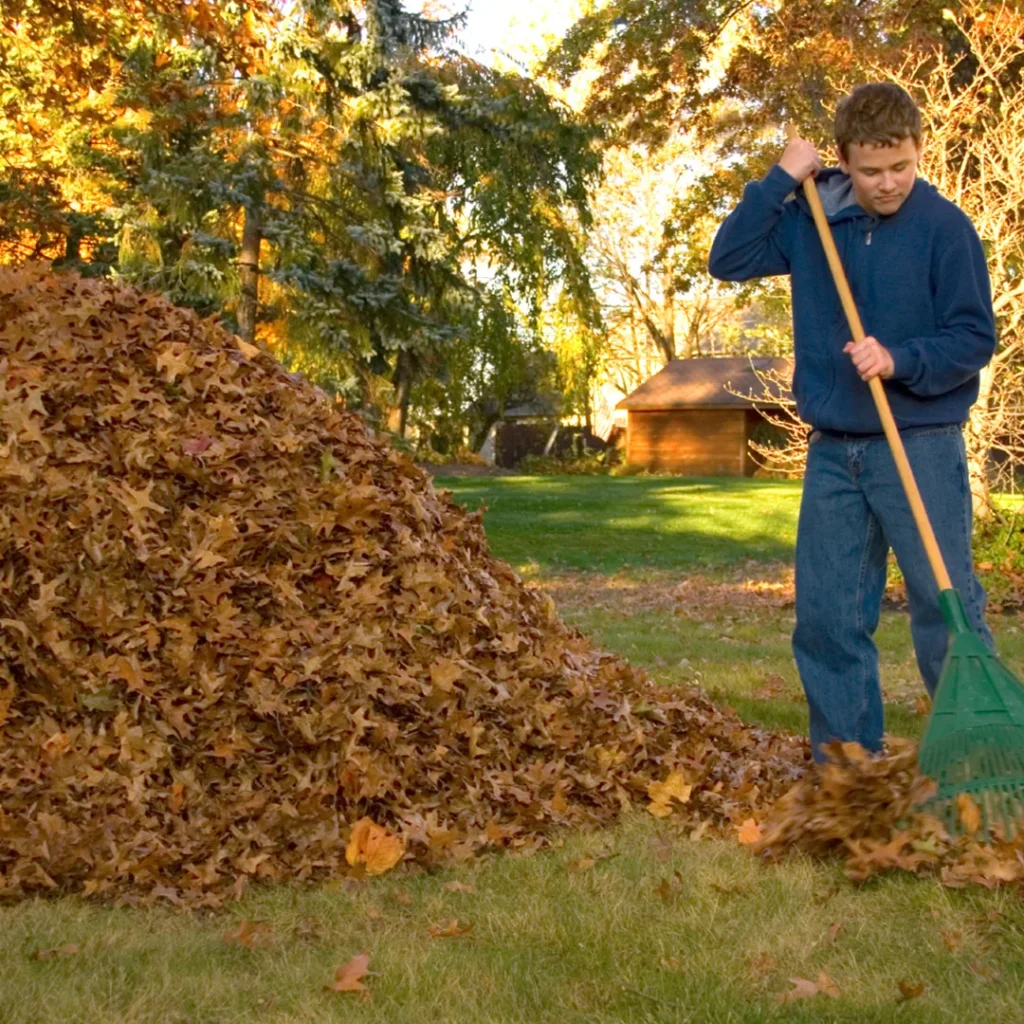
Leaves, twigs, and debris left on your lawn smother grass and create the perfect environment for mold and pests.

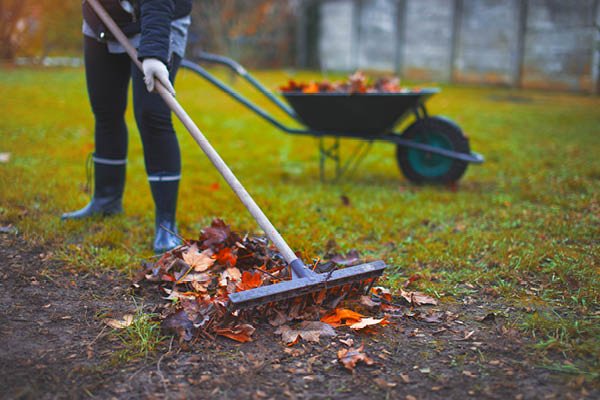
  • Rake Leaves Regularly: Don’t wait until all the leaves fall—clean up weekly.
  • Mulch Leaves into the Lawn: Use a mulching mower to chop leaves into small pieces. This returns organic matter to the soil.
  • Clear Lawn Furniture and Toys: Heavy items left on dormant grass cause dead spots come spring.

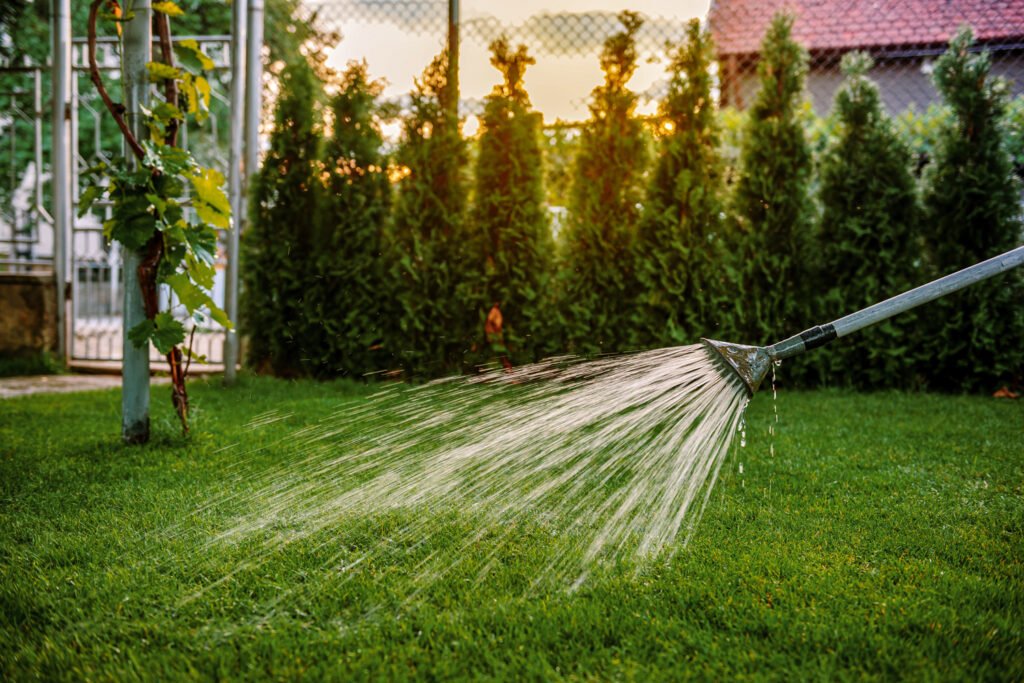
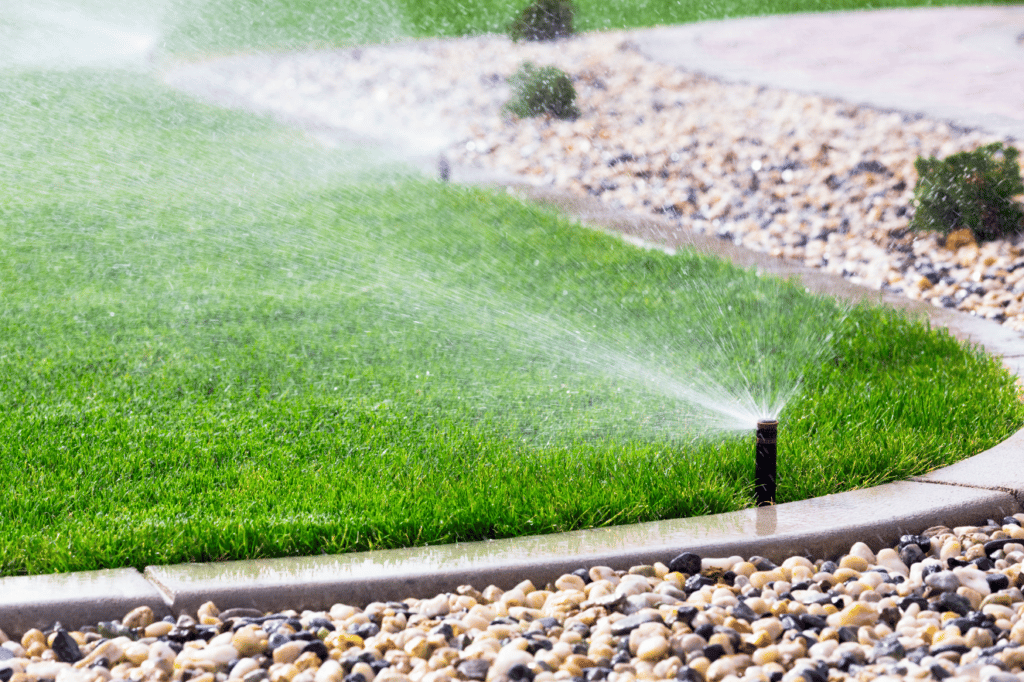
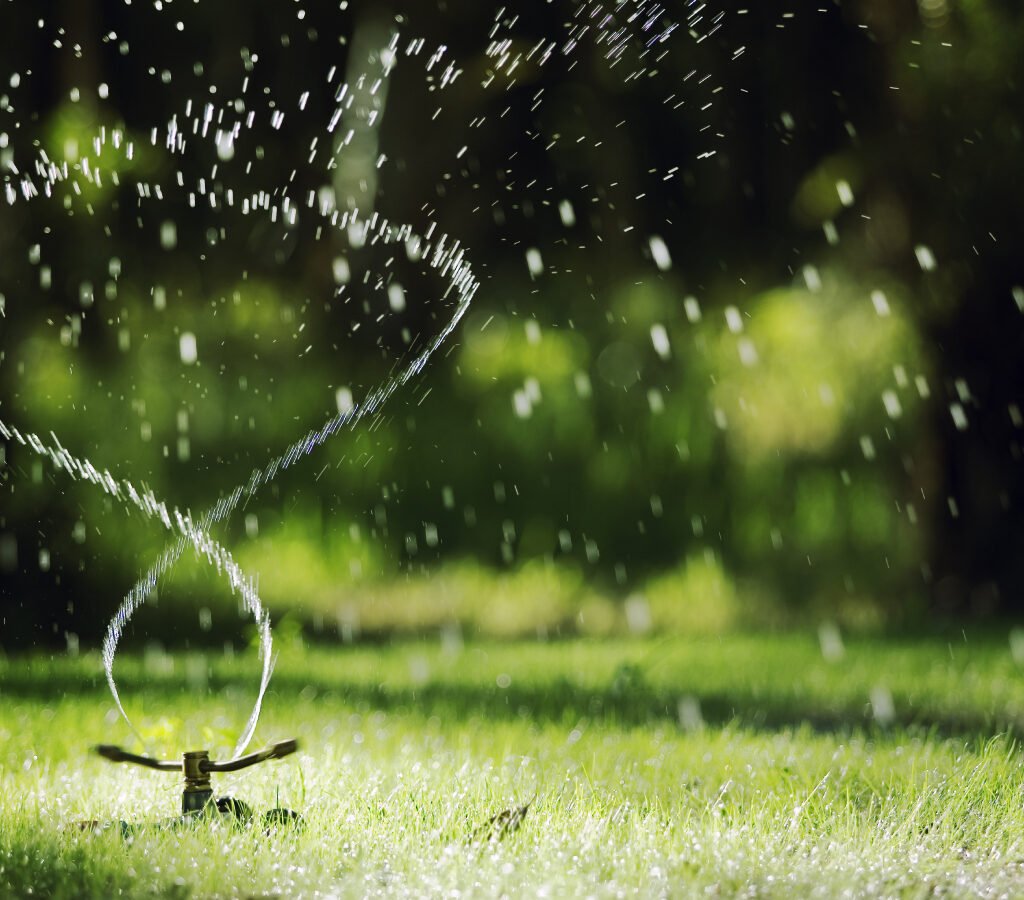
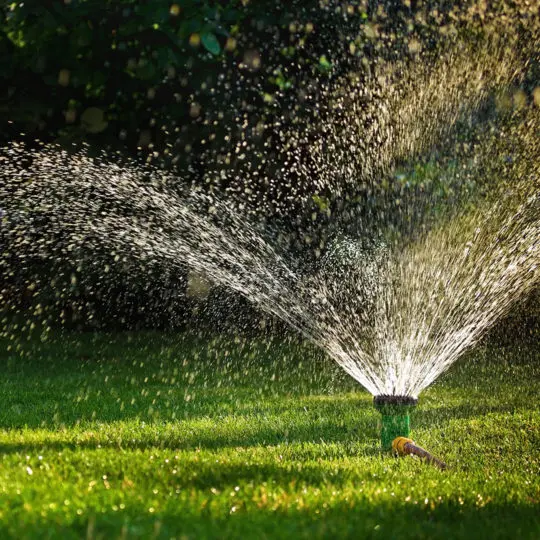
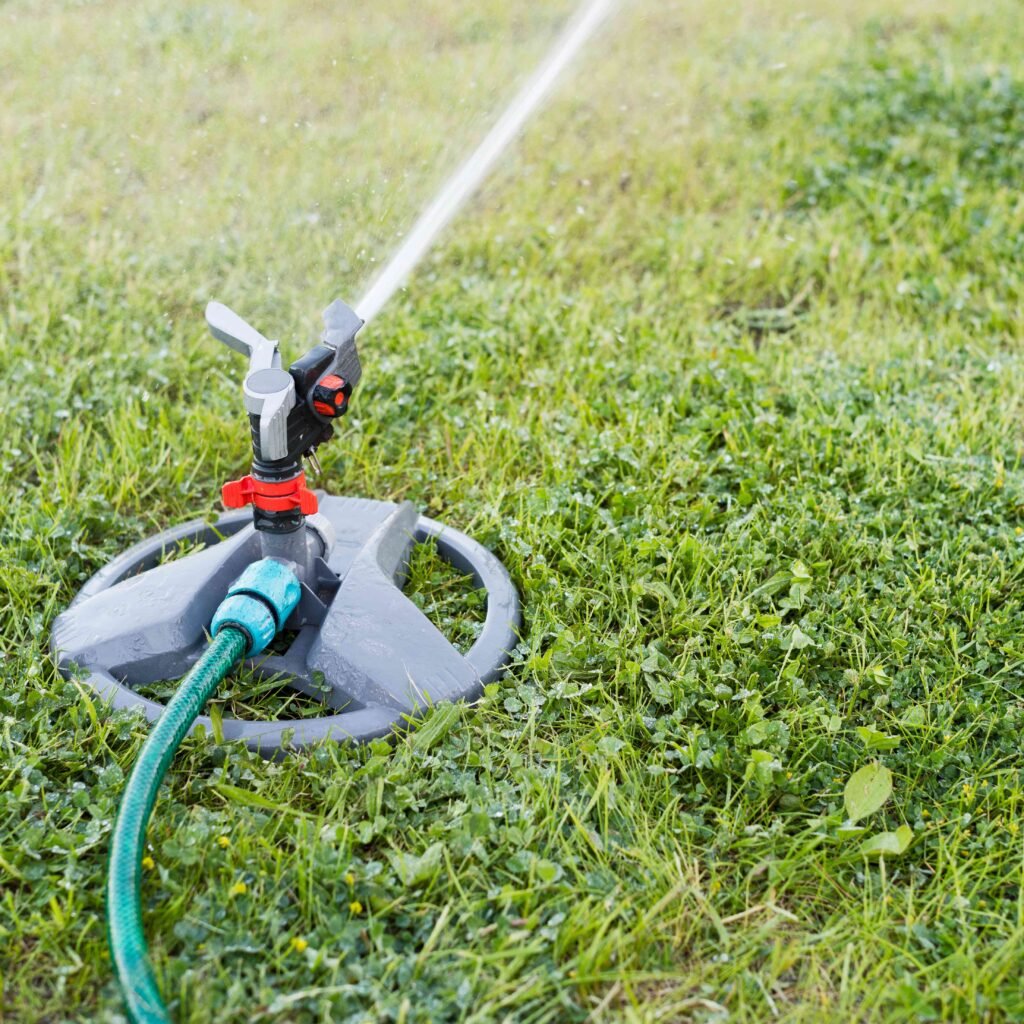
Step 7: Adjust Watering Schedule

As temperatures drop, lawns need less water. However, it’s important to keep soil hydrated until the ground freezes.

  • Water Deeply in Late Fall: Ensure roots go into dormancy well hydrated.
  • Shut Down Irrigation Systems: Drain sprinklers and hoses before freezing temperatures to prevent damage.

Step 8: Protect Against Winter Damage

Your lawn can suffer from snow, ice, and foot traffic during dormancy.

  • Minimize Traffic: Avoid walking on dormant grass, especially when it’s frosted, as it can break brittle blades.
  • Prevent Snow Mold: Clear thick snow piles when possible to reduce fungal risks.
  • Mark Driveways and Paths: This prevents accidental damage from snow shovels or plows.

Step 9: Maintain Lawn Equipment

Prepping your lawn for winter isn’t just about the grass—it’s also about the tools you’ll need in spring.

  • Clean and Sharpen Mower Blades: Prevents rust and ensures clean cuts next season.
  • Empty Fuel Tanks: Old fuel can damage engines; drain or add a stabilizer.
  • Store Tools Properly: Keep aerators, rakes, and trimmers clean and dry.

Common Mistakes to Avoid

  • Cutting Grass Too Short: Exposes roots and increases winterkill risk.
  • Overfertilizing: Excess nitrogen late in the season promotes blade growth instead of root strength.
  • Neglecting Leaf Removal: Leads to suffocated grass and fungal problems.
  • Skipping Aeration: Compacted soil limits nutrient absorption during dormancy.

Quick Prep Checklist for Winter

  • Lower mowing height gradually
  • Apply fall fertilizer with potassium
  • Aerate and overseed if needed
  • Control weeds and pests
  • Rake and mulch leaves
  • Deep water before ground freeze
  • Minimize winter lawn traffic
  • Store and service lawn equipment

Conclusion

Winter dormancy is not the end of your lawn’s life cycle—it’s a period of rest and recovery. By taking the right steps in fall, you help your grass survive harsh winter conditions and emerge stronger in spring. Proper mowing, fertilization, aeration, overseeding, and protection strategies ensure your lawn doesn’t just survive the cold months, but thrives once warmer days return.

With just a little seasonal preparation, you can transform your lawn from stressed and vulnerable to resilient and ready for a healthy comeback.

The Best Time To Water Grass For Strong Growth

The Best Time To Water Grass For Strong Growth

Every homeowner dreams of a lush, vibrant, green lawn that feels soft underfoot and looks picture-perfect. While mowing, fertilizing, and aerating are important, one simple factor often makes the biggest difference: watering at the right time. Water is the lifeblood of your lawn, but if you water at the wrong time of day—or in the wrong way—you could actually harm grass instead of helping it.

So, when is the best time to water grass for strong growth? And what techniques can you use to make sure your lawn gets the most out of every drop? Let’s dig into the science and strategy of smart lawn watering.


Why Timing Matters in Lawn Watering

Watering your lawn isn’t just about quantity—it’s about timing. Grass absorbs moisture best when conditions allow water to seep into the soil without evaporating too quickly or promoting disease.

  • Too Early in the Day (Before Dawn): Water may sit on grass overnight, encouraging fungal diseases.
  • Too Late in the Day (Afternoon/Evening): Heat evaporates water before roots can absorb it, or damp blades stay wet into the night.
  • Just Right: Watering at the right time ensures roots get moisture without waste, stress, or disease risks.

The correct timing helps grass grow deeper roots, making your lawn more resilient to heat, drought, and wear.


The Best Time to Water Grass

Early Morning (Between 6 AM – 10 AM)

The absolute best time to water grass is in the early morning. Here’s why:

  • Cooler Temperatures: Less water evaporates, so more reaches the roots.
  • Calmer Winds: Minimal wind means water falls evenly and soaks properly.
  • Drying Before Nightfall: Grass blades dry out during the day, reducing fungal disease risk.

If you water in the early morning, your lawn gets the perfect balance—ample moisture and minimal stress.


Late Afternoon (Between 4 PM – 6 PM) – The Second-Best Option

If mornings aren’t possible, late afternoon watering works. The sun is lower, temperatures cooler, and evaporation slower.

  • Caution: Water early enough for grass to dry before night. Wet blades overnight can invite fungus and pests.

The Worst Time to Water Grass

  • Midday (10 AM – 4 PM): The sun is hottest, and up to 50% of water can evaporate before reaching roots. This wastes water and stresses grass.
  • Night (After 7 PM): Moisture lingers overnight, creating the perfect environment for lawn diseases like brown patch and powdery mildew.

How Much Water Does Your Lawn Really Need?

Watering frequency matters just as much as timing. Most lawns need:

  • 1 to 1.5 inches of water per week, including rainfall.
  • This can be achieved with one or two deep waterings, not daily light watering.

Why deep watering works better:

  • Encourages roots to grow deeper into the soil, making grass drought-resistant.
  • Prevents shallow roots that dry out quickly.

Tip: Use the “tuna can test”—place an empty can on the lawn while watering. When it fills with 1 inch of water, your lawn has had enough.


Signs Your Lawn Needs Water

If you’re unsure when to water, let your grass tell you:

  • Wilting or Curling Blades – Grass blades fold in half to conserve water.
  • Color Change – Grass turns from bright green to bluish-gray.
  • Footprints Remain – If footprints stay visible after walking on the grass, it’s thirsty.

Watering Tips for Different Lawn Types

1. Cool-Season Grasses (Fescue, Bluegrass, Ryegrass)

  • Best watered in spring and fall when actively growing.
  • Require consistent deep watering, especially during summer heat waves.

2. Warm-Season Grasses (Bermuda, Zoysia, St. Augustine)

  • Grow vigorously in summer and tolerate heat better.
  • Still benefit from deep watering in early mornings to stay lush and green.

3. Newly Seeded Lawns

  • Need frequent light watering (2–3 times per day) until seeds germinate.
  • Transition to deeper, less frequent watering as roots establish.

Smart Lawn Watering Techniques

  1. Use a Sprinkler System with a Timer
    • Ensures watering happens at the right time (early morning), even if you’re not home.
    • Smart irrigation systems can adjust based on weather conditions.
  2. Water Deeply, Not Daily
    • Two deep soakings per week are far better than shallow watering every day.
    • Roots grow deeper and lawns withstand drought better.
  3. Water Slowly
    • Avoid runoff by watering slowly. Oscillating sprinklers or drip systems allow water to penetrate deeply.
  4. Adjust for Weather
    • Skip watering after heavy rain.
    • During heatwaves, increase watering frequency but stick to morning hours.
  5. Check Soil Moisture
    • Stick a screwdriver 6 inches into the soil. If it goes in easily and feels moist, you’re watering enough.

Common Lawn Watering Mistakes to Avoid

  • Daily Sprinkling: Leads to shallow roots and weak grass.
  • Overwatering: Wastes water, suffocates roots, and causes disease.
  • Uneven Coverage: Leaves dry patches; test your sprinkler coverage regularly.
  • Ignoring Rainfall: Natural rain counts toward your lawn’s water needs.
  • Watering During Heat: Midday watering wastes water and stresses grass.

Extra Tips for Strong Lawn Growth

  • Aerate the Soil: Once a year, to improve water penetration and oxygen flow.
  • Mow at the Right Height: Taller grass (3–4 inches) shades soil and reduces evaporation.
  • Mulch Grass Clippings: Acts as natural moisture retention and fertilizer.
  • Fertilize Wisely: Pair watering with seasonal fertilization for maximum results.

Conclusion

The secret to a thriving lawn isn’t just about how much water you give it—it’s about when and how you water. The best time to water grass is early in the morning, when temperatures are cool, winds are calm, and grass has all day to dry. If mornings aren’t possible, late afternoon is your second-best choice.

By watering deeply and consistently, avoiding midday and night watering, and tailoring your practices to your grass type, you’ll encourage strong, deep roots and a lawn that can withstand heat, drought, and heavy use.

A little timing adjustment can make the difference between a struggling, patchy lawn and one that’s lush, green, and envy-worthy.


Why Your Lawn Is Turning Brown—And How To Fix It

Why Your Lawn Is Turning Brown—And How To Fix It

A lush, green lawn is the pride of any home. But if you’ve noticed brown patches creeping across your yard, you’re not alone. Many homeowners panic when their lawn starts losing its vibrant color, assuming it’s dead or beyond repair. The good news? Most brown lawns can be revived with the right care—if you identify the cause early.

In this guide, we’ll explore the most common reasons lawns turn brown, how to determine what’s wrong with yours, and—most importantly—the steps to bring it back to life.


Why Lawns Turn Brown

Grass can turn brown for several reasons, ranging from natural cycles to preventable mistakes. Here are the most frequent culprits:

1. Drought Stress

During hot, dry weather, grass often turns brown as a survival mechanism. Instead of dying, many grass species go dormant to conserve water. Roots remain alive but blades lose their green color.

  • How to Spot It: Large areas of brown grass during hot spells; soil feels dry.
  • Solution: Deep, infrequent watering (about 1 inch per week) can help revive grass. Avoid daily shallow watering, which weakens roots.

2. Soil Compaction

Heavy foot traffic, kids playing, or constant mowing can compact soil, reducing oxygen and water movement to the roots. Grass in compacted soil often thins out and browns.

  • How to Spot It: Brown or thinning grass in high-traffic areas; hard soil that’s difficult to penetrate.
  • Solution: Aerate the lawn once a year (fall for cool-season grasses, late spring for warm-season grasses). Overseed afterwards to encourage regrowth.

3. Thatch Buildup

Thatch is a layer of dead roots and stems between soil and grass blades. When it builds up beyond ½ inch, it prevents water, air, and nutrients from reaching roots, leading to brown spots.

  • How to Spot It: Spongy lawn surface; visible brown layer under green blades.
  • Solution: Dethatch with a rake or power dethatcher. Follow up with fertilizer and overseeding to promote fresh growth.

4. Improper Watering

Both overwatering and underwatering can cause grass to brown. Overwatering suffocates roots and encourages fungal disease, while underwatering dries out roots.

  • How to Spot It: Mushy lawn with fungal patches (overwatering) or crispy, brittle blades (underwatering).
  • Solution: Water deeply 1–2 times per week, ideally early morning. Adjust based on rainfall and climate.

5. Fungal Diseases

Lawn diseases like brown patch, dollar spot, and rust can discolor grass. These usually thrive in warm, humid, and damp conditions.

  • How to Spot It: Circular brown patches, discolored spots on blades, or powdery mildew.
  • Solution: Improve air circulation by mowing regularly, avoid watering at night, and apply a fungicide if necessary.

6. Pests and Grubs

Insects like chinch bugs, armyworms, or white grubs feed on grass roots, causing brown, dying patches.

  • How to Spot It: Grass pulls up easily like a carpet (sign of grub damage), or you see insects crawling on the soil surface.
  • Solution: Apply beneficial nematodes, insecticidal soap, or a lawn pest treatment. Overseed damaged areas once pests are controlled.

7. Pet Damage (Dog Spots)

Pet urine contains nitrogen and salts that burn grass, leaving brown or yellow patches.

  • How to Spot It: Small, irregular spots that are brown in the middle with a green halo.
  • Solution: Flush spots with water immediately after pets urinate. Train pets to use a designated area or plant pet-friendly groundcovers.

8. Nutrient Deficiency

Grass needs nitrogen, potassium, and phosphorus to stay green. A lack of nutrients, especially nitrogen, causes blades to fade and turn brown.

  • How to Spot It: General yellowing or browning across the lawn; poor growth despite watering.
  • Solution: Apply a slow-release fertilizer in the right season. Conduct a soil test to determine deficiencies.

9. Seasonal Dormancy

Some grasses naturally go dormant and turn brown in response to temperature changes. For example, cool-season grasses brown in hot summers, while warm-season grasses brown in cold winters.

  • How to Spot It: Widespread browning that matches the seasonal cycle, but grass revives when temperatures normalize.
  • Solution: Be patient. Grass will usually green up again with favorable conditions.

How to Diagnose Your Brown Lawn

Pinpointing the cause of browning is the first step to fixing it. Use this checklist:

  • Water Test: Stick a screwdriver into the soil. If it’s hard to push, compaction or dryness may be the issue.
  • Tug Test: Pull on the grass. If it lifts easily with no roots, grubs are likely the problem.
  • Pattern Test: Circular spots suggest disease, while irregular small patches could be pet damage.
  • Seasonal Test: If browning coincides with extreme heat or cold, dormancy is a likely explanation.

Step-by-Step Solutions to Revive a Brown Lawn

  1. Water Wisely – Give your lawn a deep soak once or twice a week. Early morning is best.
  2. Aerate the Soil – Relieve compaction and improve airflow. Follow with overseeding.
  3. Fertilize Correctly – Choose the right fertilizer for your grass type and season. Avoid over-fertilizing, which burns grass.
  4. Treat Pests or Disease – Apply organic or chemical controls depending on severity.
  5. Reseed Bare Patches – Fill in brown areas with appropriate grass seed. Keep soil moist until seedlings establish.
  6. Adjust Lawn Care Habits – Mow at the proper height (usually 2.5–3.5 inches), sharpen mower blades, and avoid cutting more than ⅓ of blade height at once.
  7. Pet-Proof Your Lawn – Train pets, rinse spots, or install a gravel area for pet use.

Preventing Future Brown Spots

Prevention is the best cure. Here’s how to maintain a consistently green lawn:

  • Follow a Seasonal Lawn Care Calendar – Fertilize, aerate, and overseed at the right times.
  • Choose the Right Grass for Your Climate – Warm-season vs. cool-season grasses thrive differently.
  • Balance Irrigation – Invest in a sprinkler system or soaker hose for consistent watering.
  • Improve Soil Health – Add compost or organic matter annually to enrich the soil.
  • Reduce Stress – Rotate play areas, limit heavy furniture on the grass, and avoid mowing when grass is stressed.

Conclusion

A brown lawn doesn’t always mean a dead lawn. More often than not, it’s a sign that your grass needs some attention—whether that’s better watering, aeration, pest control, or a nutrient boost. By understanding the root cause and applying the right fix, you can revive your lawn and restore it to a lush, green carpet.

With consistent care and preventive measures, you’ll not only solve current brown patches but also prevent them from coming back. Your lawn can be the vibrant, healthy centerpiece of your landscape once again.

5 Creative Container Gardening Ideas for Beginners

5 Creative Container Gardening Ideas for Beginners

Container gardening is one of the easiest, most versatile, and most rewarding ways to grow plants. Whether you have a spacious backyard, a cozy balcony, or just a sunny windowsill, containers let you enjoy gardening even in small or unconventional spaces. For beginners, container gardening offers the freedom to experiment with plants, try creative displays, and enjoy fresh herbs, flowers, or vegetables without committing to a full garden plot.

In this guide, we’ll explore five creative container gardening ideas that are simple enough for beginners yet attractive and functional enough to transform any space into a green oasis.


Why Choose Container Gardening as a Beginner?

Before diving into the ideas, let’s look at why container gardening is especially appealing to those starting their gardening journey:

  • Flexibility: Containers can be moved, rearranged, or swapped out as you experiment with plants.
  • Space-saving: Perfect for apartments, small patios, or urban homes with limited yard space.
  • Control: You can easily manage soil type, water, and sunlight conditions.
  • Creativity: Endless opportunities to play with container styles, plant combinations, and decorative touches.
  • Accessibility: Great for people of all ages—containers can be raised to a convenient height, making gardening less physically demanding.

Now, let’s dive into five fun and beginner-friendly ideas.


Idea 1: The Herb Kitchen Garden in Pots

Few things are more satisfying than cooking with fresh herbs you’ve grown yourself. Herbs are among the easiest plants to grow in containers, making them ideal for beginners.

How to Do It:

  • Choose Your Herbs: Basil, mint, parsley, thyme, and rosemary are popular beginner-friendly choices.
  • Containers: Small pots, mason jars, or even a wooden crate with multiple sections.
  • Soil: Use well-draining potting soil with added compost.
  • Placement: Place containers near a sunny kitchen window or balcony with at least 6 hours of sunlight daily.
  • Care: Water regularly, but ensure pots drain well—herbs dislike soggy roots.

Creative Twist:

Label your containers with chalkboard paint or wooden tags for a stylish and functional herb station. You can also group herbs by culinary use, like “Italian blend” (basil, oregano, rosemary) or “Tea corner” (mint, lemon balm, chamomile).

Why It’s Great for Beginners: Herbs grow quickly, provide instant gratification, and require minimal maintenance.


Idea 2: Colorful Flower Towers

A flower tower creates a vertical burst of color and beauty, perfect for brightening patios, porches, or balconies.

How to Do It:

  • Container Setup: Stack pots of decreasing sizes to create a tower effect or use a tiered plant stand.
  • Plant Selection: Combine trailing plants (petunias, lobelia, ivy geraniums) with upright flowers (marigolds, salvia, zinnias).
  • Soil: Use lightweight potting soil to avoid compacting in stacked containers.
  • Placement: Choose a sunny spot where flowers can thrive.
  • Care: Water from the top so moisture trickles down through each level. Fertilize every 2–4 weeks with a balanced liquid fertilizer.

Creative Twist:

Try a color theme for your flower tower—yellow and orange for a cheerful summer vibe, or purple and pink for a romantic look.

Why It’s Great for Beginners: The structure is simple, yet the impact is dramatic. Beginners learn about plant pairings while creating a stunning display.


Idea 3: Edible Salad Bowl Garden

Why not grow your salad ingredients in a single large container? An edible salad bowl garden is practical, fun, and delicious.

How to Do It:

  • Container: A wide, shallow container at least 12–18 inches in diameter.
  • Plants: Lettuce varieties, spinach, arugula, radishes, and cherry tomatoes. Add herbs like chives or dill for extra flavor.
  • Soil: Rich, well-draining potting mix with compost.
  • Placement: At least 6 hours of sunlight daily, though many salad greens tolerate partial shade.
  • Care: Harvest leaves regularly to encourage new growth. Water consistently to keep soil evenly moist.

Creative Twist:

Arrange plants by color for an eye-catching look—red lettuces, green spinach, and purple basil create a vibrant edible display.

Why It’s Great for Beginners: Salad greens grow fast, so beginners get a quick reward while learning the basics of edible gardening.


Idea 4: Upcycled and Repurposed Containers

One of the most creative aspects of container gardening is that nearly anything can be turned into a plant holder. This is an eco-friendly, budget-friendly way for beginners to get started without spending much money.

How to Do It:

  • Potential Containers: Old buckets, tin cans, teapots, baskets, wheelbarrows, or even boots.
  • Preparation: Drill drainage holes at the bottom and line with landscape fabric if needed.
  • Plant Selection: Choose plants that fit the container’s size—succulents for small teacups, trailing flowers for old boots, or herbs for baskets.
  • Placement: Arrange creatively on a porch, garden corner, or windowsill.

Creative Twist:

Paint or decorate the containers to match your personal style. Group them by theme, such as rustic farmhouse or colorful modern.

Why It’s Great for Beginners: Encourages creativity, reduces costs, and proves that gardening doesn’t require expensive materials.


Idea 5: Vertical Container Gardens

If floor space is limited, vertical gardening is the perfect beginner hack. Using walls, fences, or stands, you can grow upward instead of outward.

How to Do It:

  • Structures: Hanging planters, wall-mounted pockets, pallet gardens, or tiered shelves.
  • Plants: Herbs, strawberries, trailing flowers, or compact vegetables like peppers.
  • Soil: Lightweight potting mix to reduce strain on vertical supports.
  • Placement: Choose a wall with plenty of sunlight. Indoors, use grow lights if needed.
  • Care: Water from the top, allowing moisture to drip down through the levels.

Creative Twist:

Design a vertical living wall with a mix of edible and ornamental plants for both beauty and function.

Why It’s Great for Beginners: Makes gardening possible in very small spaces, teaches plant arrangement, and adds a striking decorative element.


Bonus Tips for Beginner Container Gardeners

  1. Start Small: Begin with a few containers and gradually expand as you gain confidence.
  2. Mind Drainage: Always ensure containers have holes at the bottom to prevent root rot.
  3. Choose the Right Soil: Use potting mix, not garden soil, for better aeration and drainage.
  4. Water Wisely: Most container plants need frequent watering, but avoid waterlogging.
  5. Use Fertilizer: Containers lose nutrients faster than garden beds; feed plants every 2–4 weeks.
  6. Experiment: Don’t be afraid to mix edible and ornamental plants for creative displays.

Conclusion

Container gardening is a fantastic entry point for beginners who want to enjoy the beauty and benefits of plants without needing a large outdoor space. With a little creativity, even the smallest balcony or kitchen window can be transformed into a vibrant mini garden. From a simple herb kitchen garden to a vertical living wall, the possibilities are endless.

The five creative ideas outlined—herb pots, flower towers, salad bowl gardens, upcycled containers, and vertical gardens—are not only beginner-friendly but also fun, stylish, and practical. As you experiment with these ideas, you’ll quickly discover the joy of nurturing plants and the satisfaction of enjoying homegrown beauty and flavor.

So, grab a pot, some soil, and a plant or two—it’s time to let your container garden journey begin.