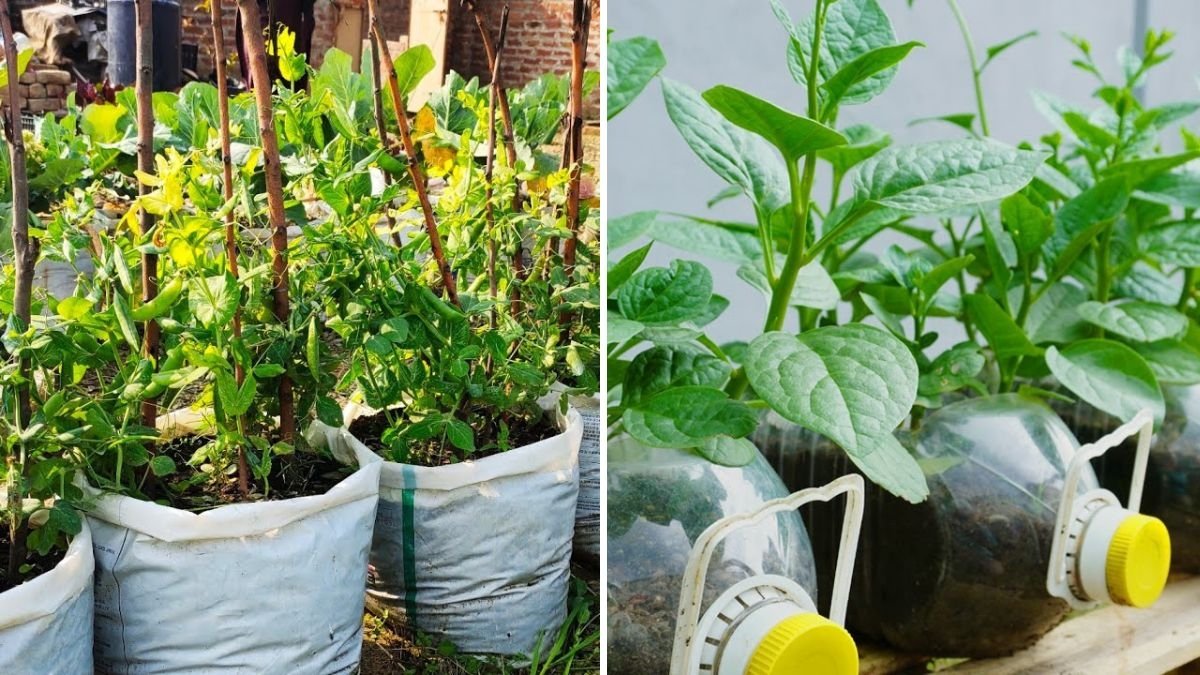
Gardening at home doesn’t always require a big backyard or fancy tools. In fact, even everyday waste items like plastic bottles can be transformed into productive mini-gardens. One such creative and eco-friendly idea is growing peas in waste plastic bottles. Not only does this help reduce plastic waste, but it also allows you to grow fresh, nutritious vegetables right at home, whether you live in an apartment or have a small outdoor space. In this article, we’ll explore how to grow peas in plastic bottles step by step, along with tips to maximize yield and keep your garden sustainable.
Why Grow Peas at Home?
Green peas are a versatile, nutritious, and easy-to-grow vegetable. They are packed with protein, fiber, vitamins, and minerals, making them perfect for soups, salads, stir-fries, or just as a fresh snack. Growing peas at home has several advantages:
- Freshness: Peas harvested directly from your mini-garden are sweeter and more flavorful than store-bought ones.
- Cost-Effective: Growing peas in plastic bottles is inexpensive compared to buying from markets regularly.
- Chemical-Free: You control what goes into your soil, ensuring the peas are safe and free from harmful pesticides.
- Eco-Friendly: Using waste plastic bottles reduces household waste and promotes sustainability.
Why Use Plastic Bottles for Gardening?

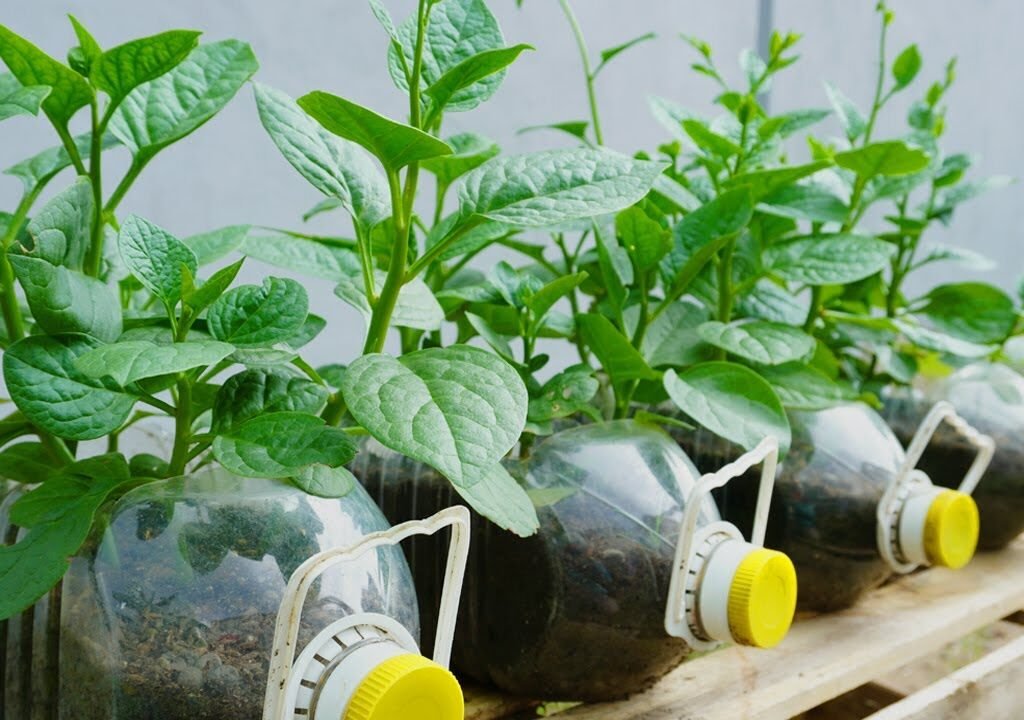
Plastic bottles are often discarded after their initial use, but they can be repurposed into productive planters. Here’s why plastic bottles are great for growing peas:
- Affordable: Most households have spare bottles, making them a cost-effective planting option.
- Space-Saving: Bottles can be hung vertically, stacked, or placed on windowsills, making them perfect for small spaces.
- Portable: Bottles are lightweight and can be moved to catch sunlight or avoid harsh weather.
- Recyclable Gardening: Using bottles for plants is a sustainable way to reduce plastic waste.
Step-by-Step Guide to Growing Peas in Plastic Bottles
1. Selecting the Right Bottles
Choose bottles that are at least 1-2 liters in size. Bigger bottles provide more soil, which helps in root development and water retention. You can use soda bottles, water bottles, or any other waste plastic bottles that are clean and intact.
Tip: Cut the bottle horizontally or vertically to create an opening for planting and easy access for harvesting.
2. Preparing the Bottle
- Clean the bottle thoroughly to remove any residue.
- Drill small holes at the bottom for drainage to prevent waterlogging.
- If you plan to hang bottles vertically, create holes near the top and bottom to thread strings or ropes for support.
Pro Tip: Place a small piece of mesh or a coffee filter over the drainage holes to prevent soil from falling out while allowing water to drain freely.
3. Preparing the Soil

Peas prefer well-draining, nutrient-rich soil. You can prepare a simple mix:
- 2 parts garden soil
- 1 part compost or organic manure
- 1 part coco peat or vermiculite
Mix thoroughly to ensure proper aeration and water retention. Avoid heavy clay soil as it can hinder root growth.
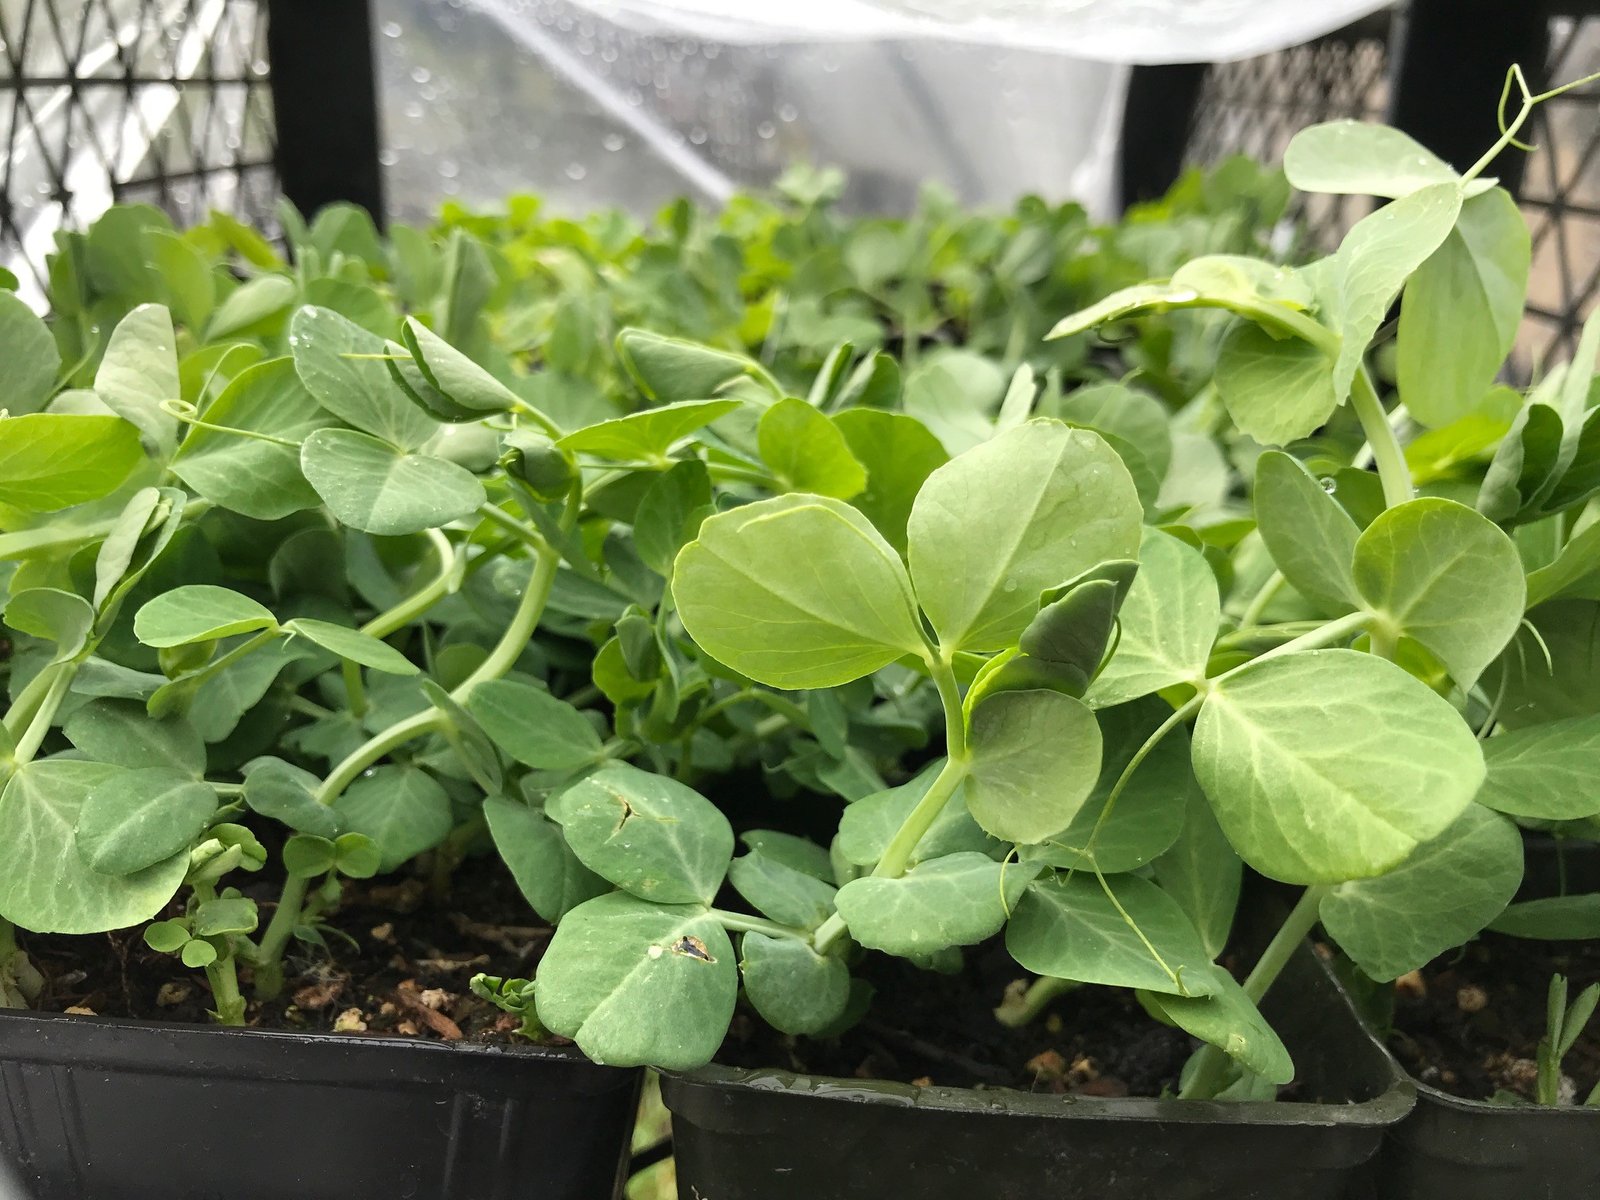
4. Sowing the Pea Seeds
- Fill the prepared soil into the bottle, leaving 1-2 inches at the top.
- Make small holes about 1 inch deep.
- Place one pea seed per hole and cover gently with soil.
- Water lightly.
Pro Tip: Soaking pea seeds overnight before planting can speed up germination and give them a head start.
5. Choosing the Right Location
Peas need 4-6 hours of sunlight daily to grow well. Place your bottles in a sunny location such as a balcony, terrace, or near a bright window.
If sunlight is limited, consider using grow lights to ensure your plants get enough light for healthy growth.
6. Watering and Moisture Management
Even though the goal is minimal watering, peas still need consistent moisture, especially during germination.
- Water the bottles lightly once every 2-3 days or as needed to keep the soil slightly moist.
- Use a spray bottle to avoid overwatering, which can cause root rot.
Tip: Adding a layer of mulch or small pebbles on top of the soil helps retain moisture and reduces the need for frequent watering.
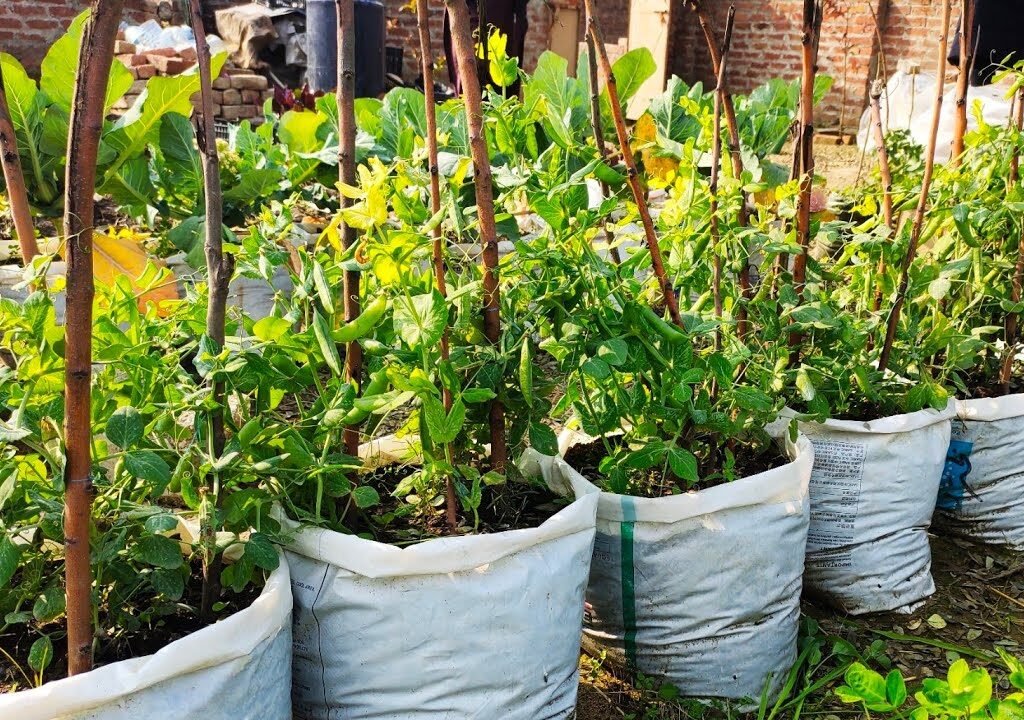
7. Supporting Your Pea Plants
Peas are climbing plants, so providing support is essential even in bottles.
- Insert bamboo sticks, skewers, or small trellis nets into the soil.
- Guide the pea vines to climb the support as they grow.
Vertical growth not only saves space but also improves air circulation around the plants, reducing disease risk.
8. Fertilizing
To boost growth, use organic fertilizers such as compost tea, vermicompost, or diluted liquid manure every 2-3 weeks. Avoid chemical fertilizers as peas are sensitive, and excess nutrients can harm the plants.
9. Pest and Disease Management
Peas can attract pests like aphids or suffer from fungal diseases. Early monitoring is key:
- Spray diluted neem oil solution every 10 days.
- Use natural remedies like garlic water or chili water sprays.
- Remove damaged leaves immediately to prevent spread.
Maintaining proper spacing and airflow helps prevent diseases, especially in vertical setups.
10. Harvesting Your Peas
Peas grow quickly, and you can start harvesting in 50-60 days, depending on the variety.
- Pick pods when they are plump but tender.
- Regular harvesting encourages the plant to produce more pods.
- Use scissors or clean hands to avoid damaging the plant.
Freshly harvested peas can be eaten raw, added to dishes, or frozen for later use.
Advantages of Growing Peas in Plastic Bottles
- Cost-Effective: Saves money on soil, pots, and vegetables.
- Space-Efficient: Ideal for urban gardeners or small apartments.
- Sustainable: Repurposes waste plastic and promotes eco-friendly gardening.
- Beginner-Friendly: Easy to set up and maintain, perfect for those new to gardening.
Creative Tips for Bottle Gardening
- Vertical Gardens: Hang multiple bottles on walls or fences to grow more peas in limited space.
- Decorate Your Bottles: Paint or decorate the bottles to add an aesthetic touch to your balcony or terrace.
- Companion Planting: Plant herbs like coriander or mint in the same bottle to repel pests naturally.
- Recycled Water: Use leftover rainwater or kitchen water to reduce water usage and boost plant growth.
Final Thoughts
Growing peas in waste plastic bottles is an innovative, eco-friendly, and beginner-friendly gardening solution. It combines sustainability with practicality, allowing anyone to enjoy fresh, home-grown peas even in small spaces.
By following the simple steps of preparing soil, sowing seeds, providing support, and using minimal water efficiently, you can achieve a thriving pea garden with little effort. This method not only transforms waste plastic into productive planters but also promotes healthier eating, reduces grocery costs, and makes gardening accessible to all.
Start today, repurpose your plastic bottles, and experience the joy of watching your peas grow from seed to harvest, right at home. Your small garden can make a big difference—for your health, your budget, and the environment.
Leave A Comment