Ginger is not just a kitchen staple; it’s a powerhouse of flavor and health benefits. Fresh ginger can transform dishes, teas, and remedies, but buying it regularly can be expensive. The good news? You can grow ginger easily at home, even if you’re a beginner. This guide will show you how to cultivate ginger simply and impressively, from selecting rhizomes to harvesting your own aromatic roots.
Why Grow Ginger at Home?
Growing ginger at home has many advantages:
- Freshness and Flavor: Homegrown ginger is more aromatic and flavorful than store-bought.
- Cost-Effective: Avoid frequent trips to the market.
- Organic Control: Grow ginger free from chemicals and pesticides.
- Aesthetic Appeal: Ginger plants are attractive and can beautify your garden or balcony.
- Health Benefits: Ginger is packed with antioxidants, anti-inflammatory compounds, and digestive aids.
Whether you have a garden, a patio, or just a balcony, growing ginger is surprisingly easy and rewarding.
Materials You Will Need
Before starting, gather these essentials:
- Ginger Rhizomes: Choose fresh, plump, and healthy pieces with visible buds (“eyes”).
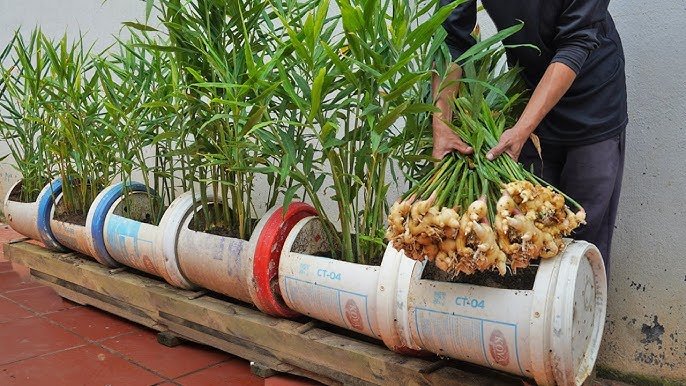
- Pot or Container: At least 12 inches deep with drainage holes. Ginger grows horizontally, so wide pots are preferred.
- Soil: Rich, loamy soil mixed with compost or organic matter.
- Watering Can: For consistent moisture.
- Optional: Mulch such as straw or leaves to retain moisture.
Having the right materials ensures your ginger plants get the nutrients and environment they need to thrive.
Step 1: Selecting the Right Ginger Rhizomes
The success of your ginger garden starts with the rhizomes:
- Choose pieces 2–3 inches long with visible growth buds.
- Avoid shriveled, moldy, or damaged rhizomes.
- For faster growth, consider pre-sprouting rhizomes by placing them in a warm, moist area for a week until small shoots appear.
Healthy rhizomes produce robust roots and vibrant foliage.
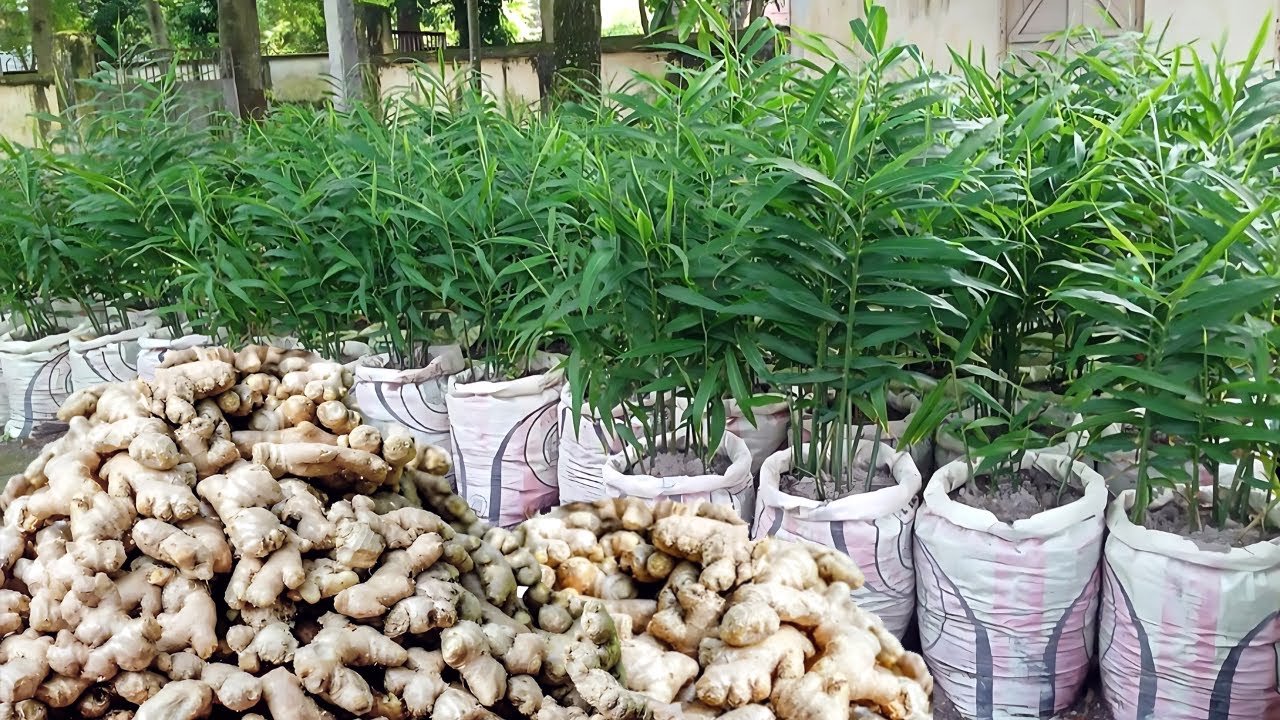
Step 2: Preparing the Container
Ginger requires a spacious and well-draining container:
- Ensure the pot has drainage holes to prevent waterlogging.
- Fill the pot with rich soil, leaving 2–3 inches at the top.
- Mix in organic compost to boost fertility.
Wide, shallow pots work better than deep, narrow ones because ginger spreads horizontally underground.
Step 3: Planting the Ginger
Planting ginger is simple:
- Place the rhizome horizontally, with buds pointing upwards.
- Cover with 1–2 inches of soil, ensuring buds remain just below the surface.
- Water lightly to settle the soil, keeping it moist but not soggy.
Spacing is key: if planting multiple rhizomes, leave at least 6 inches between them to allow room for growth.
Step 4: Caring for Ginger Plants
Ginger thrives with consistent care:
- Light: Ginger prefers partial shade or filtered sunlight. Too much direct sun can scorch leaves.
- Watering: Keep soil evenly moist. Water more frequently in hot weather, but avoid waterlogging.
- Temperature: Ideal growth occurs between 20–30°C (68–86°F). Protect plants from frost.
- Fertilization: Organic fertilizers like compost, kitchen waste, or diluted liquid manure work well. Feed every 3–4 weeks to encourage healthy root development.
Ginger grows slowly at first, so patience is essential. Within a few weeks, you’ll notice green shoots emerging.
Step 5: Mulching and Soil Management
Mulching is particularly beneficial for ginger:
- Helps retain soil moisture
- Reduces weeds
- Regulates soil temperature
- Adds organic matter as it decomposes
Use straw, dried leaves, or shredded compost. Apply a thin layer over the soil, being careful not to cover the buds completely.
Step 6: Common Problems and Solutions
Even though ginger is easy to grow, beginners may encounter a few issues:
- Yellow Leaves: Often caused by overwatering or poor drainage. Reduce watering and check drainage.
- Slow Growth: Insufficient warmth or nutrients. Ensure a warm environment and feed with compost.
- Pests: Aphids, spider mites, and root-knot nematodes may appear. Use neem oil or natural pest repellents.
Monitoring your plants regularly ensures early detection and treatment of issues.
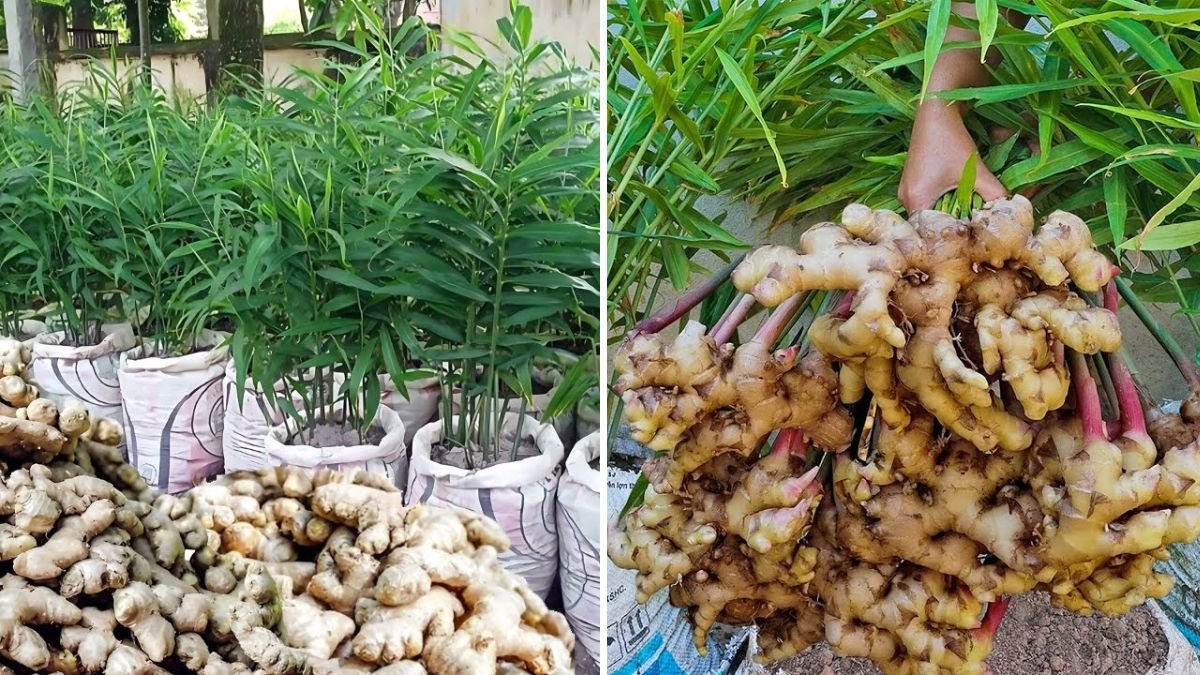
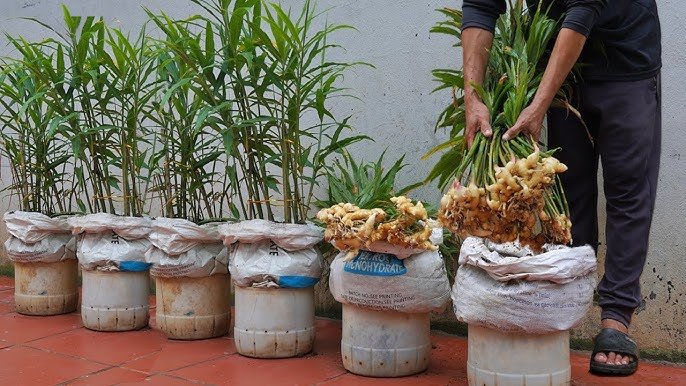
Step 7: Harvesting Ginger
Ginger can be harvested in stages depending on your needs:
- Young Ginger: Harvest after 4–5 months. It has tender skin and is ideal for fresh use.
- Mature Ginger: Wait 8–10 months for fully developed rhizomes with thicker skin.
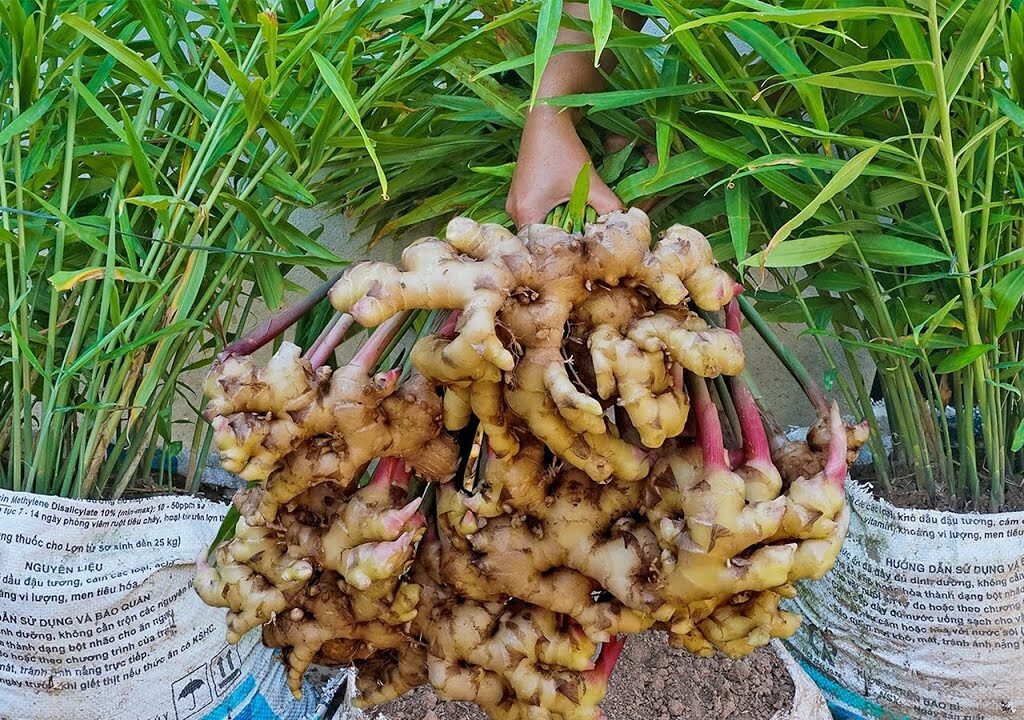
To harvest:
- Gently loosen the soil around the plant with a small spade or hand fork.
- Lift the rhizomes carefully to avoid damage.
- Trim leaves and store ginger in a cool, dry place.
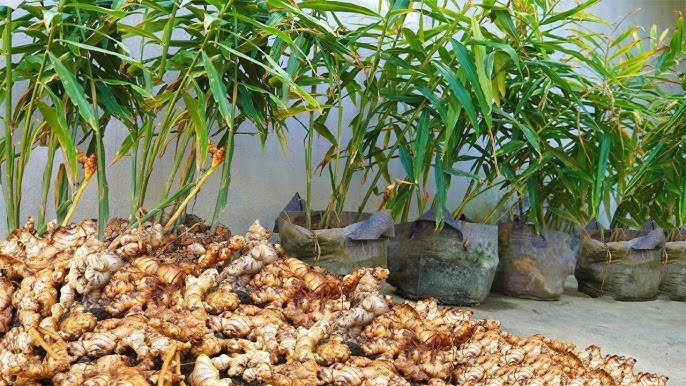
Harvesting young ginger allows for continual growth and repeated harvests.
Benefits of Growing Ginger at Home
- Fresh Supply Year-Round: No need to buy ginger frequently.
- Health Advantages: Packed with anti-inflammatory and digestive properties.
- Aesthetic Plant: Adds greenery and beauty to your indoor or outdoor space.
- Sustainable Gardening: Reduce reliance on store-bought produce and plastic packaging.
- Educational: Great for teaching children about plant growth and healthy eating.
Homegrown ginger is flavorful, aromatic, and naturally organic, making it a superior alternative to store-bought roots.
Tips for Maximum Growth and Yield
- Pre-sprout rhizomes before planting for faster results.
- Keep soil rich in organic matter for nutrient-dense rhizomes.
- Maintain consistent moisture and avoid waterlogging.
- Provide partial shade for optimal leaf growth.
- Harvest progressively to allow continuous production.
With these tips, even beginners can grow impressive ginger plants that produce abundant, high-quality rhizomes.
Conclusion
Growing ginger at home is a simple and rewarding experience. With a few basic supplies, a bit of patience, and proper care, anyone can cultivate healthy, flavorful ginger. From kitchen gardening beginners to experienced growers, this method is both practical and impressive, providing fresh ginger for cooking, teas, and natural remedies.
Start with healthy rhizomes, choose the right container, provide proper care, and enjoy the satisfaction of harvesting your own homegrown ginger. With consistent effort, your ginger garden will become a thriving, aromatic addition to your home.
Leave A Comment