Cardamom, often called the “queen of spices,” is prized for its aromatic seeds and pods used in cooking, baking, and even in traditional medicine. Imagine growing this luxurious spice right at home—from seeds to a thriving plant. Growing cardamom from seeds is not only possible but also a rewarding experience for home gardeners. While it requires patience and attention to detail, the process can be fulfilling, allowing you to enjoy fresh, homegrown cardamom for years. In this guide, we’ll explore step by step how to grow cardamom at home properly, from selecting seeds to nurturing healthy plants.
Understanding Cardamom
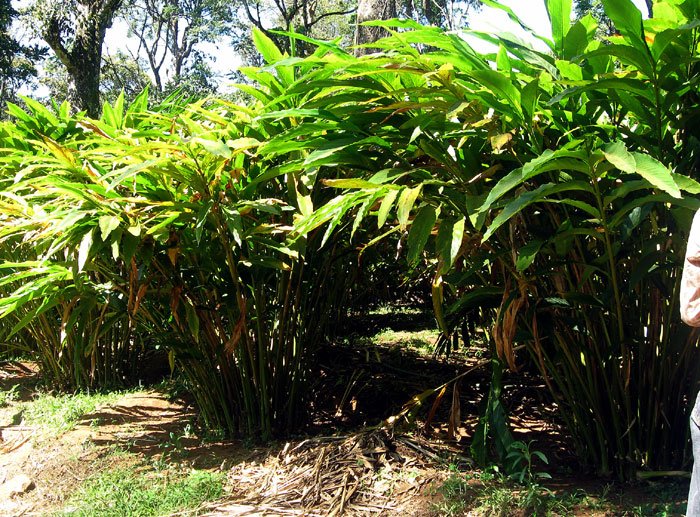
Cardamom (Elettaria cardamomum) is a tropical plant native to the forests of India and Sri Lanka. It thrives in warm, humid climates with filtered sunlight, similar to its native understory forest conditions. There are two main types of cardamom: green cardamom, which is most commonly used, and black cardamom, which has a smokier flavor. For home gardening, green cardamom is often preferred because of its smaller size, aromatic flavor, and adaptability to pot cultivation.
Growing cardamom from seeds is a long-term commitment. Cardamom seeds can take several weeks to germinate, and the plant may take 2–3 years to mature and produce pods. However, with proper care, patience, and the right conditions, you can successfully grow cardamom at home.
Choosing the Right Seeds
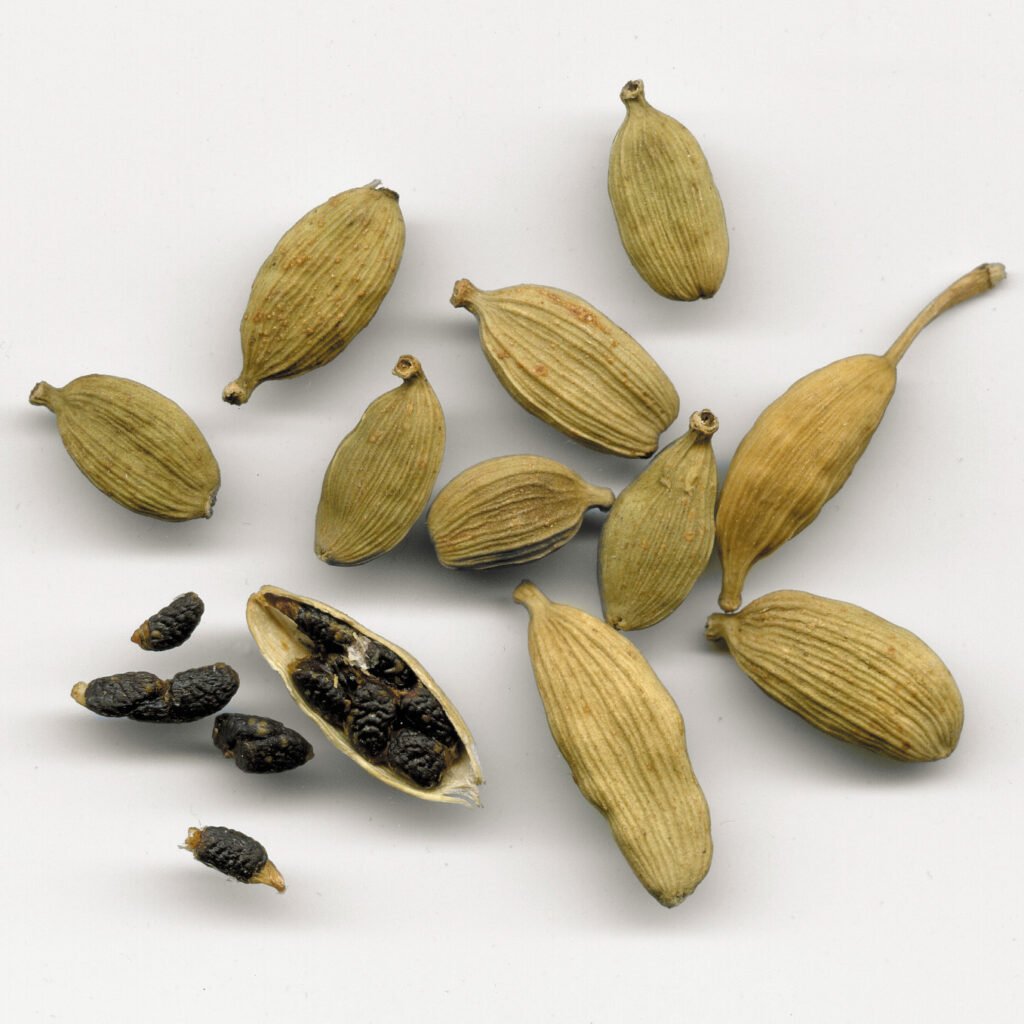
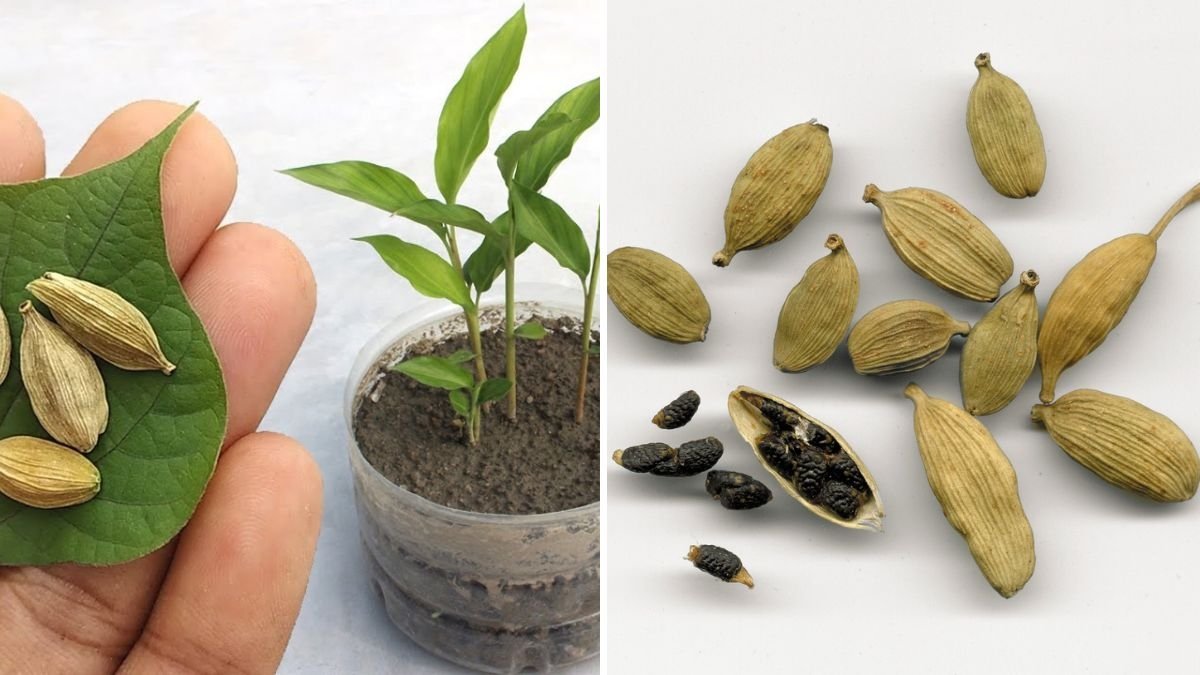
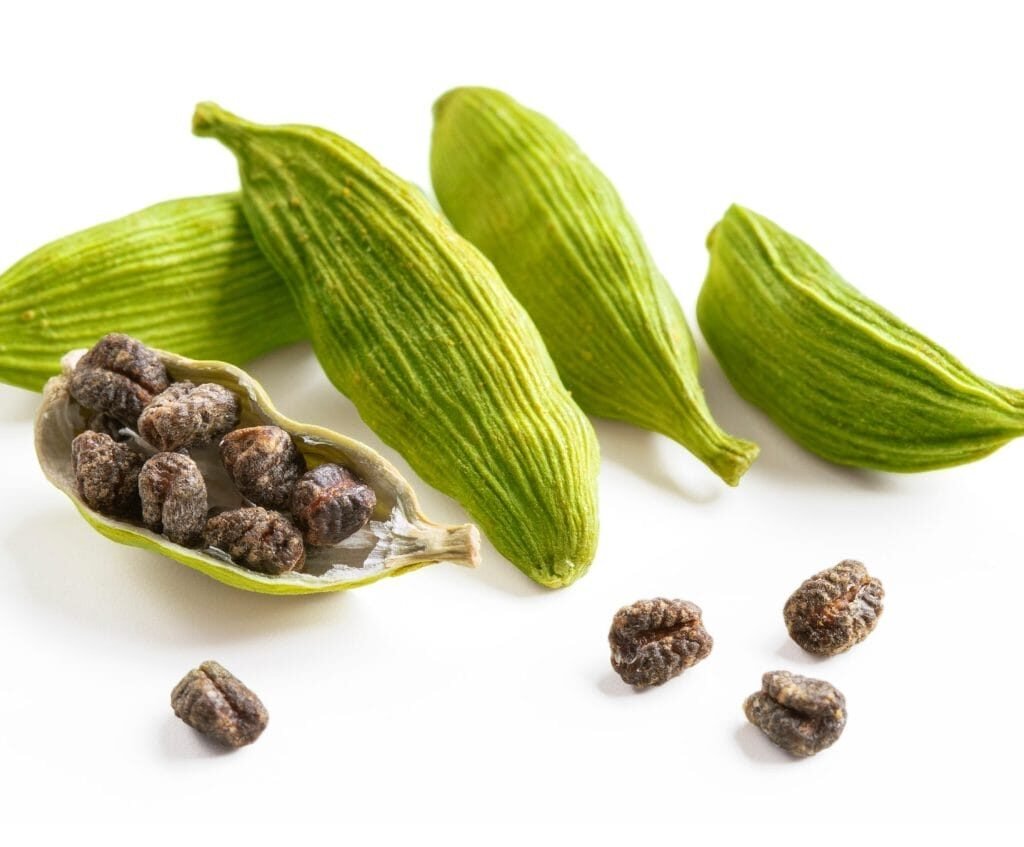
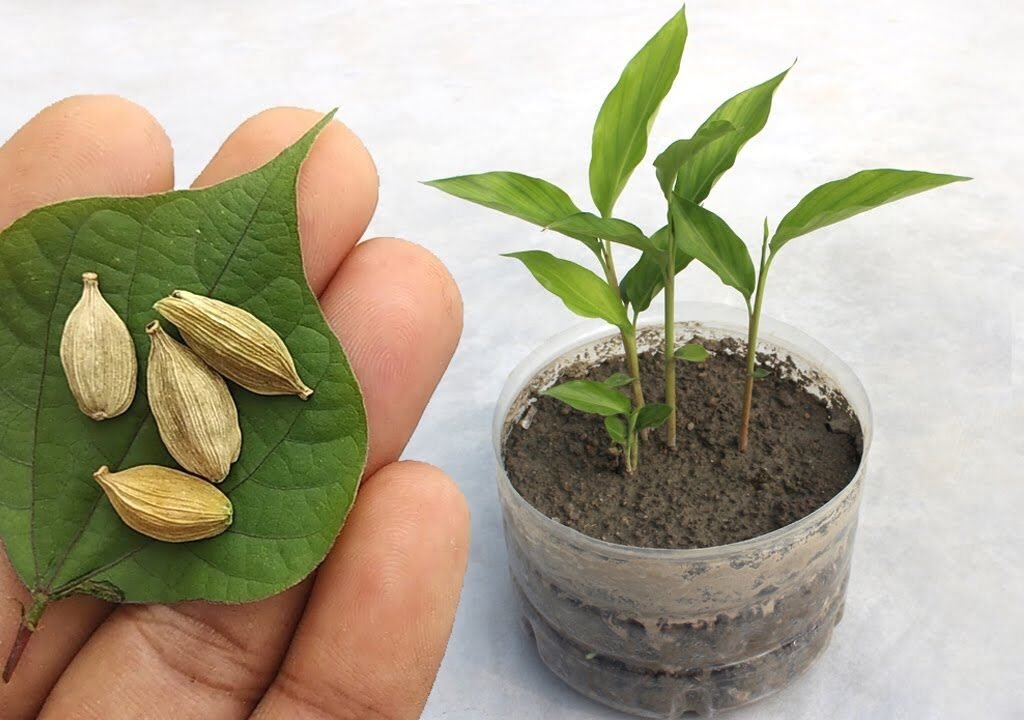
The first step in growing cardamom is selecting high-quality seeds. Fresh seeds are crucial because cardamom seeds lose viability quickly. Look for seeds that are dark green, plump, and not dried out. Seeds extracted directly from mature cardamom pods tend to have the highest germination rate.
It’s also important to note that cardamom seeds are short-lived, so planting them as soon as possible after harvesting or purchase gives the best chance of successful germination. Soaking the seeds in water for 24 hours before planting can help soften the seed coat and improve germination rates.
Preparing the Soil
Cardamom plants prefer well-draining, rich, and slightly acidic soil with a pH of 6.0–6.5. You can prepare a good potting mix at home by combining equal parts of garden soil, organic compost, and sand or perlite for drainage. Adding organic matter ensures that the young seedlings get essential nutrients for strong root development.
If you are planting cardamom in pots or containers, make sure the container has drainage holes to prevent waterlogging, which can lead to root rot. Cardamom roots prefer moist but not soggy conditions, so soil drainage is essential.
Planting Cardamom Seeds
Once your seeds are ready, it’s time to plant them. Here’s the step-by-step process:
- Seed Preparation: After soaking, gently remove any damaged seeds. Healthy seeds are plump and firm.
- Sowing: Plant the seeds about 1–2 cm deep in the prepared soil. Cover lightly with soil.
- Spacing: If planting multiple seeds in a pot, leave at least 5–6 cm between each seed to allow room for growth.
- Watering: Water the soil gently but thoroughly to moisten it. Keep the soil consistently damp but avoid overwatering.
- Covering: Cover the container with a plastic wrap or a clear lid to create a greenhouse effect, which maintains humidity and warmth, essential for germination.
Germination and Early Growth
Cardamom seeds are slow to germinate and may take 3–6 weeks or even longer to sprout. Patience is key during this stage. Place the container in a warm, shaded area with indirect sunlight. Temperatures between 20–30°C (68–86°F) are ideal for germination.
During this period, monitor the soil moisture daily. Avoid letting the soil dry out completely, as cardamom seedlings are very sensitive at this stage. Once seedlings emerge, gradually acclimate them to normal conditions by removing the cover for a few hours each day.
Transplanting Seedlings
Once seedlings develop 2–3 true leaves and are sturdy enough to handle, it’s time to transplant them into larger pots or directly into the garden if the climate permits.
- Choosing the Spot: Cardamom plants prefer partial shade, similar to the understory of a tropical forest. Direct sunlight can scorch the young leaves.
- Planting: Dig a hole slightly larger than the root ball of the seedling. Place the seedling gently in the hole and fill it with soil. Firm the soil around the base and water thoroughly.
- Spacing: If planting multiple cardamom plants in the garden, leave at least 1–1.5 meters between plants, as mature plants can spread out and require room for growth.
Caring for Cardamom Plants
Cardamom requires consistent care to grow healthy and produce high-quality pods:
- Watering: Keep the soil consistently moist, especially during dry periods. Avoid waterlogging, which can cause root rot.
- Mulching: Apply organic mulch around the base to conserve moisture, regulate temperature, and suppress weeds.
- Fertilization: Use organic fertilizers like compost, cow dung, or well-rotted manure. Cardamom plants benefit from regular feeding every 2–3 months during the growing season.
- Pruning: Remove dead or yellowing leaves and thin out crowded plants to improve air circulation. This helps prevent fungal diseases and encourages healthy growth.
- Pest and Disease Management: Cardamom can be susceptible to pests like aphids, borers, and spider mites. Use natural pest control methods such as neem oil sprays or companion planting to reduce infestations.
Harvesting Cardamom

Cardamom plants usually take 2–3 years to start producing pods. The pods are harvested when they turn green and slightly plump. Timing is critical; pods picked too early may be underdeveloped, while pods left too long can dry out and lose flavor.
To harvest, gently pluck the pods by hand. Avoid pulling the entire plant, as this can damage it. After harvesting, the pods can be sun-dried or dried in a ventilated area to preserve their aroma and flavor. Properly dried cardamom can last for several months if stored in airtight containers away from sunlight and moisture.
Benefits of Growing Cardamom at Home
Growing cardamom at home offers several advantages:
- Freshness: Homegrown cardamom is fresher and more aromatic than store-bought alternatives.
- Cost-Effective: Although cardamom is expensive in the market, growing it at home reduces long-term costs.
- Sustainable Gardening: Growing your own spices reduces the need for packaged products and supports eco-friendly practices.
- Health Benefits: Cardamom is known for its digestive, antioxidant, and anti-inflammatory properties. Having fresh cardamom at home allows you to enjoy its health benefits more frequently.
Tips for Success
- Start with small pots if you’re a beginner and gradually move to larger containers or garden beds.
- Be patient; cardamom takes time to mature, but the results are worth it.
- Maintain consistent humidity and temperature for best results, especially in regions that do not naturally mimic tropical conditions.
- Protect young plants from harsh sunlight and strong winds.
Conclusion
Growing cardamom from seeds is a fulfilling journey that combines patience, care, and a love for gardening. While it may take time for the plants to mature and produce pods, the reward of fresh, aromatic cardamom from your own home is unmatched. By following the proper steps—selecting quality seeds, preparing the right soil, nurturing seedlings, and practicing careful harvesting—you can enjoy this prized spice year after year.
Whether you are an experienced gardener or a beginner looking for a unique project, growing cardamom at home is a fantastic way to connect with nature, enhance your cooking, and enjoy the sweet aroma of success right from your backyard or balcony.
Leave A Comment