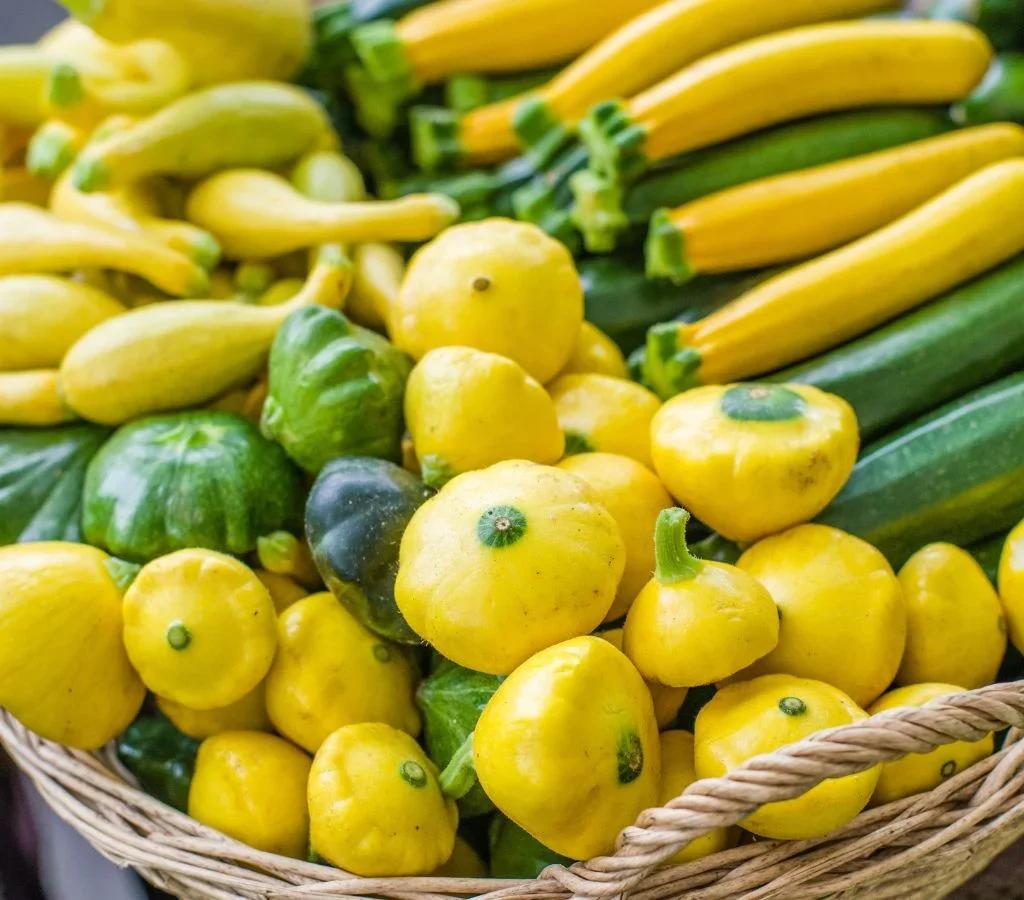
Squash is one of the most rewarding crops to grow in your garden. Whether you’re harvesting summer squash like zucchini or winter squash like butternut, acorn, or spaghetti squash, these versatile vegetables can feed you well past their harvest season. While summer squash is best eaten fresh, winter squash—thanks to its thick skin and long shelf life—can be stored for months if handled correctly. With the right techniques, you can enjoy your homegrown squash well into the winter and even until spring.
In this guide, we’ll explore how to properly harvest, cure, and store squash so you can extend its freshness and flavor for months.
Why Winter Squash Stores So Well
Winter squash varieties, unlike summer squash, develop a hard outer rind that protects the flesh from bacteria and moisture loss. This natural barrier allows them to remain edible for long periods if stored in the right conditions. The dense, starchy flesh inside also makes them perfect for winter meals—think roasted acorn squash, creamy butternut soup, or spaghetti squash pasta bowls.
But for squash to last until spring, proper storage starts from the moment you harvest. A little attention to detail can mean the difference between a rotten batch and a pantry full of nourishing food.
Step 1: Harvesting Squash at the Right Time
Harvesting at the correct stage is the foundation of long storage. If squash is picked too early, it won’t have developed its protective skin. If it’s left on the vine too long, it may become overripe and begin to deteriorate.
Here’s what to look for:
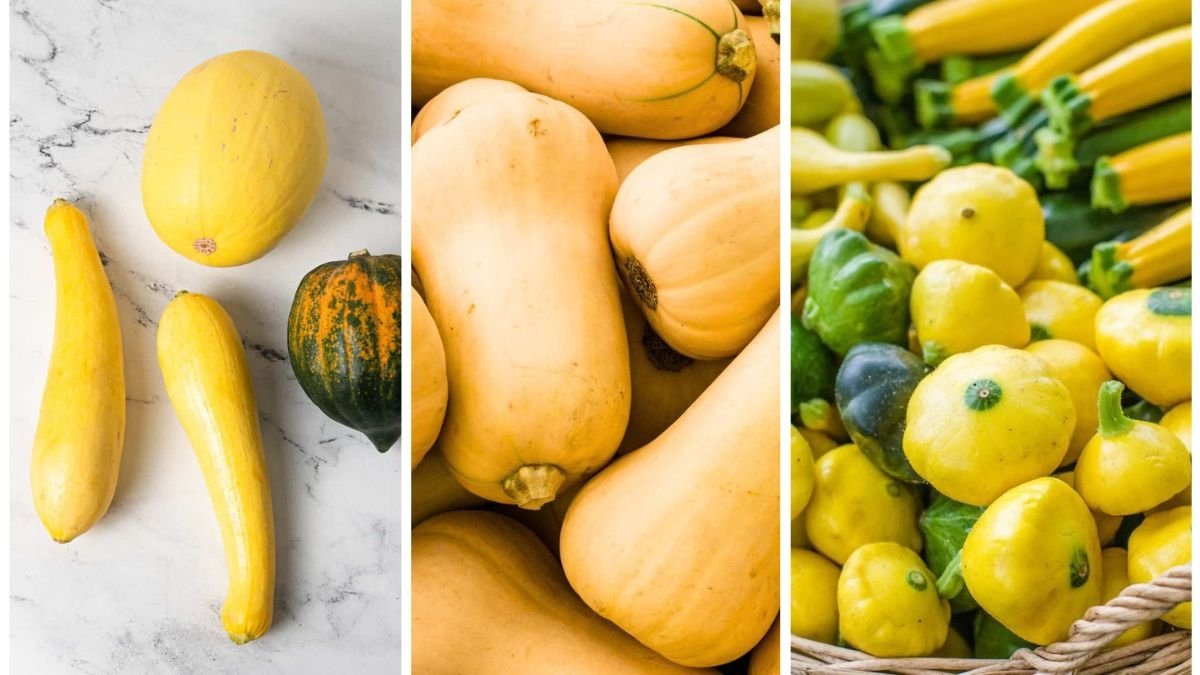
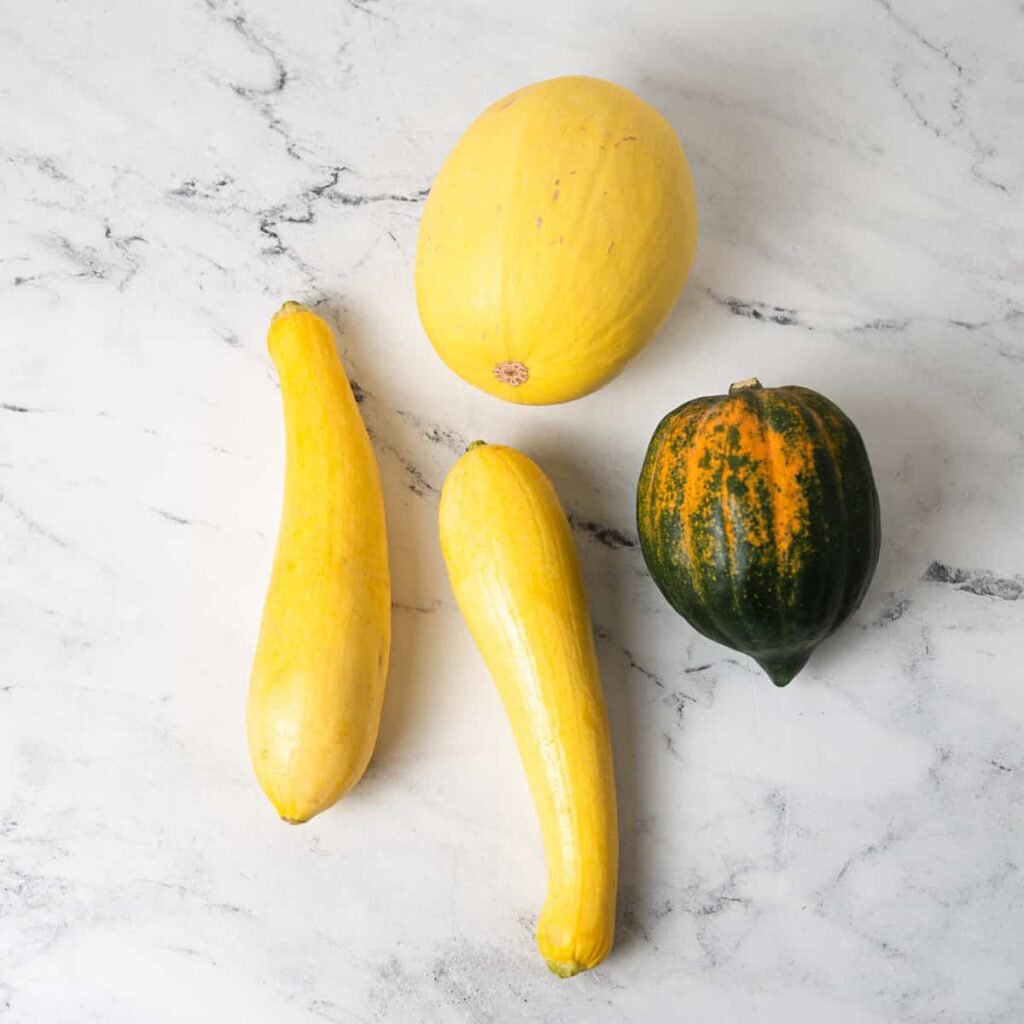
- Color: Mature squash should have deep, solid coloring (butternut should be tan, acorn dark green, and spaghetti squash golden yellow).
- Rind hardness: Press your fingernail gently against the skin. If it resists puncture, the squash is mature.
- Dried stem: The stem should be dry and brown, not green or pliable.
- Time on the vine: Most winter squash varieties take about 80–120 days to reach maturity.
Always harvest squash before the first hard frost, as freezing temperatures can damage the fruit and make it rot in storage.
Step 2: Handle Squash Carefully
Squash may seem tough, but they bruise easily. Any cut, crack, or bruise is an entry point for bacteria, which can cause the squash to rot quickly.
- Use pruning shears or a sharp knife instead of pulling the squash from the vine.
- Leave 2–3 inches of stem attached; squash without a stem deteriorates faster.
- Never carry squash by the stem—it can snap off and shorten storage life.
- Place harvested squash gently in baskets or crates, not stacked heavily on top of one another.
Think of squash as eggs with armor—the skin protects them, but once damaged, their storage life plummets.
Step 3: Curing Squash for Long-Term Storage
Curing is an essential step for most winter squash varieties. It allows the skin to harden fully and small scratches to heal, extending their shelf life.
How to cure squash:
- Place freshly harvested squash in a warm, dry, and well-ventilated space—like a greenhouse, sunny porch, or shed.
- Ideal conditions are 80–85°F with 70–80% humidity.
- Cure for 10–14 days.
During curing:
- The rind toughens, making the squash more resistant to rot.
- The stem dries and seals.
- The flavor of many squash, like butternut, actually improves as starches convert to sugars.
Note: Some squash types (like acorn and delicata) don’t need curing and should go straight to storage.
Step 4: Storing Squash Properly
Once cured, squash needs the right environment to last until spring. The three key factors are temperature, humidity, and airflow.
Ideal Storage Conditions
- Temperature: 50–55°F (warmer than a refrigerator but cooler than room temperature).
- Humidity: 50–70% to prevent drying out without causing mold.
- Air circulation: Good ventilation prevents moisture buildup.
Storage Locations
- A cool basement, root cellar, or unheated closet works best.
- Avoid storing squash near apples or pears, which release ethylene gas that accelerates ripening.
- Keep them off concrete floors (which can be too cold and damp). Use shelves, pallets, or cardboard instead.
Storage Method
- Place squash in a single layer, not stacked.
- Keep them in wooden crates, cardboard boxes with ventilation holes, or on wire shelving.
- Space them so air can circulate around each squash.
Step 5: Check Squash Regularly
Even under ideal conditions, not every squash will last until spring. Some will naturally spoil earlier than others.
- Inspect your stored squash every few weeks.
- Remove any squash showing soft spots, mold, or shriveling.
- Use damaged squash immediately so rot doesn’t spread.
This proactive approach ensures that one bad squash doesn’t ruin the entire batch.
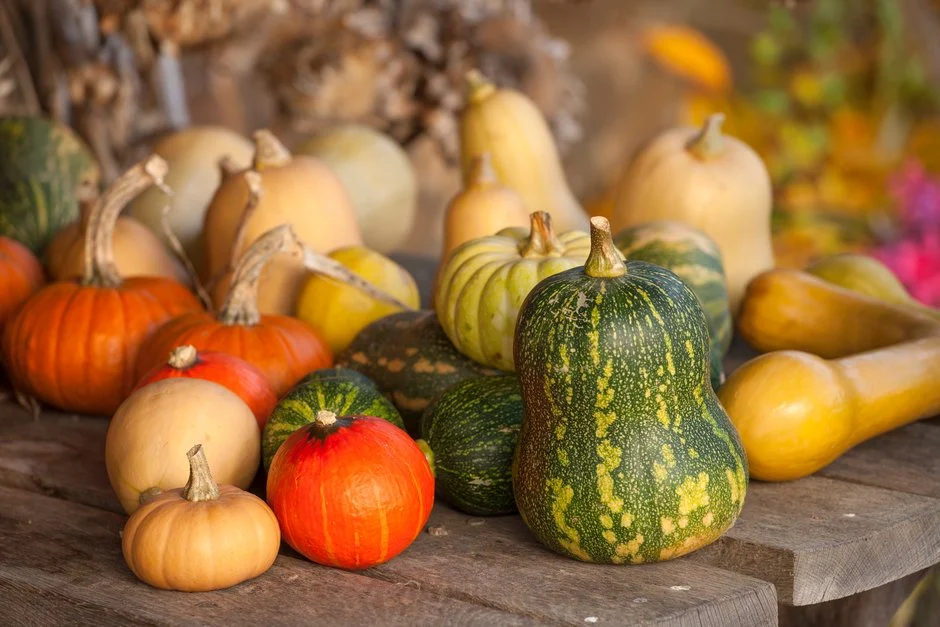
Expected Shelf Life of Common Squash Varieties
Different types of winter squash have different storage capabilities:
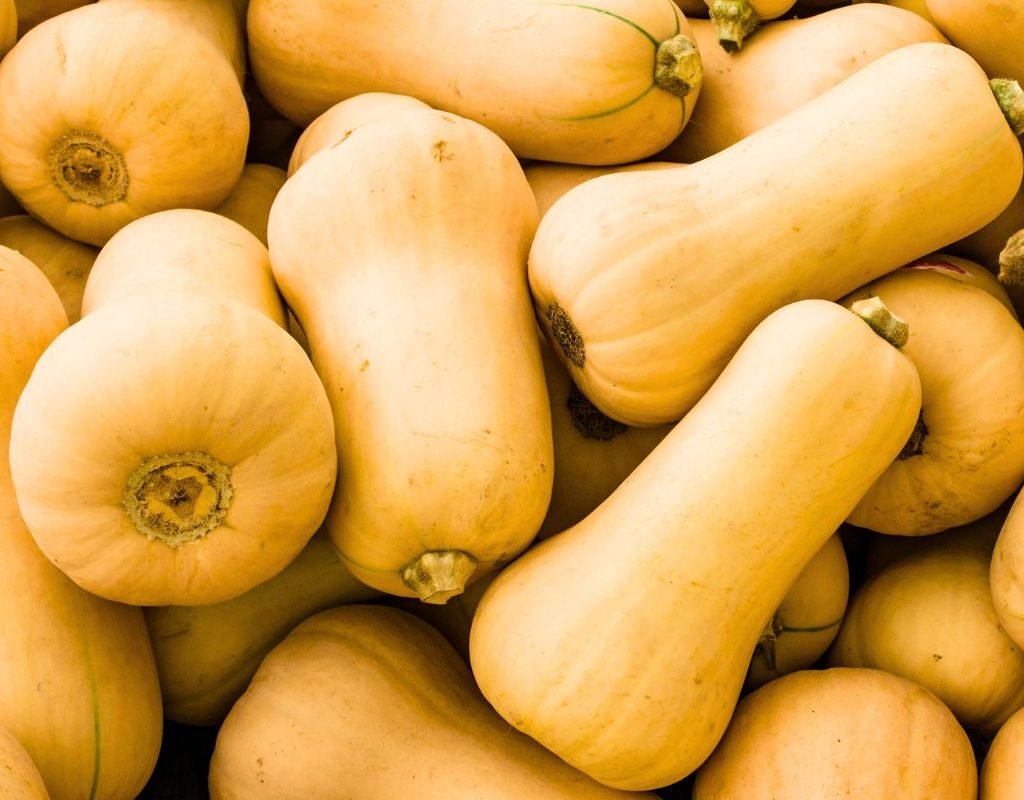
- Butternut: 3–6 months (often the longest-lasting).
- Acorn: 1–3 months.
- Spaghetti squash: 1–3 months.
- Hubbard: 5–6 months.
- Delicata: Up to 3 months.
- Kabocha: 3–4 months.
If you want squash that lasts until spring, butternut and hubbard are your best bets.
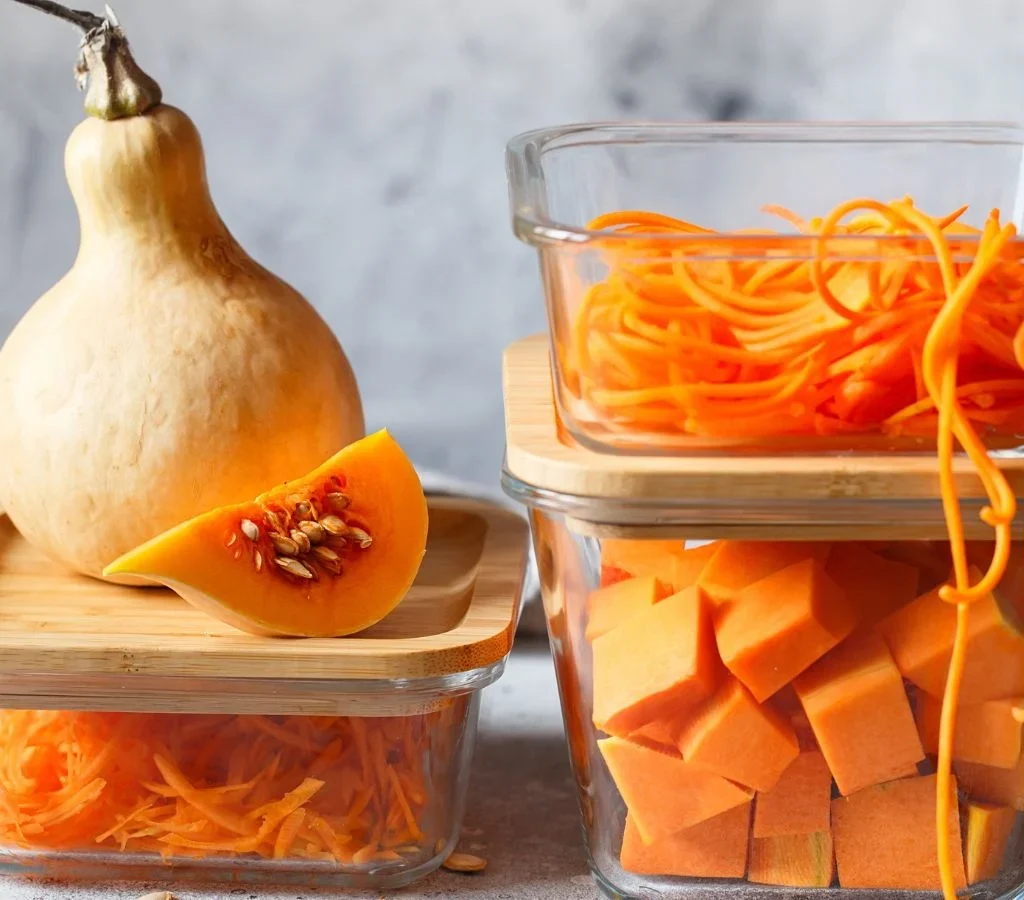
Bonus: Freezing and Preserving Squash
If you want to keep squash even longer—or you don’t have the right storage conditions—consider preserving it by freezing, canning, or dehydrating.
Freezing Squash
- Peel, seed, and cut squash into cubes.
- Steam or roast until tender.
- Mash or puree, then freeze in airtight containers or freezer bags.
- Frozen squash lasts 8–12 months.
Canning Squash
- Pressure canning is required for safety.
- Only can squash in cubes (not puree), as density affects heat distribution.
- Follow USDA guidelines for pressure canning times.
Dehydrating Squash
- Slice squash thinly and dry using a dehydrator or oven.
- Store in airtight jars or bags.
- Rehydrate later for soups, stews, or casseroles.
Creative Ways to Use Stored Squash in Winter
Once your squash is safely stored, you’ll want to enjoy it throughout the colder months. Here are a few delicious ideas:
- Butternut Squash Soup: Creamy, comforting, and perfect for cold evenings.
- Stuffed Acorn Squash: Fill halves with rice, quinoa, or sausage for a hearty meal.
- Spaghetti Squash Pasta: A healthy, low-carb alternative to pasta.
- Roasted Squash Cubes: Toss with olive oil and herbs for an easy side dish.
- Squash Bread or Muffins: Similar to pumpkin bread, but richer and sweeter.
By storing squash well, you’re not just preserving food—you’re preserving comfort, flavor, and nourishment for your family all season long.
Final Thoughts
Learning how to store squash so it lasts until spring is a rewarding skill for any gardener or home cook. From harvesting at the right time to curing, storing, and monitoring, each step plays a vital role in extending shelf life. With a little planning, your fall harvest can provide fresh, flavorful squash dishes long after the growing season ends.
So this year, don’t let your squash go to waste. Store it right, and you’ll enjoy the taste of your garden well into the new year—maybe even until the first signs of next spring.
Leave A Comment