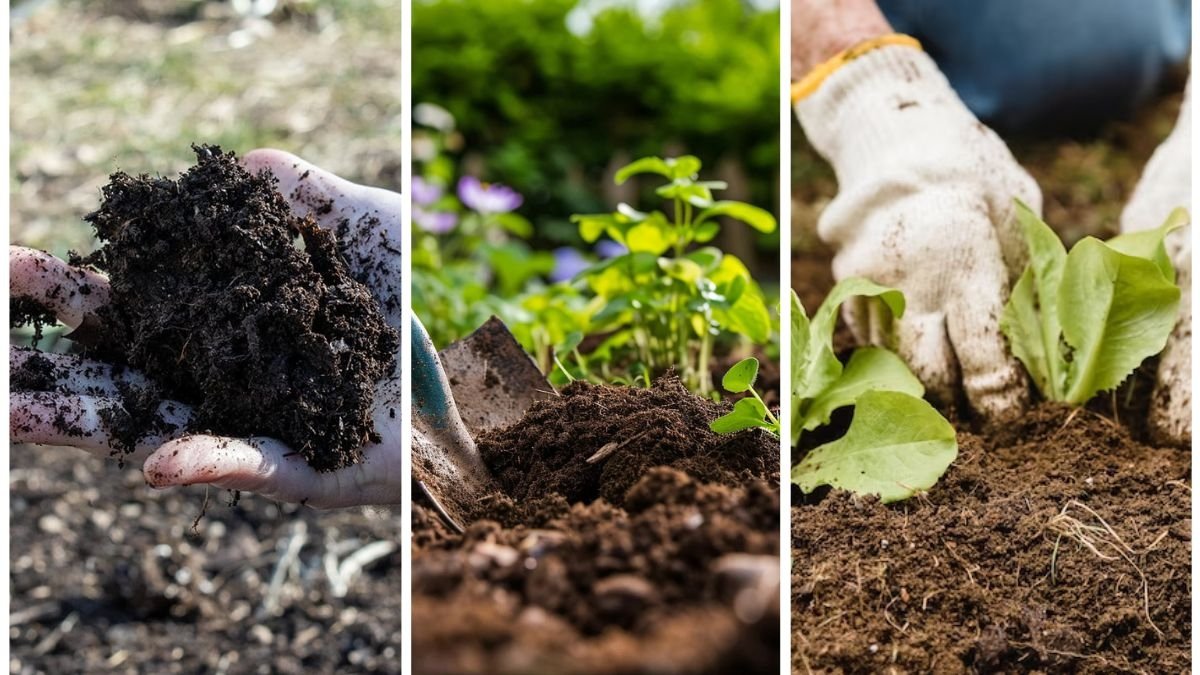
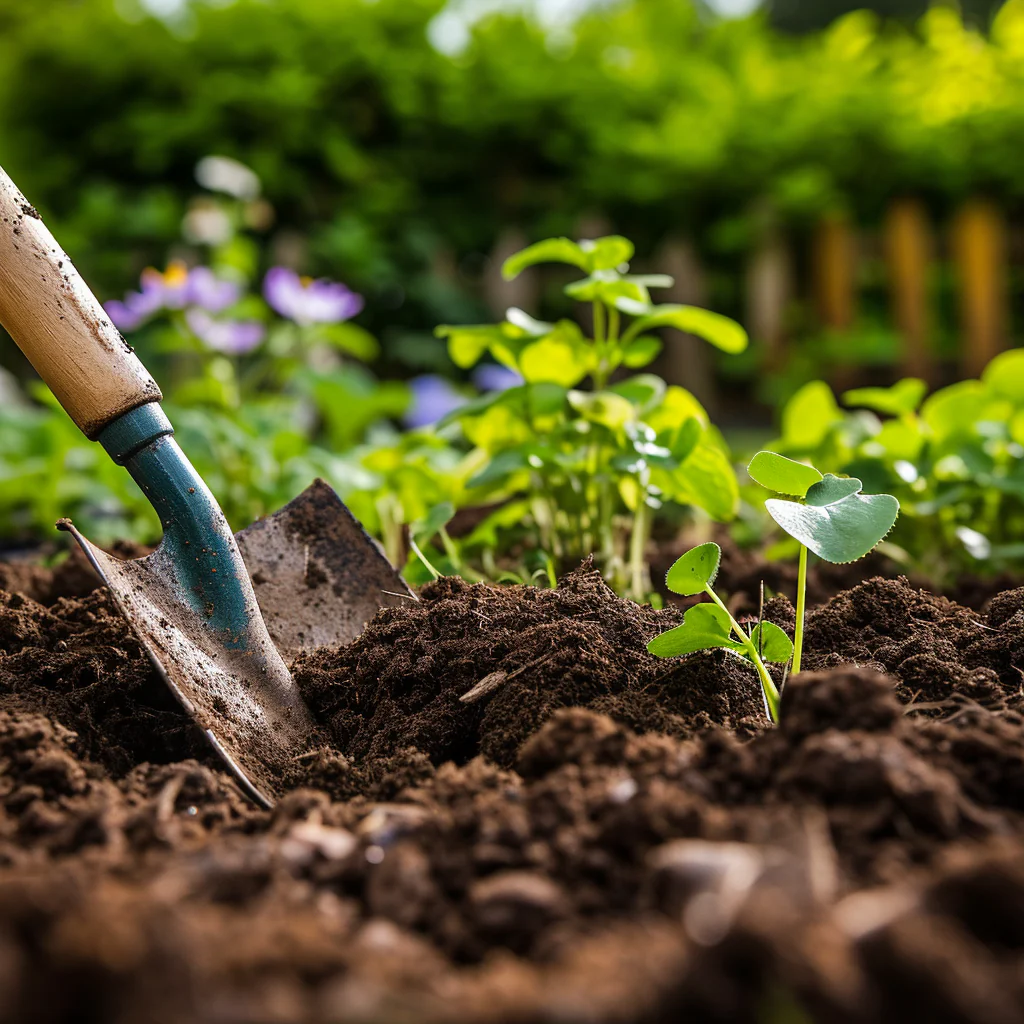
Healthy soil is the foundation of a thriving garden, a productive farm, and a sustainable ecosystem. Whether you’re a home gardener, a small-scale farmer, or someone passionate about sustainability, understanding the condition of your soil is essential. Yet, many people overlook soil health until problems arise—plants underperform, weeds take over, or water doesn’t drain properly.
Fortunately, you don’t need expensive lab equipment or professional services to evaluate your soil. With a few simple tools, observations, and DIY tests, you can gain valuable insights into your soil’s physical structure, fertility, drainage, microbial life, and more—all from the comfort of your own home.
This article offers a step-by-step guide on how to test your soil health at home, why it matters, and how to interpret the results to improve plant performance and long-term soil sustainability.
What Is Soil Health?
Soil health refers to the biological, chemical, and physical condition of soil that enables it to function as a living ecosystem. A healthy soil:
- Supports vigorous plant growth
- Retains moisture and drains well
- Cycles nutrients effectively
- Contains diverse and active microbial communities
- Resists erosion and compaction
Soil health is different from soil fertility. Fertility focuses on nutrients, while soil health is more holistic—it’s about how well the soil supports life.
Why Test Soil Health at Home?
Testing your soil helps you:
- Understand what’s missing or excessive
- Adjust watering, fertilization, and planting practices
- Improve crop yields and plant resilience
- Prevent long-term soil degradation
- Save money by applying only what’s needed
Plus, DIY soil tests are fast, affordable, and repeatable—allowing you to track your soil’s improvement over time.
At-Home Soil Health Tests
Below are eight powerful and easy-to-perform tests that give you a broad understanding of your soil’s health.
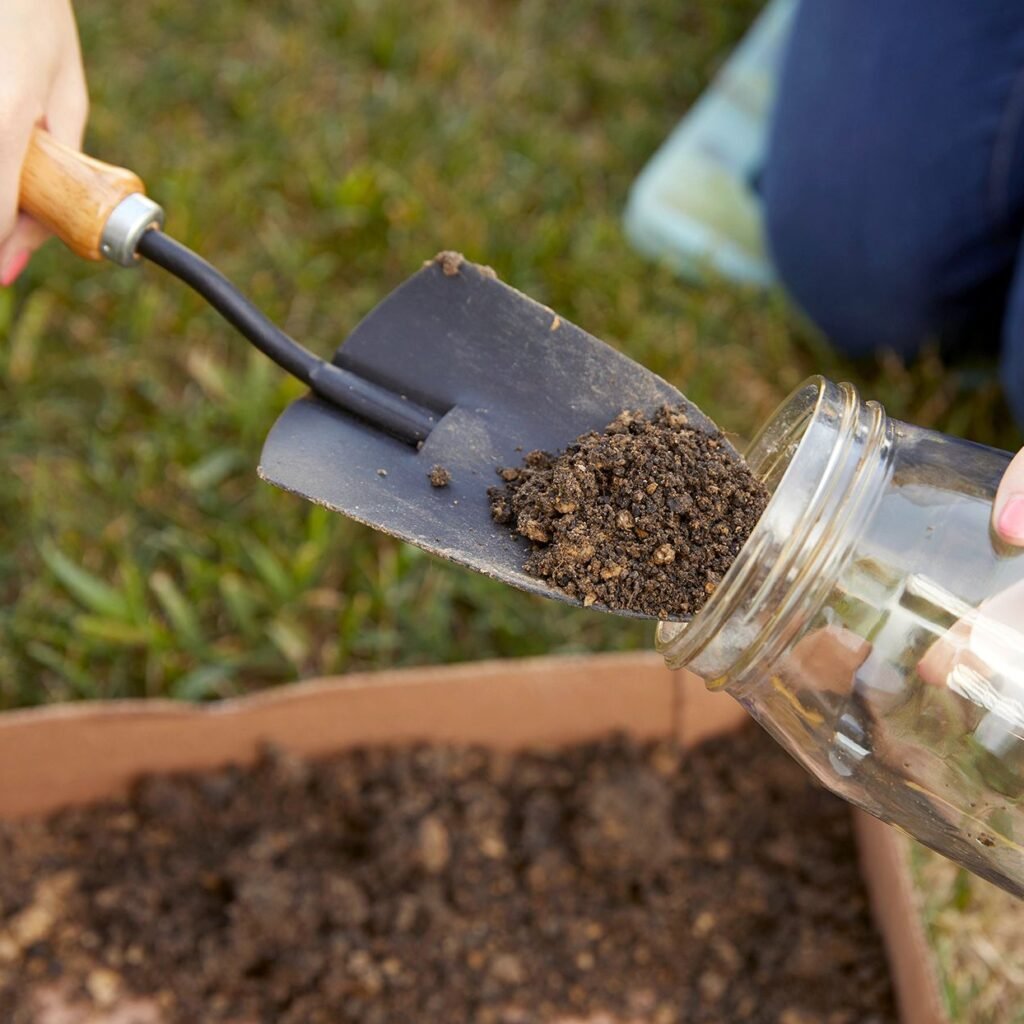
1. The Soil Texture Test (Jar Test)
Purpose: Determine the proportions of sand, silt, and clay in your soil.
What You Need:
- Clear glass jar with lid
- Water
- Dish soap
- Soil sample
How to Do It:
- Fill the jar halfway with soil (remove sticks, rocks, etc.).
- Add water until the jar is nearly full.
- Add 1 tsp of dish soap to help particles separate.
- Shake vigorously for 1–2 minutes.
- Let it sit undisturbed for 24–48 hours.
Observation:
- Sand settles first (bottom layer)
- Silt settles second (middle layer)
- Clay stays suspended and settles last (top layer)
What It Tells You:
- High clay = poor drainage but high nutrient retention
- High sand = fast drainage but low water/nutrient holding
- Loam (balanced) = ideal for most plants
2. The pH Test
Purpose: Measures acidity or alkalinity of your soil.
Method 1: Using a Soil pH Test Kit (available at garden stores)
Method 2: DIY Vinegar and Baking Soda Test:
- Place 2 tablespoons of soil in two separate containers.
- Add vinegar to one: fizz = alkaline (pH > 7)
- Add water to the second, then baking soda: fizz = acidic (pH < 7)
- No reaction = neutral (pH ~7)
Why It Matters:
- Most plants prefer pH between 6.0–7.0.
- Out-of-range pH locks up nutrients and stunts growth.
3. The Soil Structure Test (Ribbon Test)
Purpose: Check how well your soil holds together.
How to Do It:
- Moisten a handful of soil until it feels like dough.
- Roll it into a ball.
- Press and roll it into a ribbon using your fingers.
Observation:
- Long, sticky ribbon = clay-heavy
- Crumbly, gritty ribbon = sandy
- Short but cohesive = loamy
Why It Matters:
- Structure influences drainage, aeration, and root penetration.
4. The Drainage Test
Purpose: Evaluate how well your soil absorbs water.
How to Do It:
- Dig a hole about 1 foot deep and wide.
- Fill it with water and let it drain completely.
- Refill it and time how long it takes to drain.
Ideal Result:
- 1–2 inches per hour is optimal drainage.
- Faster = sandy soil
- Slower = clay or compacted soil
What To Watch:
Poor drainage leads to root rot, while fast drainage requires frequent watering.
5. The Earthworm Count Test
Purpose: Gauge biological activity.
How to Do It:
- Dig a 12”x12”x6” hole.
- Place soil on a tarp or bucket.
- Count how many earthworms you find.
Healthy Benchmark:
- 10 or more worms per square foot = good biological activity
Why It Matters:
Earthworms aerate soil, break down organic matter, and improve fertility naturally.
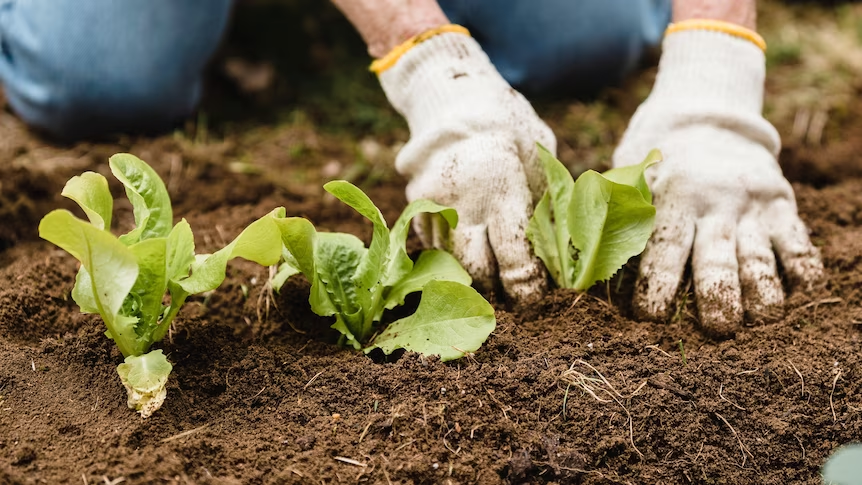
6. The Root Development Test
Purpose: Assess how well plants can grow roots.
How to Do It:
- Carefully dig up a small plant with roots intact.
- Observe root length, spread, and color.
Healthy Signs:
- Long, white roots that branch out
- Roots penetrate deep into the soil
Unhealthy Signs:
- Short, brown, twisted, or circling roots
- Root-bound or shallow growth
Poor root development often signals compaction, poor drainage, or low nutrients.
7. The Microbial Activity Test (Soil Respiration/Bury a Cotton Test)
Purpose: Evaluate soil life and microbial respiration.
How to Do It:
- Bury a piece of 100% cotton fabric (e.g., old T-shirt) about 6 inches deep.
- Mark the location.
- Dig it up after 3–4 weeks.
What You See:
- Lots of decomposition = active microbial life
- Minimal change = poor biology
Microbes are key to nutrient cycling, disease resistance, and soil structure.
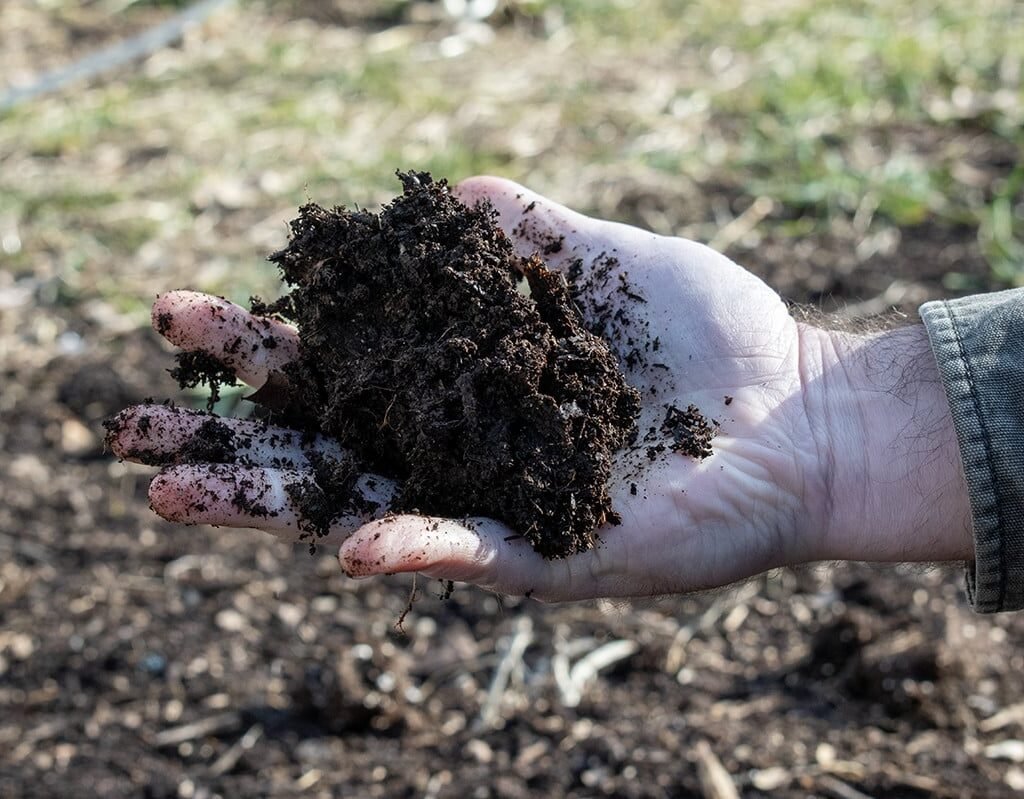
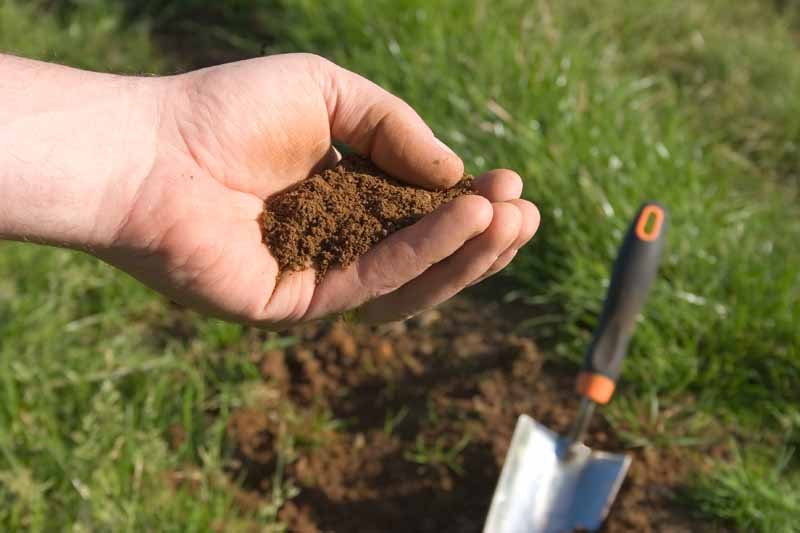
8. The Visual Assessment
Sometimes your eyes are the best tool!
Look for:
- Soil color: Dark = high organic matter, pale = poor fertility
- Crumbs or aggregates: Good tilth, not dusty or cloddy
- Surface crusting: May indicate compaction or poor organic matter
- Presence of fungi, bugs, roots, and other life
Interpreting the Results
Now that you’ve completed your home soil tests, how do you make sense of it all?
| Indicator | Healthy Soil | Unhealthy Soil |
|---|---|---|
| Texture | Balanced loam | Too much clay or sand |
| pH | 6.0–7.0 | <5.5 or >7.5 |
| Structure | Crumbly, well-aggregated | Hard, compacted, crusty |
| Drainage | 1–2 inches/hour | Too slow or too fast |
| Earthworms | 10+ per sq ft | Few or none |
| Microbial life | Cotton test shows decomposition | No change after 3–4 weeks |
| Root development | Deep, white, branching roots | Shallow, discolored, deformed |
| Color | Dark brown or black | Pale, gray, or yellowish |
What to Do Next: Improving Soil Health
If your home soil tests reveal issues, don’t worry—soil health is highly repairable. Here’s how to improve it:
1. Add Organic Matter
- Use compost, leaf mold, aged manure, and mulch.
- Improves texture, water retention, and biology.
2. Reduce Tillage
- Tilling damages soil structure and life.
- Try no-dig or low-disturbance practices.
3. Plant Cover Crops
- Clover, rye, and vetch improve nutrients and soil texture.
4. Avoid Synthetic Chemicals
- Excess fertilizers and pesticides can harm soil microbes.
5. Maintain Soil Cover
- Never leave soil bare—use mulch or living ground covers.
Conclusion
Testing your soil health at home is an empowering step toward building a more productive, eco-friendly, and sustainable growing space. By understanding the physical, chemical, and biological properties of your soil, you can make informed decisions that lead to healthier plants, higher yields, and long-term soil vitality.
The best part? You don’t need to be a scientist to do it. With curiosity, basic tools, and a few hours, you can gain a deeper connection to the soil beneath your feet—and take control of your land’s future.
Leave A Comment