A thriving garden requires water—but manually watering plants with a hose or watering can is time-consuming, inconsistent, and inefficient. That’s where a garden irrigation system comes in. Installing a simple irrigation system ensures your plants receive the right amount of water consistently, reduces water waste, and makes garden maintenance much easier.
The great news is that you don’t need to hire professionals or invest in complicated equipment. With some basic materials, careful planning, and a little DIY spirit, you can set up a simple, effective irrigation system at home. In this article, we’ll guide you step-by-step on planning, installing, and maintaining a garden irrigation system that keeps your garden healthy and hydrated.
Why Install a Garden Irrigation System?
Before jumping into installation, it’s important to understand the benefits of irrigation systems:
- Consistency: Provides uniform watering, preventing overwatering or underwatering.
- Time-Saving: Eliminates daily manual watering, freeing up time for other garden tasks.
- Water Efficiency: Reduces water wastage by delivering water directly to plant roots.
- Healthier Plants: Promotes stronger root systems and reduces plant stress during hot or dry periods.
- Flexibility: Systems can be customized for vegetable beds, flower gardens, lawns, or container plants.
Installing even a simple system can make a noticeable difference in the health and productivity of your garden.
Step 1: Plan Your Irrigation System
Planning is the most important step, as it ensures efficiency and reduces waste.
- Assess Your Garden Layout:
- Map out all planting areas, garden beds, lawns, and containers.
- Note the location of water sources (spigot, rain barrel, or tank).
- Determine Water Requirements:
- Identify plants with similar watering needs.
- Group them together to optimize water delivery.
- Choose the Irrigation Method:
- Drip Irrigation: Delivers water directly to the roots via tubes or emitters; ideal for vegetables, flower beds, and container plants.
- Soaker Hoses: Flexible hoses that slowly release water along their length; perfect for garden beds and borders.
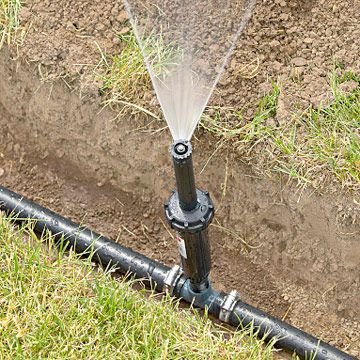
- Sprinklers: Best for lawns or larger areas but less water-efficient.
- Measure and Calculate Materials:
- Measure lengths of tubing or hoses needed for each garden bed.
- Count the number of emitters, connectors, and stakes required.
Pro Tip: Start small—install the system in one section first, then expand gradually.
Step 2: Gather Materials and Tools
For a simple DIY drip irrigation system, you will need:
Materials:
- Main tubing (½ inch or ¾ inch poly tubing)
- Drip emitters (1–2 gallons per hour for most plants)
- Barbed connectors and end caps
- Stakes to hold tubing in place
- Hose adapter (to connect tubing to your water source)
- Optional: Pressure regulator and filter to prevent clogging
Tools:
- Scissors or tubing cutter
- Drill with small bit (if needed to make holes for emitters)
- Garden tape or ties
Step 3: Prepare the Garden Beds
Before laying tubing, prepare your garden beds:
- Remove weeds and debris from the soil surface.
- Mulch can be applied after installing tubing to retain moisture and reduce evaporation.
- Create a slight slope or ensure level ground for even water distribution.
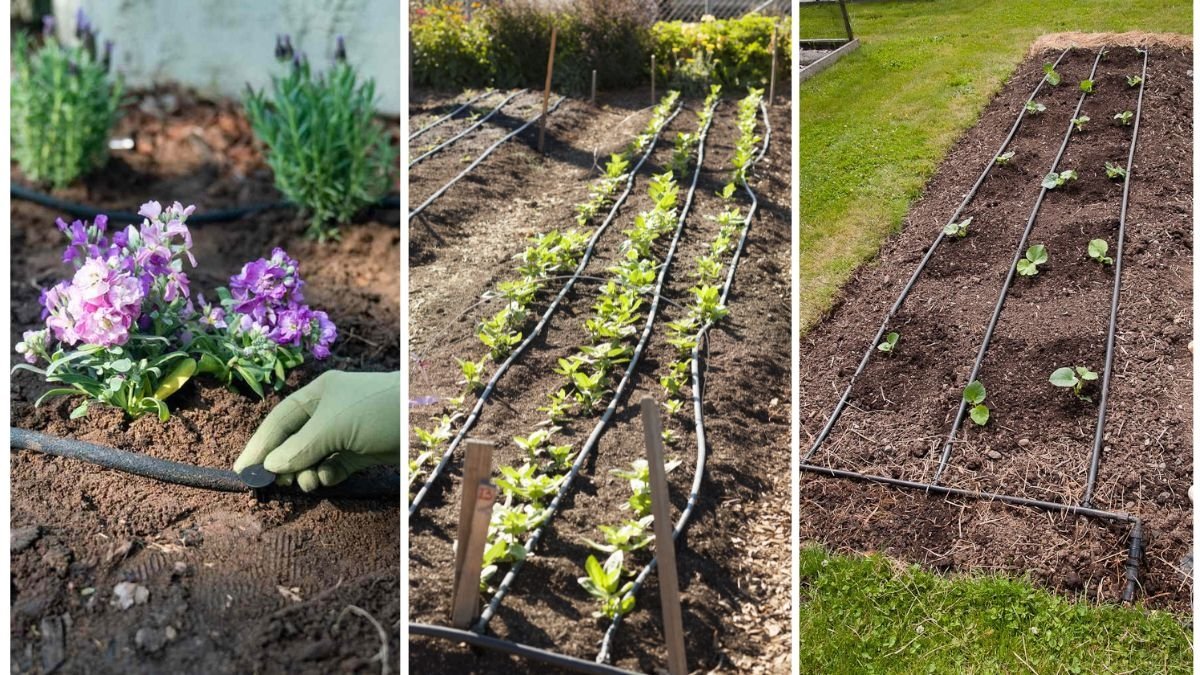
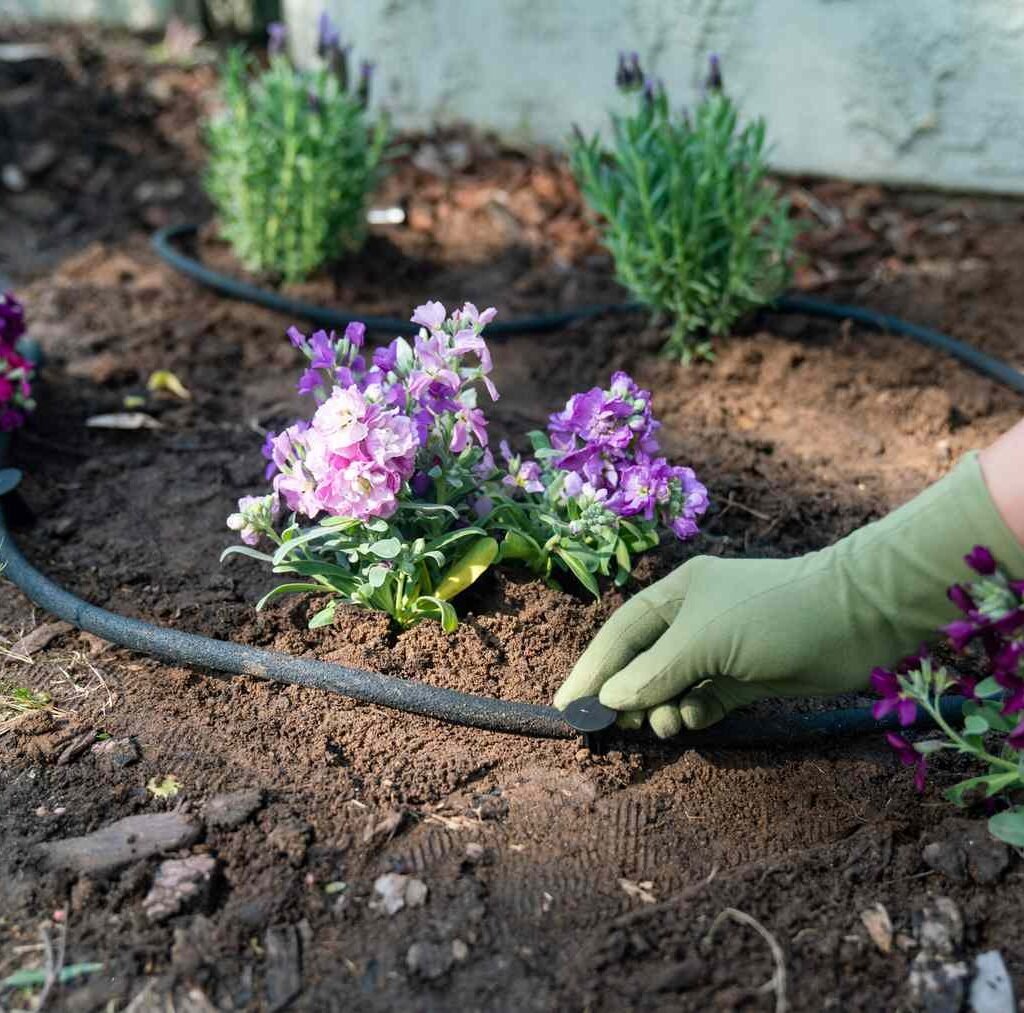
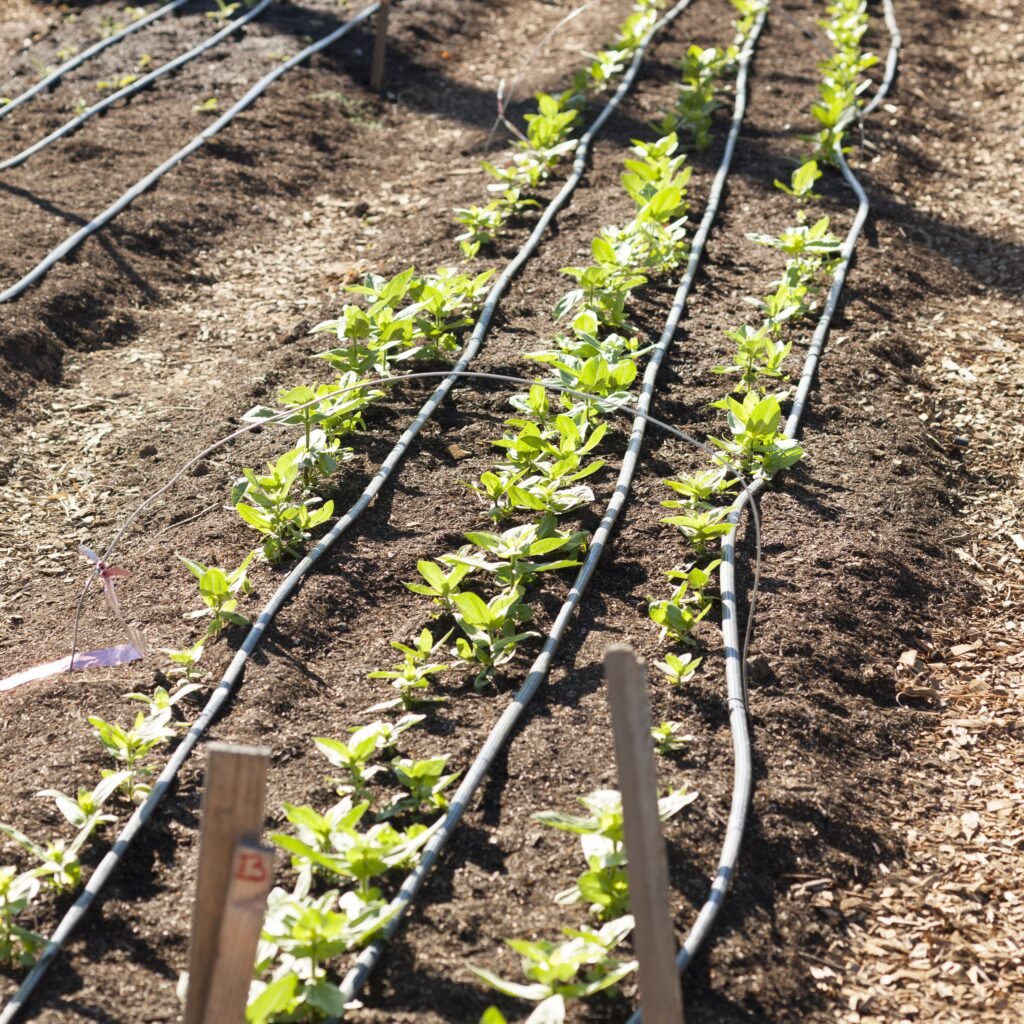
Step 4: Lay the Main Tubing

- Connect the main tubing to your water source using a hose adapter.
- Run the tubing along the length of your garden bed, keeping it close to the plants.
- Secure the tubing with stakes every 2–3 feet to prevent movement.
- Cut tubing as needed to reach each section or row of plants.
Pro Tip: If using multiple garden beds, create separate loops for each section for better control.
Step 5: Install Drip Emitters or Soaker Hoses
For Drip Emitters:
- Punch small holes into the tubing near the base of each plant using a hole punch or drill.
- Insert emitters into the holes.
- Adjust emitter flow rates based on the water needs of each plant.
For Soaker Hoses:
- Lay the hose along the rows of plants, weaving it around roots.
- Ensure the hose is in close contact with the soil for efficient water delivery.
- Connect hoses to the main tubing using barbed connectors.
Step 6: Test the System
Before covering tubing with mulch, it’s essential to test your system:
- Turn on the water and check for leaks.
- Ensure each emitter or section of soaker hose is delivering water evenly.
- Adjust flow rates or move tubing as needed to prevent overwatering or dry spots.
- Once satisfied, turn off the water and cover tubing with mulch or soil for a neat finish.
Pro Tip: A pressure regulator is helpful if your water source has high pressure, preventing emitters from popping out or hoses from bursting.
Step 7: Maintain Your Irrigation System
A simple irrigation system requires minimal maintenance, but a few tasks ensure its longevity:
- Check Emitters Regularly: Ensure water is flowing and clean clogged emitters.
- Inspect Tubing: Look for leaks or cracks, especially at connection points.
- Seasonal Adjustments: Increase watering during hot months and reduce during rainy periods.
- Winter Care: In cold climates, drain the system to prevent freezing and damage.
- Flush the System: Periodically flush tubing to remove sediment and debris.
Benefits of a DIY Garden Irrigation System
- Saves Time: Eliminates manual watering, freeing up hours each week.
- Reduces Water Waste: Water is delivered directly to the root zone, reducing evaporation and runoff.
- Promotes Healthy Plants: Consistent watering reduces stress and encourages strong growth.
- Scalable: You can start small and expand your system as your garden grows.
- Eco-Friendly: Efficient irrigation reduces your water footprint.
Additional Tips for an Efficient Garden Irrigation System
- Group Plants by Water Needs: Plants with similar requirements should share a section of tubing.
- Use Mulch: Mulching around tubing retains moisture, reduces weeds, and protects emitters from the sun.
- Install a Timer: A timer automates watering, ensuring your garden is consistently hydrated even when you’re away.
- Consider Rainwater Harvesting: Connect your system to a rain barrel for sustainable watering.
- Plan for Expansion: Leave extra tubing or connectors for adding new beds or containers in the future.
Conclusion
Installing a simple garden irrigation system is a practical and rewarding DIY project that saves time, conserves water, and keeps your garden lush and productive. By following these step-by-step instructions—planning your layout, choosing the right materials, installing emitters or hoses, and maintaining the system—you can create a reliable watering solution tailored to your garden’s needs.
Whether you’re growing vegetables, flowers, or shrubs, a simple irrigation system ensures your plants receive the consistent care they deserve. With minimal effort and investment, you’ll enjoy a healthier, more vibrant garden while freeing yourself from the daily chore of manual watering.
Leave A Comment